Are you ready to discover the magic of Ninja Foodi recipes? Whether you’re a busy parent, a meal prep enthusiast, or just someone looking to make cooking quicker and easier, the Ninja Foodi has you covered. This versatile kitchen appliance combines the power of a pressure cooker, air fryer, and slow cooker, making it perfect for creating a wide range of meals, from crispy chicken to comforting stews. If you’ve been wondering how to make the most of your Ninja Foodi, this collection of the top 10 Ninja Foodi recipes is just what you need. With quick, easy-to-follow instructions and delicious results, these recipes will take your cooking to the next level—saving you time while delivering mouthwatering dishes. Let’s dive in and explore these must-try recipes that are as fun to make as they are to eat!
Table of Contents
Key Benefits of Ninja Foodi Recipes
If you’re new to the Ninja Foodi, get ready to fall in love with its versatility! This powerhouse appliance does it all: it pressures, slow cooks, air fries, and more. That means you can create a wide variety of delicious meals with minimal effort, making it the perfect tool for busy weeknights or meal prep weekends. Let’s break down the top benefits of cooking with a Ninja Foodi.
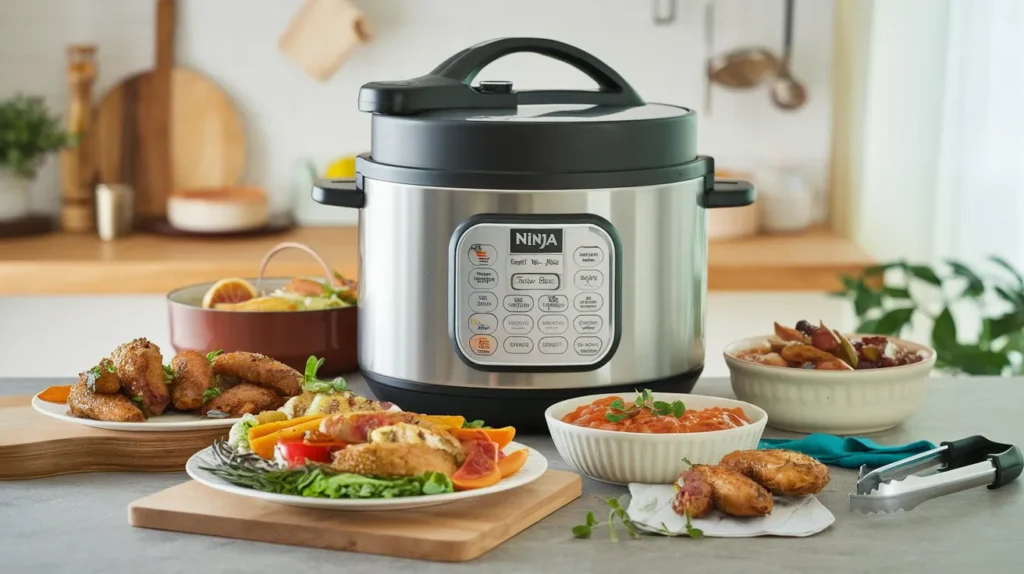
- Save Time: One of the biggest perks is how quickly you can cook. Whether you’re pressure cooking a hearty stew or air frying crispy chicken, your meals will be ready in no time. Ninja Foodi recipes are perfect for those evenings when you’re craving something tasty but don’t want to spend hours in the kitchen.
- Versatility: From quick and easy Ninja Foodi recipes to elaborate multi-course meals, this appliance does it all. Whether you’re using it to bake, sauté, steam, or crisp, the Ninja Foodi handles it with ease. It’s truly an all-in-one kitchen tool.
- Healthier Meals: Air frying in the Ninja Foodi allows you to enjoy crispy, golden foods with less oil. That means you can indulge in your favorite comfort foods while keeping things lighter and healthier—perfect for anyone looking to reduce fat or oil intake.
- Hands-Off Cooking: Set it and forget it! With the Ninja Foodi, you can prep your ingredients, select the cooking function, and let the machine do the work. No more stirring or monitoring constantly. It’s all about convenience, especially when you’re juggling multiple tasks at once.
- Easy Clean-Up: After the meal is ready, you’ll appreciate how easy it is to clean up. Many of the Ninja Foodi’s parts are dishwasher safe, making post-dinner cleanup a breeze. No more dealing with multiple pots and pans!
These are just a few of the reasons why Ninja Foodi recipes are a game changer. Whether you’re cooking for yourself, your family, or hosting a dinner party, the Ninja Foodi ensures every meal is a success with minimal fuss. Ready to give it a try? Let’s dive into these top Ninja Foodi recipes that will have you cooking like a pro in no time!
Ingredients
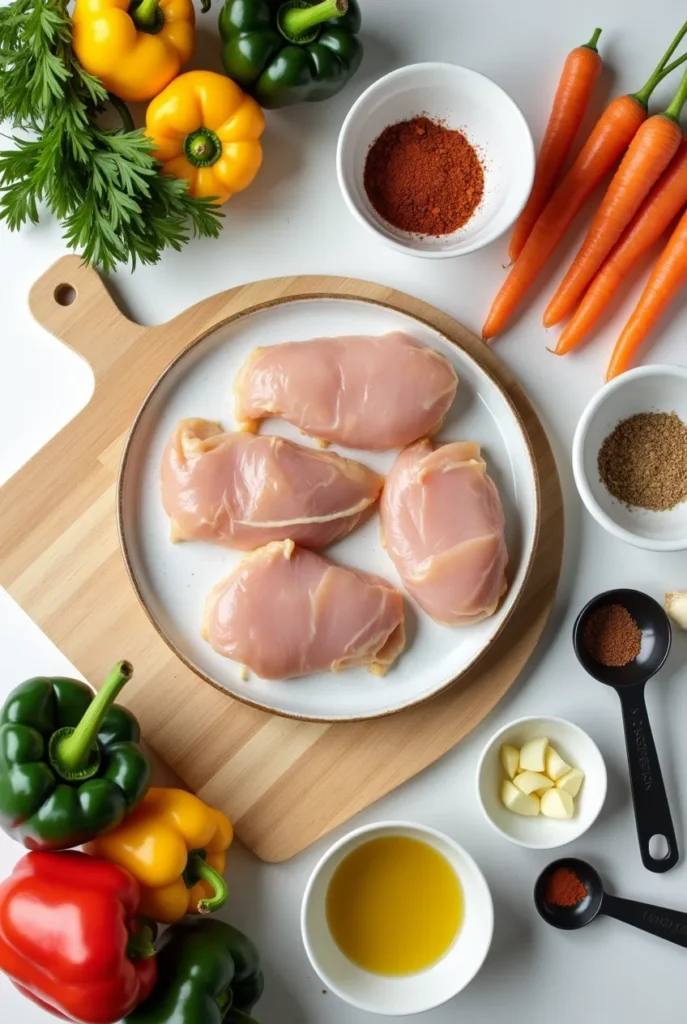
The beauty of Ninja Foodi recipes lies in their simplicity and versatility. You don’t need a long shopping list of fancy ingredients—just fresh, whole foods that work perfectly with this all-in-one appliance. Here’s what you’ll need to get started on some of the best Ninja Foodi recipes:
Common Ingredients for Ninja Foodi Recipes:
- Proteins: Chicken breast, thighs, or drumsticks are all great options. If you prefer beef, try chuck roast or ground beef for hearty meals. For a lighter alternative, fish fillets or tofu also cook wonderfully in the Ninja Foodi.
- Vegetables: You can’t go wrong with fresh veggies! Carrots, potatoes, bell peppers, onions, and zucchini are Ninja Foodi favorites. These veggies not only complement your main protein but also roast or steam beautifully in the cooker.
- Seasonings & Spices: To elevate the flavors, make sure you have a variety of seasonings on hand. Salt, pepper, garlic powder, paprika, and dried herbs (like thyme and oregano) will make your dishes shine. You can also play around with spice blends for a kick, such as chili powder or curry powder.
- Oils: Olive oil or avocado oil is ideal for air frying in the Ninja Foodi. A light drizzle will help achieve that golden crisp texture we all crave without overloading the dish with fat.
- Broth or Liquid: For pressure cooking, you’ll need a bit of liquid to get the magic going. Vegetable or chicken broth adds depth of flavor, while water works in a pinch. Make sure you follow the recipe’s liquid requirements to avoid burning.
These ingredients serve as the foundation for endless Ninja Foodi meals. The best part? You can mix and match based on your preferences, dietary needs, or what’s in your pantry. The Ninja Foodi’s multi-functional capabilities mean you can create everything from savory stews to crispy snacks—all with just a few simple ingredients. So, gather your fresh produce, favorite proteins, and seasonings, and let’s start cooking some Ninja Foodi magic!
Instructions
Now that you’ve gathered your ingredients, it’s time to start cooking with your Ninja Foodi! The great thing about this appliance is how easy it makes cooking meals that are both delicious and quick. Here’s a step-by-step guide to help you get the most out of your Ninja Foodi and turn those ingredients into mouthwatering dishes.
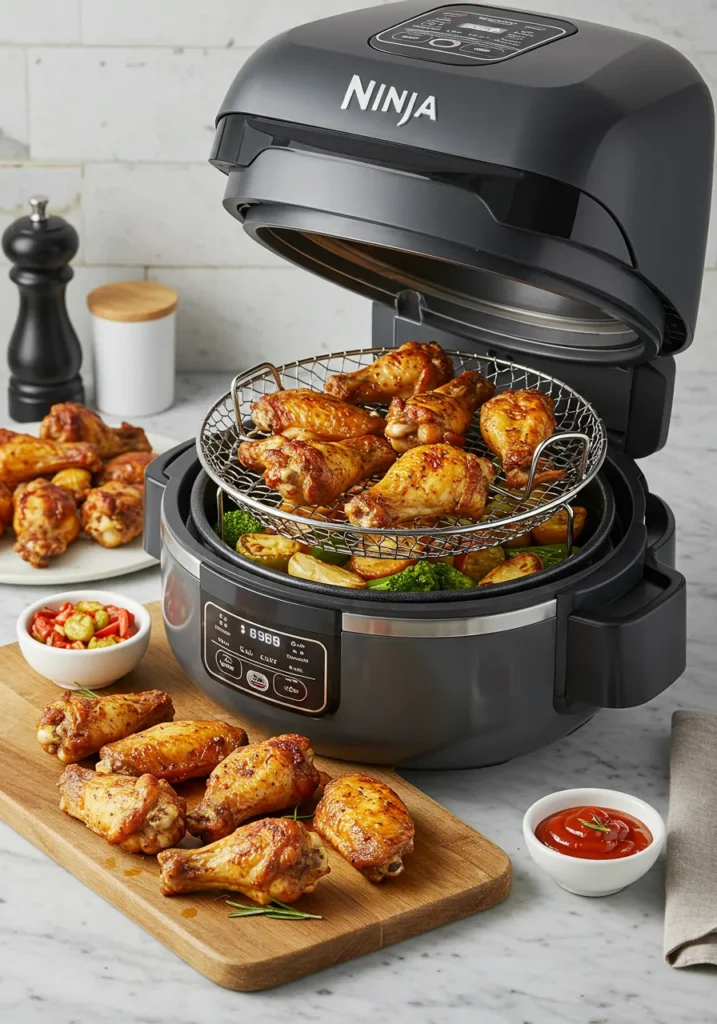
Step-by-Step Instructions:
- Prep Your Ingredients:
Start by chopping your veggies and prepping your protein. For example, if you’re making a chicken and vegetable dish, slice your carrots, chop your potatoes, and trim your chicken. Season everything generously with your chosen spices, salt, and pepper. Don’t be afraid to get creative with your seasoning—this is where the flavor magic happens! - Set Up Your Ninja Foodi:
Place the cooking pot into your Ninja Foodi base. For pressure cooking, add your liquid (broth or water) to the pot first. If you’re air frying, you can skip the liquid and head straight to the next step. - Choose Your Cooking Function:
Depending on your recipe, select the appropriate function. If you’re making something crispy, opt for the Air Crisp function. If you’re cooking a stew or something that needs tenderizing, go for Pressure Cook. The Ninja Foodi has a range of options, so be sure to follow the specific instructions for your dish. - Cooking Time:
For Pressure Cooking, set the timer according to the recipe—usually between 10-30 minutes for tender meats or stews. For Air Frying, keep an eye on the food, checking every 10 minutes for that golden, crispy texture. You’ll notice the Ninja Foodi does all the hard work, sealing in moisture while achieving that perfect crunch. - Release Pressure or Crisp:
Once cooking is done, carefully release the pressure if you’ve used the Pressure Cook function. If you’re air frying, flip or shake the ingredients halfway through the cooking time for an even crisp. - Finish & Serve:
Once your dish is cooked to perfection, remove it from the Ninja Foodi. Don’t forget to give it a quick taste test—adjust seasoning if needed. You’ll find that the Ninja Foodi enhances flavors beautifully, so your dish will be bursting with freshness and deliciousness!
By following these simple steps, you’ll have a fully cooked, flavorful meal ready in no time. The beauty of Ninja Foodi recipes is that they’re designed to be both simple and incredibly satisfying. Plus, the multi-functional nature of the Ninja Foodi means that each meal is an opportunity to explore new textures and flavors with just the press of a button!
Pro Tips and Variations
When it comes to Ninja Foodi recipes, there’s always room to get creative and make the dish your own. With a few tweaks and pro tips, you can elevate your cooking game and customize your meals to suit your taste or dietary preferences. Here are some insider tips to make sure your Ninja Foodi dishes turn out perfectly every time:
Pro Tips:
- Layer Your Ingredients for Even Cooking: When pressure cooking, always layer your ingredients properly. Place denser items, like potatoes or carrots, at the bottom of the pot and your protein on top. This ensures everything cooks evenly, with the pressure working its magic on the veggies and meat simultaneously.
- Use the Crisping Lid for a Golden Finish: If your dish needs that crispy, golden exterior, make sure to use the Crisping Lid. Whether it’s a chicken dinner or roasted veggies, this feature adds that perfect crunch without the need for a deep fryer.
- Don’t Skip the Natural Pressure Release: For some dishes, especially meats like chicken or beef, let the Ninja Foodi naturally release the pressure for about 10 minutes. This allows the juices to redistribute, making your dish even more tender and flavorful.
- Adjust Seasonings to Taste: While it’s easy to follow recipes, feel free to adjust seasonings as you go. If you love spice, add a pinch of chili flakes or cayenne pepper. If you prefer more savory, bump up the garlic or thyme. The Ninja Foodi enhances flavors so you can really play around with them!
- Avoid Overcrowding the Air Fryer Basket: If you’re air frying in your Ninja Foodi, be sure not to overcrowd the basket. For crispy results, give your ingredients enough space for the hot air to circulate. You may need to cook in batches, but the result will be well worth it.
Recipe Variations:
- Go Keto-Friendly: Swap out starchy vegetables like potatoes with cauliflower or zucchini. You can make delicious low-carb Ninja Foodi meals that are just as hearty and satisfying.
- Make It Vegan: Opt for plant-based proteins such as tofu or tempeh. Pair them with your favorite veggies for a filling, vegan-friendly Ninja Foodi recipe that’s both healthy and delicious.
- Add More Flavor with Sauces: If you’re looking to jazz up your meal, try drizzling some homemade or store-bought sauce over your dish once it’s done cooking. A tangy BBQ sauce for chicken or a creamy tahini dressing for roasted veggies can take your meal to the next level.
- Go Gluten-Free: Most Ninja Foodi recipes are naturally gluten-free, but always be sure to double-check your ingredients. If you’re making a dish that requires breadcrumbs or flour, swap them out for gluten-free alternatives like almond flour or crushed gluten-free crackers.
These tips and variations not only help you get the most out of your Ninja Foodi but also allow you to tailor the recipes to your preferences. Experimenting with flavors, textures, and ingredients is all part of the fun—and with the Ninja Foodi, the possibilities are endless!
Serving Suggestions
Once your Ninja Foodi creation is cooked to perfection, it’s time to think about how to serve it up! The right side dishes and garnishes can elevate your meal and make it feel like a restaurant-quality experience—all without the extra effort. Here are some serving suggestions to complement your Ninja Foodi recipes:
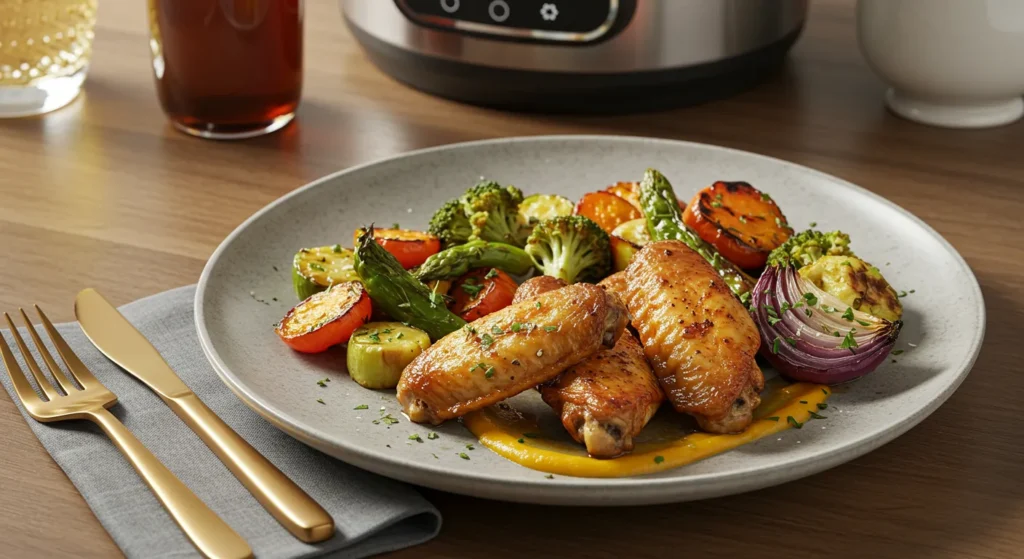
Simple Sides to Pair with Ninja Foodi Recipes:
- Roasted Vegetables: Pair your main dish with a side of roasted vegetables. The Ninja Foodi does a fantastic job air frying or roasting veggies to crispy perfection. Try a mix of carrots, bell peppers, zucchini, and onions, seasoned with olive oil and your favorite herbs. Serve these alongside a juicy chicken or a hearty stew for a well-rounded meal.
- Rice or Quinoa: A fluffy side of rice or quinoa is a great base to absorb all the delicious flavors from your Ninja Foodi dish. For extra flavor, cook the rice or quinoa in a vegetable or chicken broth instead of water. The Ninja Foodi can even help speed up this process!
- Fresh Salad: For a refreshing contrast to a hot, savory meal, pair it with a crisp, fresh salad. A simple mixed greens salad with a light vinaigrette adds balance to your dish, providing a cool, crunchy element that complements the warm main course. Toss in some nuts, seeds, or cheese to add texture and flavor.
- Garlic Bread or Crusty Rolls: If you’re making a stew or soup in the Ninja Foodi, why not serve it with a slice of garlic bread or warm, crusty rolls? This gives your meal that comforting, homey feel and is perfect for soaking up any flavorful sauce or broth.
- Sauces & Dips: A well-chosen sauce can really bring a dish to life. Consider adding a tangy BBQ sauce, a zesty chimichurri, or a creamy ranch dressing for dipping. These condiments can turn an already great dish into something even more special.
Garnish Ideas for Extra Flair:
- Fresh Herbs: Garnish your dish with a sprinkle of fresh herbs like parsley, cilantro, or basil. Not only does this add a burst of color, but fresh herbs also bring a fresh, aromatic finish to your Ninja Foodi meal.
- Cheese: A dash of grated Parmesan, feta, or a crumbled blue cheese can add richness and depth. This is especially delicious on roasted vegetables or air-fried chicken.
- Citrus Zest: For a bright, zesty kick, add a touch of lemon or lime zest on top of your dish just before serving. This simple addition can make your meal feel even more vibrant and refreshing.
By thinking about how to present and serve your Ninja Foodi creations, you can easily elevate your meal without any extra stress. From fresh salads to flavorful sauces, there are endless ways to make your dish shine. So, get creative and have fun with it—your perfectly cooked Ninja Foodi meal deserves to be enjoyed in style!
Conclusion
You’ve made it to the end of your Ninja Foodi journey, and now it’s time to sit back and enjoy your delicious creation! One of the best parts about cooking with the Ninja Foodi is how effortless it makes preparing flavorful meals that are perfect for busy nights, special occasions, or everything in between. Whether you’ve just made your first Ninja Foodi recipe or are a seasoned pro, the results are always worth the effort.
Why You’ll Love Ninja Foodi Recipes:
- Quick and Easy: With its multi-functional capabilities, the Ninja Foodi streamlines your cooking process, allowing you to create everything from tender meats to crispy snacks in a fraction of the time compared to traditional methods.
- Customizable: From the ingredients to the seasonings, Ninja Foodi recipes give you the flexibility to adapt and tailor each dish to your personal preferences, whether you’re following a keto, vegan, or gluten-free diet.
- Flavorful Results: The Ninja Foodi’s pressure cooking and air frying features lock in moisture, develop deep flavors, and ensure that every bite is as satisfying as the last.
Remember, these recipes are just the beginning. The Ninja Foodi is only limited by your imagination, so don’t be afraid to experiment with new ingredients or cooking techniques. Soon enough, you’ll have a collection of go-to recipes that turn out perfectly every time, all with minimal cleanup!
If you’re still on the fence about getting a Ninja Foodi, let these delicious, quick meals be your motivation. Once you experience how easy and delicious cooking can be with this versatile appliance, you’ll wonder how you ever cooked without it!
Happy cooking, and enjoy your culinary creations with the Ninja Foodi!
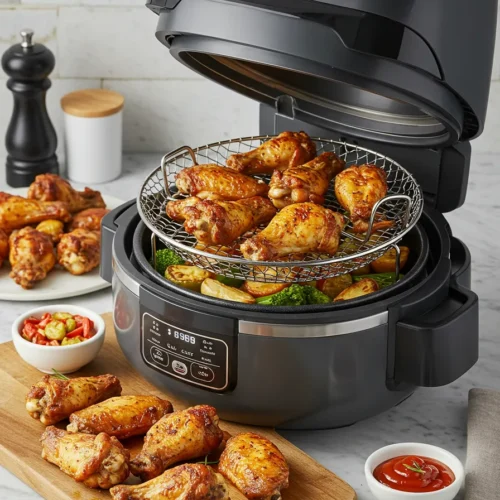
ninja foodi recipes
Ingredients
Common Ingredients for Ninja Foodi Recipes:
- Proteins: Chicken breast thighs, or drumsticks are all great options. If you prefer beef, try chuck roast or ground beef for hearty meals. For a lighter alternative, fish fillets or tofu also cook wonderfully in the Ninja Foodi.
- Vegetables: You can’t go wrong with fresh veggies! Carrots potatoes, bell peppers, onions, and zucchini are Ninja Foodi favorites. These veggies not only complement your main protein but also roast or steam beautifully in the cooker.
- Seasonings & Spices: To elevate the flavors make sure you have a variety of seasonings on hand. Salt, pepper, garlic powder, paprika, and dried herbs (like thyme and oregano) will make your dishes shine. You can also play around with spice blends for a kick, such as chili powder or curry powder.
- Oils: Olive oil or avocado oil is ideal for air frying in the Ninja Foodi. A light drizzle will help achieve that golden crisp texture we all crave without overloading the dish with fat.
- Broth or Liquid: For pressure cooking you’ll need a bit of liquid to get the magic going. Vegetable or chicken broth adds depth of flavor, while water works in a pinch. Make sure you follow the recipe’s liquid requirements to avoid burning.
Instructions
Prep Your Ingredients:
- Start by chopping your veggies and prepping your protein. For example, if you’re making a chicken and vegetable dish, slice your carrots, chop your potatoes, and trim your chicken. Season everything generously with your chosen spices, salt, and pepper. Don’t be afraid to get creative with your seasoning—this is where the flavor magic happens!
Set Up Your Ninja Foodi:
- Place the cooking pot into your Ninja Foodi base. For pressure cooking, add your liquid (broth or water) to the pot first. If you’re air frying, you can skip the liquid and head straight to the next step.
Choose Your Cooking Function:
- Depending on your recipe, select the appropriate function. If you’re making something crispy, opt for the Air Crisp function. If you’re cooking a stew or something that needs tenderizing, go for Pressure Cook. The Ninja Foodi has a range of options, so be sure to follow the specific instructions for your dish.
Cooking Time:
- For Pressure Cooking, set the timer according to the recipe—usually between 10-30 minutes for tender meats or stews. For Air Frying, keep an eye on the food, checking every 10 minutes for that golden, crispy texture. You’ll notice the Ninja Foodi does all the hard work, sealing in moisture while achieving that perfect crunch.
Release Pressure or Crisp:
- Once cooking is done, carefully release the pressure if you’ve used the Pressure Cook function. If you’re air frying, flip or shake the ingredients halfway through the cooking time for an even crisp.
Finish & Serve:
- Once your dish is cooked to perfection, remove it from the Ninja Foodi. Don’t forget to give it a quick taste test—adjust seasoning if needed. You’ll find that the Ninja Foodi enhances flavors beautifully, so your dish will be bursting with freshness and deliciousness!
Notes
- Calories: 350 kcal
- Fat: 18g
- Saturated Fat: 4g
- Protein: 22g
- Carbs: 22g
- Fiber: 5g
- Sugar: 5g
- Sodium: 600mg
- Cholesterol: 55mg
- Potassium: 500mg
FAQs
As you continue to explore the world of Ninja Foodi cooking, you might have a few questions. To make your cooking experience even smoother, here are answers to some of the most frequently asked questions. Whether you’re a beginner or a Ninja Foodi pro, these insights will help you get the most out of your appliance.
1. What is the best way to clean my Ninja Foodi?
Cleaning your Ninja Foodi is simple, thanks to its removable parts. After each use:
Detach the cooking pot, air fryer basket, and crisping lid.
Wash these parts with warm, soapy water. For any stubborn bits, use a soft sponge or brush.
Wipe down the exterior with a damp cloth.
Allow everything to dry completely before reassembling. Make sure to never submerge the base unit in water. It’s quick and easy, and your Ninja Foodi will stay in great condition for longer.
2. Can I cook frozen food in the Ninja Foodi?
Absolutely! One of the Ninja Foodi’s best features is its ability to cook frozen food quickly and evenly. Whether it’s frozen chicken wings, French fries, or vegetables, you can cook them directly from the freezer. Just adjust the cooking time as necessary—generally, frozen foods will take a bit longer than fresh ingredients. For air frying, a good rule of thumb is to add 5-10 extra minutes to the cooking time.
3. How do I prevent food from sticking to the Ninja Foodi?
To keep your food from sticking, follow these tips:
Lightly grease the cooking pot or air fryer basket with a spray of cooking oil or a small amount of butter.
Avoid overcrowding the basket or pot. Giving ingredients some space ensures they cook evenly and don’t stick together.
Use parchment paper or aluminum foil for easy cleanup, especially when air frying.
For extra crispy results, consider using a crisping lid for those golden, crunchy finishes.
4. What recipes work best in the Ninja Foodi?
The Ninja Foodi excels at a wide variety of recipes, from quick weeknight dinners to elaborate meals. Some favorites include:
Pressure Cooker Recipes: Tender meats, soups, and stews. The pressure cooking feature is perfect for making dishes that usually take hours in a slow cooker.
Air Fryer Recipes: Crispy French fries, chicken wings, or even roasted vegetables. The air fryer function gives you the crispiness of frying without all the oil.
One-Pot Meals: Lasagna, casseroles, and rice dishes. The Ninja Foodi’s large cooking capacity and versatility allow you to create entire meals in a single pot, saving time and cleanup.
5. Can I bake in the Ninja Foodi?
Yes, you can bake! The Ninja Foodi’s oven function makes it a great option for baking cakes, cookies, muffins, and even pizza. The high heat and air circulation from the crisping lid give you that golden, baked texture. Just make sure to adjust the temperature and cooking time based on the recipe you’re following.
6. How long do Ninja Foodi recipes usually take?
The beauty of the Ninja Foodi is its speed. Thanks to its pressure cooking and air frying capabilities, meals that typically take hours can be ready in a fraction of the time. For instance, a full chicken dinner can be ready in about 30 minutes. Always check your recipe for specific times, but expect faster, flavorful meals overall.
7. Can I use my Ninja Foodi for meal prepping?
Definitely! The Ninja Foodi is perfect for meal prepping. You can make large batches of dishes like chili, soups, or stews and store them in the fridge or freezer for later. The versatility of the Ninja Foodi allows you to cook in bulk and easily portion out meals for the week, saving you time on busy days.
By now, you’re equipped with everything you need to make the most of your Ninja Foodi. Whether you’re cooking for one or feeding a family, this amazing kitchen tool will help you create delicious meals with ease. If you have any more questions, don’t hesitate to dive into the world of Ninja Foodi recipes and let your culinary creativity run wild!

