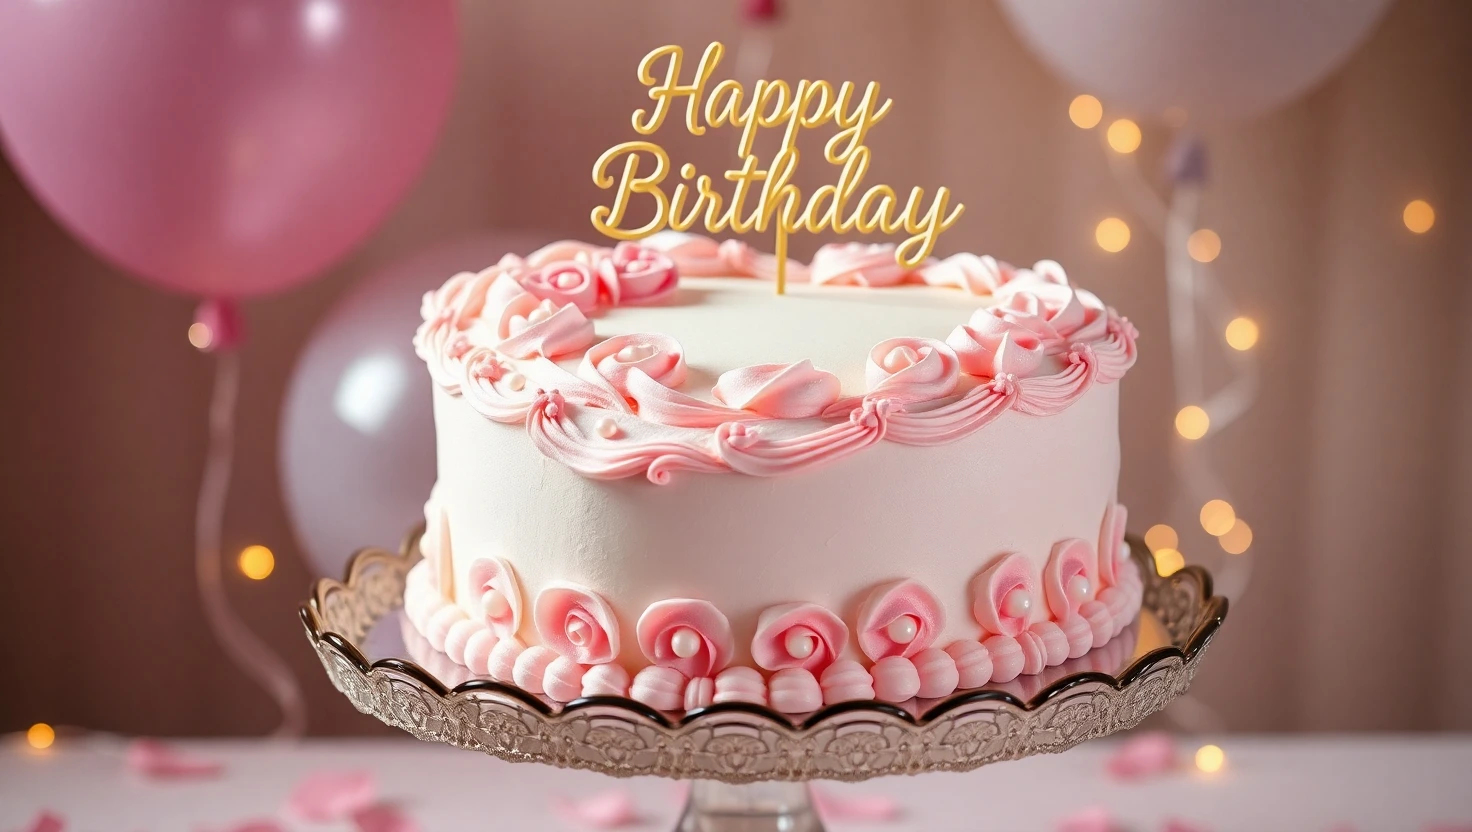
Who doesn’t love the charm of a heart-shaped cake, especially when it’s crafted with love for someone special? Whether you’re celebrating a birthday, an anniversary, or simply want to brighten her day, heart cakes are the perfect way to add a touch of sweetness and creativity to any occasion. With endless design possibilities—from pastel hues and edible glitter to layered frosting and intricate toppings—these cakes are as versatile as they are stunning. Let’s dive into some irresistible heart cake ideas that will not only impress but also create cherished memories for years to come. Ready to bake something magical? Let’s get started!
Table of Contents
Key Benefits of Heart Cakes
Heart cakes aren’t just desserts—they’re a way to show love and thoughtfulness through baking. Here’s why they’re so special:
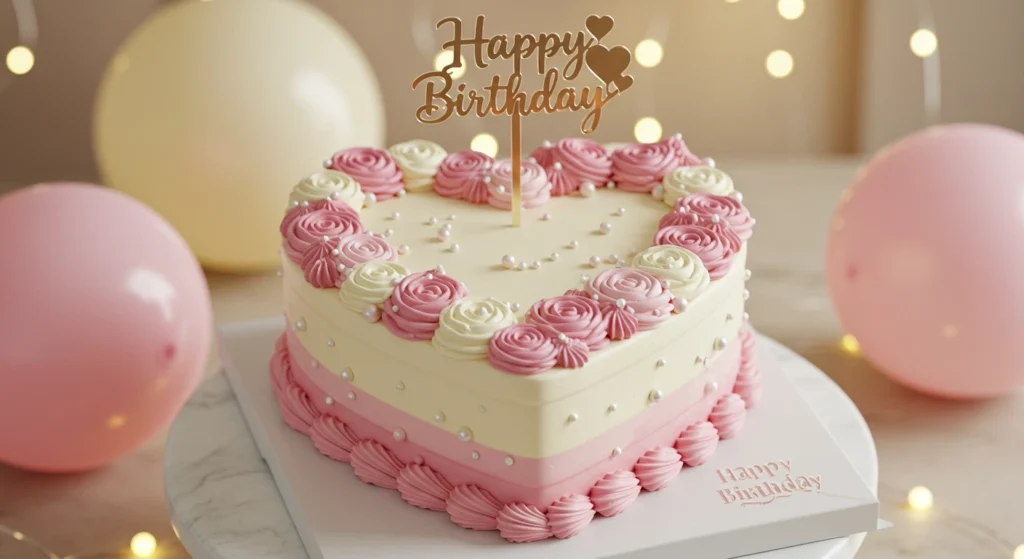
- Perfect for Any Celebration: Whether it’s a birthday, Valentine’s Day, or a just-because moment, a heart-shaped cake is the ultimate showstopper. Its unique design adds a touch of charm to any occasion.
- Endlessly Customizable: From vibrant buttercream frosting to delicate fondant details, heart cakes can reflect her favorite colors, flavors, or themes, making every creation truly personal.
- Easy to Prepare: Don’t let the intricate look fool you! With the right tools and a few tips, heart cakes are beginner-friendly and fun to bake, even for first-timers.
- Memorable and Instagram-Worthy: A heart cake is more than a treat; it’s a centerpiece that sparks joy and makes memories. Plus, it’s sure to steal the spotlight in every photo.
- A Touch of Creativity: Designing and decorating a heart cake allows you to unleash your inner artist, making the baking process as enjoyable as the final result.
Whether you’re baking for your daughter, sister, or a close friend, a heart cake is a thoughtful way to make her feel truly special. Ready to get started? Let’s gather your ingredients and bring this idea to life!
Ingredients for a Perfect Heart Cake
Creating a heart-shaped cake begins with the right ingredients. Here’s everything you’ll need to bake up a stunning, delicious cake that’s sure to impress:
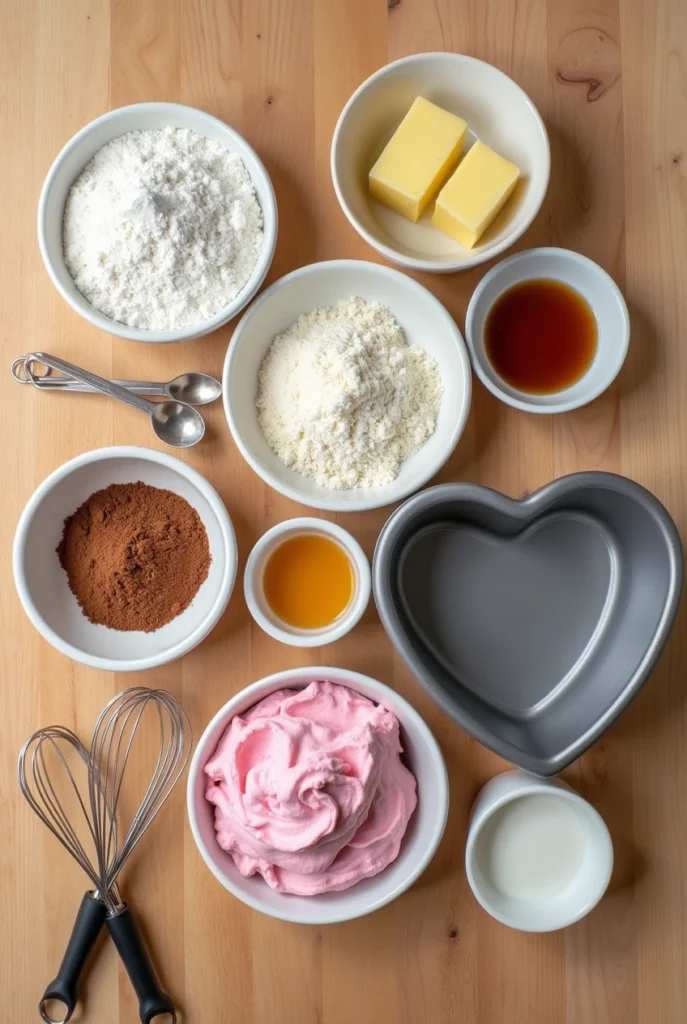
Cake Base:
- 2 ½ cups all-purpose flour – the foundation for a soft, fluffy texture.
- 2 tsp baking powder – for that perfect rise.
- 1 ½ cups granulated sugar – sweet and light, giving the cake a tender crumb.
- ½ tsp salt – to balance the sweetness.
- 1 cup unsalted butter, softened – this adds richness and moisture.
- 4 large eggs – for structure and stability.
- 1 tsp vanilla extract – for a warm, comforting flavor.
- 1 cup whole milk – for the perfect consistency and texture.
Frosting and Decorations:
- 1 ½ cups unsalted butter, softened – the base for a creamy buttercream frosting.
- 4 cups powdered sugar – to sweeten and give the frosting a smooth finish.
- 2 tbsp heavy cream – for a velvety, spreadable frosting.
- 1 tsp vanilla extract – to enhance the frosting’s flavor.
- Food coloring (optional) – for a pop of color!
- Edible glitter or sprinkles (optional) – to add that extra touch of sparkle.
Optional Add-ins:
- Chocolate chips or chunks – for a gooey surprise in the center.
- Fruit preserves – to add a fruity layer of flavor inside the cake.
These ingredients form the perfect base for your heart cake, but feel free to get creative with your choices! Want to go gluten-free? Swap in a gluten-free flour blend! Craving something citrusy? Add lemon zest to the batter for a refreshing twist. No matter how you customize it, this cake will be the highlight of your celebration!
Instructions for Baking Your Heart Cake
Ready to start baking your heart-shaped masterpiece? Follow these simple steps, and you’ll have a show-stopping cake that’s both delicious and beautiful.
1. Prepare Your Baking Pans
- Grease your heart-shaped cake pans with butter or non-stick spray.
- Dust with a light coating of flour, tapping out any excess. This ensures the cake won’t stick!
2. Mix Dry Ingredients
- In a medium bowl, whisk together all-purpose flour, baking powder, and salt. Set aside.
- This step ensures your dry ingredients are evenly distributed before they meet the wet ones.
3. Cream the Butter and Sugar
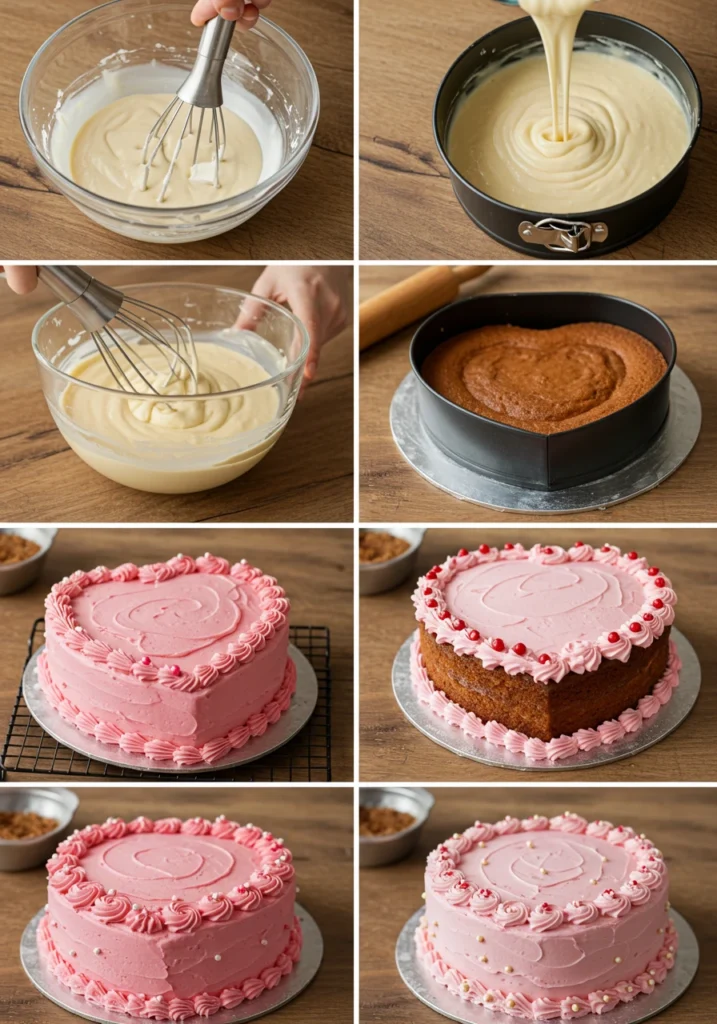
- In a large mixing bowl, cream together unsalted butter and granulated sugar until light and fluffy (about 3-4 minutes). This will create the perfect base for your cake’s texture.
- Use a hand mixer or stand mixer on medium speed for the best results!
4. Add the Eggs and Vanilla
- Add eggs, one at a time, mixing well after each addition.
- Stir in the vanilla extract. This step helps build structure while adding a lovely aroma to your batter.
5. Alternate Adding Dry and Wet Ingredients
- Gradually add the dry ingredients to the wet ingredients in 3 parts, alternating with whole milk. Start and end with the dry ingredients.
- Mix until just combined—overmixing can lead to a dense cake.
6. Bake the Cake
- Pour the batter evenly into your prepared heart-shaped pans.
- Bake in a preheated oven at 350°F (175°C) for 25-30 minutes, or until a toothpick inserted into the center comes out clean.
- If you’re making multiple layers, ensure each layer is baked separately to avoid undercooking.
7. Cool and Prepare for Frosting
- Let the cakes cool in their pans for 10 minutes, then transfer them to a wire rack to cool completely.
- This cooling time is crucial for preventing your frosting from melting!
8. Frost and Decorate
- Once the cakes are cool, it’s time to frost! Spread a generous layer of buttercream frosting on top of the first cake layer, and place the second layer on top.
- Frost the top and sides of the entire cake. Don’t worry about perfection—this rustic look can add to the charm!
- Feel free to add sprinkles, edible glitter, or other fun decorations to personalize the cake.
By following these steps, you’ll not only create a heart-shaped cake that’s visually stunning, but one that’s also light, moist, and bursting with flavor. Ready to indulge in a slice of happiness? You’ve earned it!
Pro Tips and Variations for Your Heart Cake
Now that you’ve mastered the basics of making a heart-shaped cake, here are some expert tips and fun variations to elevate your creation even further!
Pro Tips for a Perfect Heart Cake:
- Room Temperature Ingredients: For a smoother batter and frosting, make sure your butter, eggs, and milk are at room temperature. This helps everything blend together more evenly, resulting in a light and fluffy cake.
- Don’t Overmix: When combining the wet and dry ingredients, mix just until everything is incorporated. Overmixing can lead to a dense, tough cake.
- Cake Layers: If you prefer a taller cake, divide your batter between multiple heart-shaped pans to create layers. Make sure to adjust your baking time slightly for thinner layers.
- Chill Your Frosting: If your buttercream frosting is too soft or melty, pop it in the fridge for 15 minutes to firm it up before applying. This helps achieve a cleaner finish!
Fun Variations to Try:
- Chocolate Lover’s Heart Cake: Add cocoa powder to your batter to turn your heart cake into a decadent chocolate delight. You can also use chocolate ganache instead of buttercream for an extra indulgent treat.
- Fruit-Filled Heart Cake: For a burst of freshness, layer your heart cake with fruit preserves or fresh fruit like strawberries or raspberries. This will add both flavor and a pop of color to your cake.
- Vegan or Gluten-Free Options: You can easily swap ingredients for vegan or gluten-free alternatives:
- Use almond milk and vegan butter for a dairy-free version.
- For a gluten-free cake, substitute with a gluten-free flour blend and make sure your baking powder is certified gluten-free.
- Themed Decorations: Depending on the occasion, personalize the look of your heart cake with themed fondant shapes, edible flowers, or even a sprinkle of edible glitter for a little sparkle!
Baking Tools for Success:
- Heart-Shaped Cake Pans: These are essential for getting that perfect heart shape. If you don’t have one, you can always cut the cake into a heart shape using a template after baking.
- Piping Bags and Tips: Use a piping bag to create elegant designs or detailed borders with your frosting. It’s a great way to add a professional touch to your cake.
- Cake Leveler: If you want perfectly even layers, a cake leveler can help slice off the tops of your cake layers before frosting.
With these pro tips and fun twists, you’ll be able to create a heart cake that’s not only delicious but also uniquely yours. Get ready to wow everyone with your baking skills—and don’t forget to enjoy the process!
Serving Suggestions for Your Heart Cake
Now that your heart-shaped cake is ready to steal the show, it’s time to think about how to serve it! Here are a few ideas to make sure your cake not only tastes amazing but looks just as beautiful when presented:
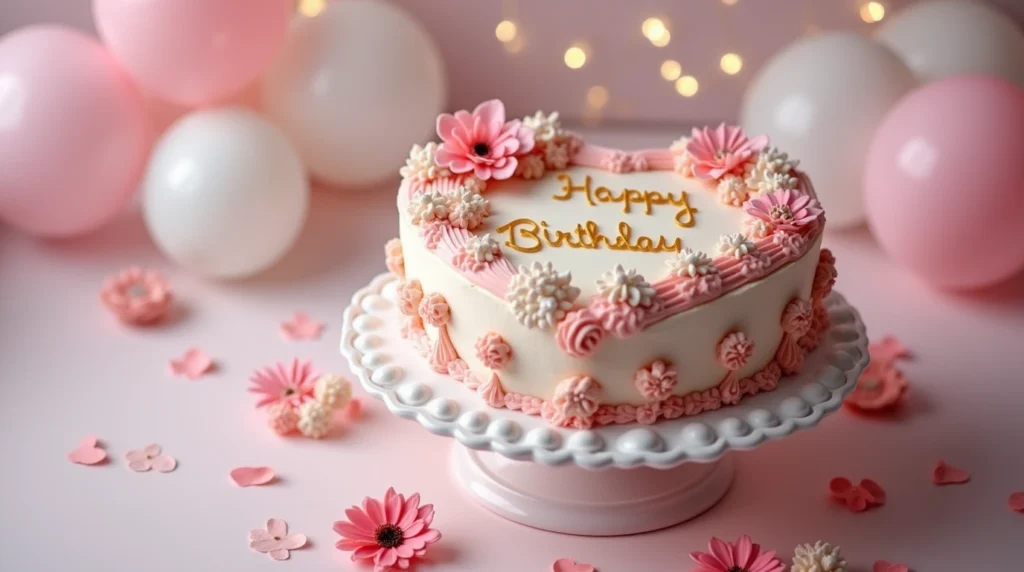
1. The Classic Cake Slice:
Sometimes, simplicity is key!
- Serve on a cake stand for an elegant presentation.
- Use a serrated knife to carefully cut through the cake without damaging its structure, ensuring every slice has a clean edge.
- Pair with a dollop of whipped cream or a scoop of vanilla ice cream to balance the sweetness and add a creamy contrast to the soft cake.
2. Heart-Shaped Cake Pops:
Turn your heart cake into individual servings with a fun twist!
- Once the cake is fully cooled, crumble it into pieces and mix it with some frosting.
- Roll the mixture into balls and insert cake pop sticks.
- Coat with melted chocolate and sprinkles for a bite-sized treat that’s perfect for parties or gift-giving.
3. Decorative Plating:
Elevate the cake’s look by presenting it in a more creative way:
- Dust with powdered sugar or cocoa powder for an artistic finish.
- Garnish with fresh fruit like strawberries, raspberries, or even edible flowers to add color and a fresh burst of flavor.
- Add a drizzle of chocolate ganache for a luxurious, glossy touch.
4. Serve with Tea or Coffee:
For a cozy, intimate setting, pair your heart cake with a hot beverage.
- Tea—especially fruity or floral varieties—compliment the sweetness of the cake without overwhelming the flavor.
- Coffee—whether it’s a smooth espresso or a milky latte—adds richness and depth to every bite.
5. Cake for Breakfast? Why Not!
Heart cake isn’t just for dessert—it’s a perfect indulgence for breakfast or brunch!
- Top with a layer of yogurt and a sprinkle of granola for a balanced, satisfying start to the day.
- Serve alongside a glass of fresh fruit juice for a refreshing touch.
Whether you’re hosting a birthday party or simply enjoying a sweet moment with loved ones, these serving suggestions will elevate your heart cake experience. Don’t forget to capture a photo or two—this heart-shaped beauty deserves to be shared!
Baking a heart-shaped cake is more than just creating a dessert—it’s a heartfelt way to celebrate love, creativity, and special moments. Whether it’s for a birthday, anniversary, or just to brighten someone’s day, this cake brings joy with every slice. With its charming design, customizable flavors, and endless decoration possibilities, a heart cake truly becomes the centerpiece of any occasion.
By following the tips and variations we’ve shared, you can craft a cake that’s uniquely yours while ensuring it tastes as amazing as it looks. Don’t forget to take your time, enjoy the process, and have fun experimenting with colors, flavors, and decorations.
There’s no better way to make someone feel special than with a homemade creation straight from the heart—literally! So grab your apron, preheat that oven, and start baking your way to unforgettable memories.
We’d love to hear how your heart cake turned out! Share your experience, photos, and any creative twists you tried in the comments below. Let’s inspire each other to bake more love into our lives!
_________________
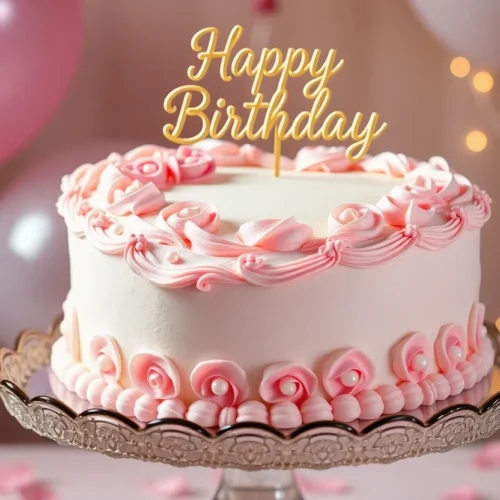
Heart Cake for girls
Ingredients
Cake Base:
- 2 ½ cups all-purpose flour – the foundation for a soft fluffy texture.
- 2 tsp baking powder – for that perfect rise.
- 1 ½ cups granulated sugar – sweet and light giving the cake a tender crumb.
- ½ tsp salt – to balance the sweetness.
- 1 cup unsalted butter softened – this adds richness and moisture.
- 4 large eggs – for structure and stability.
- 1 tsp vanilla extract – for a warm comforting flavor.
- 1 cup whole milk – for the perfect consistency and texture.
Frosting and Decorations:
- 1 ½ cups unsalted butter softened – the base for a creamy buttercream frosting.
- 4 cups powdered sugar – to sweeten and give the frosting a smooth finish.
- 2 tbsp heavy cream – for a velvety spreadable frosting.
- 1 tsp vanilla extract – to enhance the frosting’s flavor.
- Food coloring optional – for a pop of color!
- Edible glitter or sprinkles optional – to add that extra touch of sparkle.
Optional Add-ins:
- Chocolate chips or chunks – for a gooey surprise in the center.
- Fruit preserves – to add a fruity layer of flavor inside the cake.
- These ingredients form the perfect base for your heart cake but feel free to get creative with your choices! Want to go gluten-free? Swap in a gluten-free flour blend! Craving something citrusy? Add lemon zest to the batter for a refreshing twist. No matter how you customize it, this cake will be the highlight of your celebration!
Instructions
Prepare Your Baking Pans
- Grease your heart-shaped cake pans with butter or non-stick spray.
- Dust with a light coating of flour, tapping out any excess. This ensures the cake won’t stick!
Mix Dry Ingredients
- In a medium bowl, whisk together all-purpose flour, baking powder, and salt. Set aside.
- This step ensures your dry ingredients are evenly distributed before they meet the wet ones.
Cream the Butter and Sugar
- In a large mixing bowl, cream together unsalted butter and granulated sugar until light and fluffy (about 3-4 minutes). This will create the perfect base for your cake’s texture.
- Use a hand mixer or stand mixer on medium speed for the best results!
Add the Eggs and Vanilla
- Add eggs, one at a time, mixing well after each addition.
- Stir in the vanilla extract. This step helps build structure while adding a lovely aroma to your batter.
Alternate Adding Dry and Wet Ingredients
- Gradually add the dry ingredients to the wet ingredients in 3 parts, alternating with whole milk. Start and end with the dry ingredients.
- Mix until just combined—overmixing can lead to a dense cake.
Bake the Cake
- Pour the batter evenly into your prepared heart-shaped pans.
- Bake in a preheated oven at 350°F (175°C) for 25-30 minutes, or until a toothpick inserted into the center comes out clean.
- If you’re making multiple layers, ensure each layer is baked separately to avoid undercooking.
Cool and Prepare for Frosting
- Let the cakes cool in their pans for 10 minutes, then transfer them to a wire rack to cool completely.
- This cooling time is crucial for preventing your frosting from melting!
Frost and Decorate
- Once the cakes are cool, it’s time to frost! Spread a generous layer of buttercream frosting on top of the first cake layer, and place the second layer on top.
- Frost the top and sides of the entire cake. Don’t worry about perfection—this rustic look can add to the charm!
- Feel free to add sprinkles, edible glitter, or other fun decorations to personalize the cake.
Notes
- Calories: 320
- Total Fat: 15g
- Saturated Fat: 8g
- Cholesterol: 70mg
- Sodium: 190mg
- Total Carbohydrates: 43g
- Dietary Fiber: 1g
- Sugars: 29g
- Protein: 4g
FAQs About Heart Cakes
1. Can I make a heart cake without a heart-shaped pan?
Absolutely! If you don’t have a heart-shaped pan, you can use a round pan and a square pan to create the shape. Simply cut the round cake in half and attach the pieces to two adjacent sides of the square cake to form a heart. It’s a fun and creative way to bake with what you already have!
2. How do I keep my heart cake from sticking to the pan?
To avoid sticking, grease your pan thoroughly with butter or non-stick spray, then dust it with flour. Alternatively, you can line the bottom of the pan with parchment paper for extra security.
3. Can I make a heart cake ahead of time?
Yes! You can bake the cake layers a day or two in advance. Once cooled, wrap them tightly in plastic wrap and store them in the refrigerator. Frost and decorate the cake on the day you plan to serve it for the freshest results.
4. How can I customize the flavors of my heart cake?
You can easily switch up the flavors to suit your taste! For example:
Add lemon zest or almond extract for a refreshing twist.
Use chocolate chips or nuts for added texture.
Incorporate a layer of fruit preserves or custard for a flavorful surprise.
5. What’s the best frosting for a heart cake?
Buttercream frosting is a classic choice because it’s easy to work with and versatile. Cream cheese frosting is another delicious option, especially for cakes with a tangy flavor like red velvet. For a glossy finish, try a chocolate ganache or whipped cream frosting.
6. How do I store leftovers?
To keep your heart cake fresh, store it in an airtight container at room temperature for up to 2 days. If you live in a warm climate or have used perishable ingredients like whipped cream, store the cake in the refrigerator for up to 5 days.
7. Can I make a heart cake vegan or gluten-free?
Of course! Replace dairy products with plant-based alternatives like almond milk and vegan butter. For a gluten-free version, use a gluten-free flour blend and check that all your other ingredients, such as baking powder, are certified gluten-free.
8. What are some decoration ideas for a heart cake?
Get creative with your decorations! Here are some ideas:
. Use piping tips to create intricate frosting designs.
. Add edible flowers, sprinkles, or candy pearls for a playful look.
. Write a personal message on the cake with a piping bag for an extra-special touch.
With these answers, you’ll have all the confidence you need to bake, decorate, and enjoy your heart cake like a pro. If you have more questions, don’t hesitate to ask—we’re here to help you bake your heart out!

