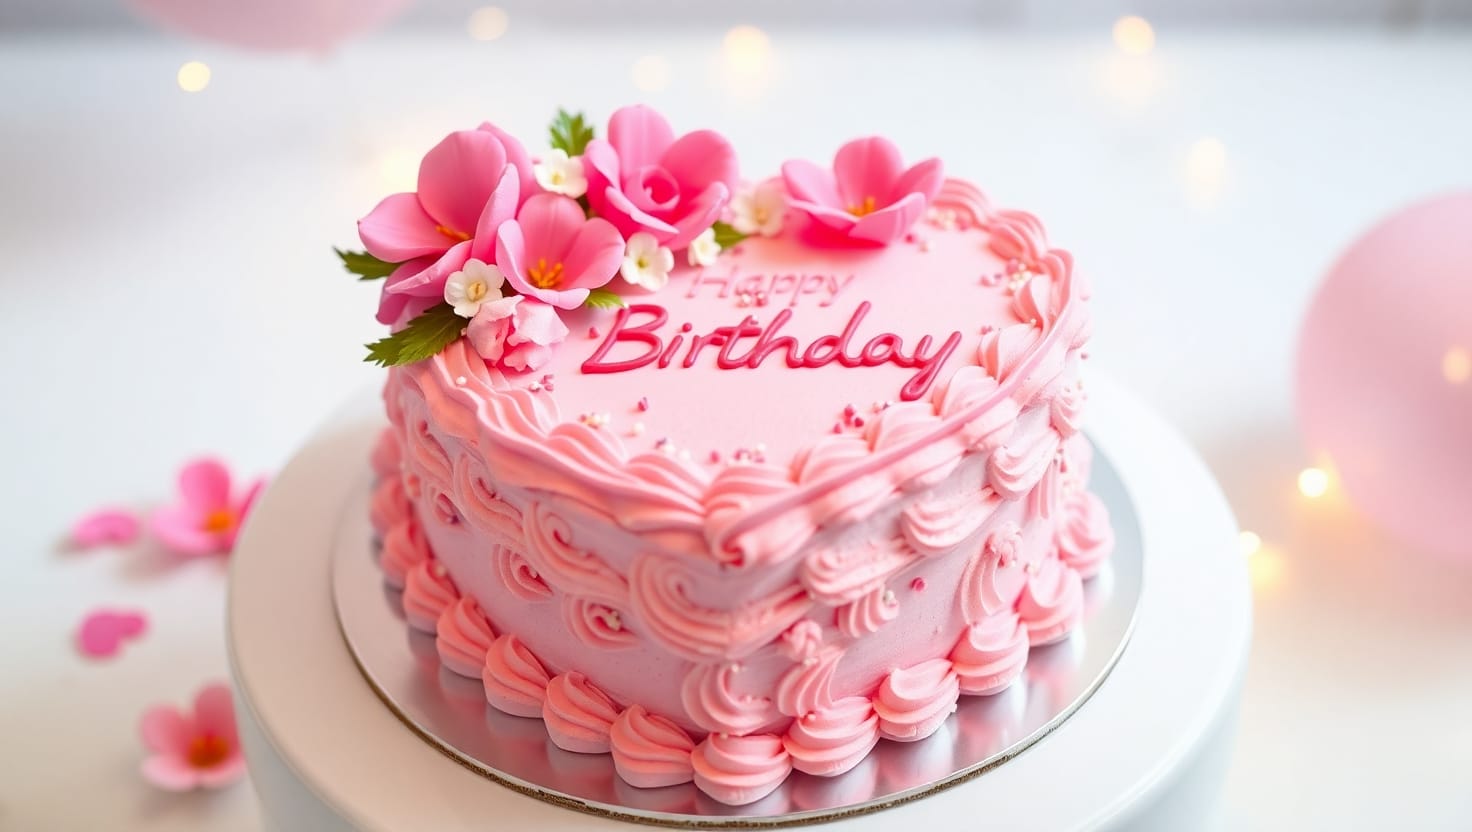
Imagine the look on her face when she sees a beautifully designed heart cake, made especially for her birthday celebration! Whether you’re an experienced baker or a passionate hobbyist, this guide is tailor-made to help you create a stunning heart cake that will impress everyone at the party. The recipe is easy to follow and packed with tips and variations, ensuring your cake is not only delicious but also visually spectacular.
Baking a heart cake for a girl’s birthday is more than just following a recipe—it’s about crafting a memorable experience. You’ll learn all the intricacies from selecting the right ingredients to mastering the decoration techniques. Picture yourself making a themed cake perfect for any birthday celebration, complete with eye-catching decorations and delightful flavors.
Ready to unlock the secrets to baking the perfect heart cake? Let’s dive into the details and make some sweet memories together!
Table of Contents
Key Benefits of Baking a Heart Cake
Creating a heart cake for a girl’s birthday celebration is a wonderful way to add a personal touch to the occasion. Here are some of the key benefits:
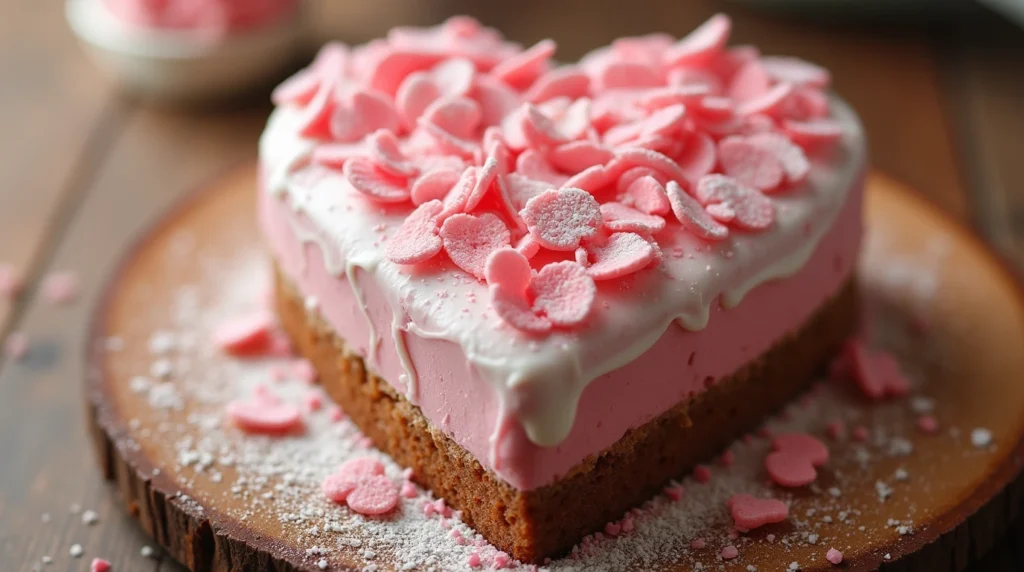
- Memorable Experience: A heart-shaped cake adds a unique and memorable element to the celebration, making the birthday girl feel extra special.
- Customizable: You can personalize the cake with the birthday girl’s favorite flavors, colors, and decorations to suit her preferences.
- Visual Appeal: Heart cakes are visually stunning and become the centerpiece of the party, perfect for photos and social media posts.
- Emotional Connection: Baking and decorating a heart cake with love and care can create a deeper emotional connection and show the birthday girl how much you care.
- Versatility: Heart cakes are suitable for various themes and can be adapted to match any birthday party setting.
Imagine the delight on her face when she sees a cake made just for her! It’s more than a dessert—it’s a heartfelt gift that brings joy and sweet memories.
Essential Ingredients for a Delicious Heart Cake
To create a delightful heart cake that will wow everyone at the party, you’ll need the following ingredients:
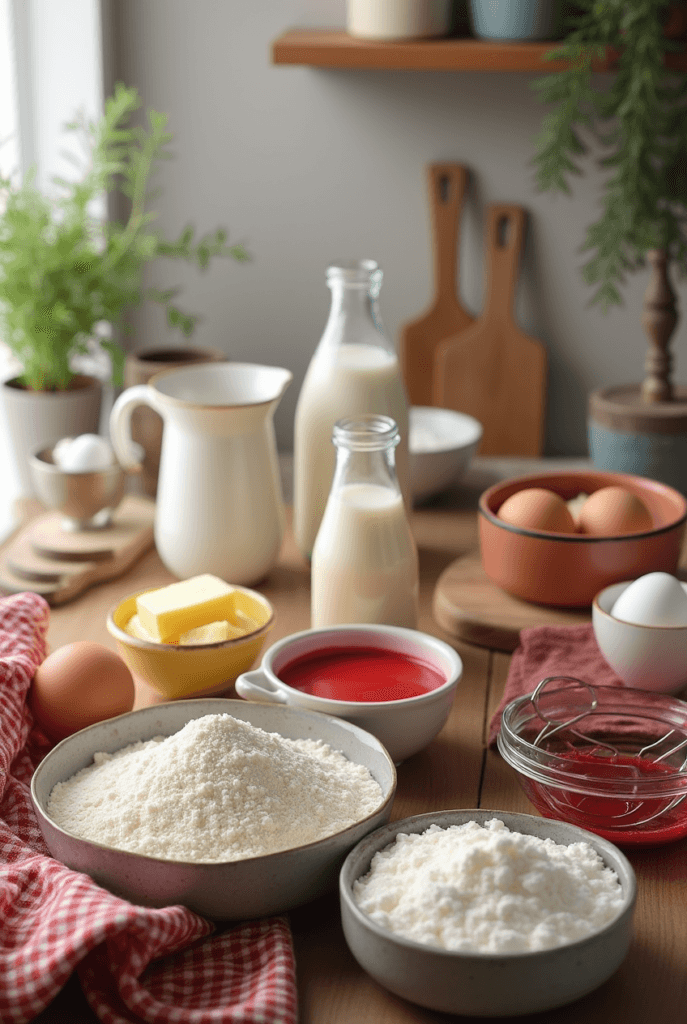
For the Cake:
- 2 1/2 cups all-purpose flour – Essential for a tender cake.
- 2 cups granulated sugar – Adds sweetness to the batter.
- 1 cup unsalted butter (softened) – Provides richness and moisture.
- 4 large eggs – Helps bind the ingredients and adds structure.
- 1 cup whole milk – Ensures a creamy texture.
- 2 teaspoons vanilla extract – Enhances the overall flavor.
- 1 tablespoon baking powder – Helps the cake rise.
- 1/2 teaspoon salt – Balances the sweetness.
- Red food coloring (optional) – To give the cake a lovely pink hue.
For the Frosting:
- 1 cup unsalted butter (softened) – Forms the base of the frosting.
- 4 cups powdered sugar – Sweetens and thickens the frosting.
- 1/4 cup heavy cream – Adds creaminess and helps achieve the right consistency.
- 2 teaspoons vanilla extract – Adds depth of flavor.
- Food coloring (optional) – Customize the frosting color to match the theme.
For Decoration:
- Heart-shaped sprinkles – Adds a festive touch.
- Edible glitter – Makes the cake sparkle.
- Assorted candy decorations – Personalize the cake with fun and colorful elements.
With these ingredients at hand, you’re all set to bake a beautiful heart cake that will make any girl’s birthday celebration truly special. These components are easy to find and will ensure your cake is not only delicious but also visually stunning.
Step-by-Step Instructions to Bake the Perfect Heart Cake
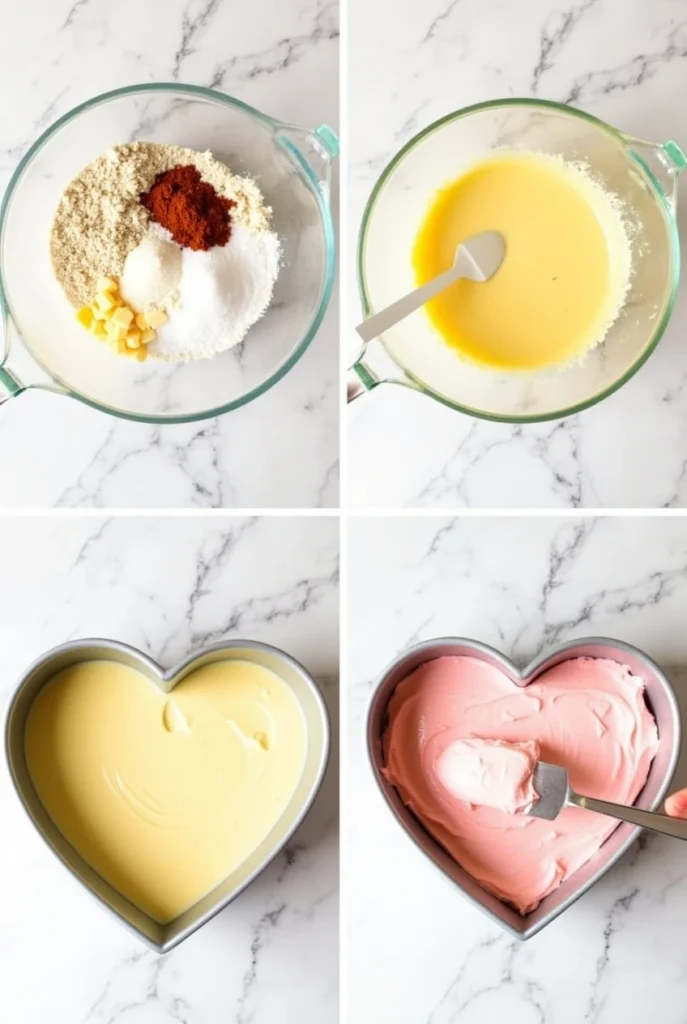
Let’s dive into the fun part—baking your heart cake! Follow these step-by-step instructions to ensure your cake turns out perfectly:
Step 1: Preheat and Prepare
- Preheat your oven to 350°F (175°C). This ensures your cake bakes evenly.
- Grease and flour a heart-shaped cake pan. This prevents the cake from sticking.
Step 2: Mix the Dry Ingredients
- In a medium bowl, sift together 2 1/2 cups of all-purpose flour, 1 tablespoon of baking powder, and 1/2 teaspoon of salt.
- Set aside this mixture for later use.
Step 3: Cream the Butter and Sugar
- In a large mixing bowl, beat 1 cup of unsalted butter until creamy and smooth.
- Gradually add 2 cups of granulated sugar, beating until light and fluffy. This should take about 3-5 minutes.
Step 4: Add the Eggs and Vanilla
- Add 4 large eggs, one at a time, beating well after each addition.
- Mix in 2 teaspoons of vanilla extract until fully combined.
Step 5: Combine Dry and Wet Ingredients
- Alternate adding the flour mixture and 1 cup of whole milk to the butter mixture, beginning and ending with the flour mixture. Mix until just combined.
- If desired, add a few drops of red food coloring and mix until the batter is evenly colored.
Step 6: Bake the Cake
- Pour the batter into the prepared heart-shaped cake pan, spreading it evenly.
- Bake in the preheated oven for 30-35 minutes, or until a toothpick inserted into the center comes out clean.
- Allow the cake to cool in the pan for 10 minutes, then transfer it to a wire rack to cool completely.
Step 7: Prepare the Frosting
- In a large bowl, beat 1 cup of unsalted butter until creamy.
- Gradually add 4 cups of powdered sugar, mixing well after each addition.
- Add 1/4 cup of heavy cream and 2 teaspoons of vanilla extract and beat until the frosting is light and fluffy.
- If desired, add food coloring to achieve your desired frosting color.
Step 8: Decorate the Cake
- Frost the cooled cake using a spatula or piping bag for a smooth finish.
- Add heart-shaped sprinkles, edible glitter, and assorted candy decorations to create a festive and personalized look.
Pro Tips and Variations for Designing Your Heart Cake
As you embark on creating your heart cake, here are some expert tips and delightful variations to make your baking experience even more enjoyable:
Pro Tips:
- Level Your Cake: Use a serrated knife or a cake leveler to trim the top of your cake layers for an even surface. This ensures a stable and professional-looking finish.
- Smooth Frosting: For a sleek appearance, use an offset spatula to smooth the frosting. Dip the spatula in warm water and wipe it clean before smoothing the frosting for a flawless look.
- Even Layers: If you’re making multiple layers, use a piping bag to distribute the batter evenly. This helps achieve uniform thickness and even baking.
- Crumb Coat: Apply a thin layer of frosting (crumb coat) and let it set in the fridge for 15-30 minutes before adding the final layer of frosting. This helps lock in crumbs and creates a smooth base for decoration.
- Chill Before Cutting: If your cake tends to crumble while cutting, chill it in the fridge for about 30 minutes before slicing. This firms up the cake and makes cutting easier.
Variations:
- Flavor Twist: Instead of a vanilla cake, try other flavors like chocolate, strawberry, or lemon. Add a bit of zest or puree to the batter to enhance the overall taste.
- Themed Decorations: Customize your heart cake to match the party theme. Use edible flowers, fondant shapes, or themed toppers to add a personal touch.
- Filling Options: Add layers of your favorite fillings such as fruit preserves, chocolate ganache, or whipped cream between the cake layers. This adds an extra burst of flavor.
- Colorful Layers: Divide the batter into separate bowls and add different food colors. Pour them alternately into the pan for a delightful surprise when you cut the cake.
- Healthy Alternatives: Substitute some ingredients for healthier options, such as using whole wheat flour, reducing sugar, or incorporating Greek yogurt for added moisture.
These tips and variations will help you create not just a delicious heart cake but one that’s tailored to your creativity and the birthday girl’s preferences.
Creative Serving Suggestions for Your Heart Cake
Now that your beautiful heart cake is ready, let’s talk about some creative ways to serve it! Here are a few ideas to elevate your presentation and make the celebration even more special:
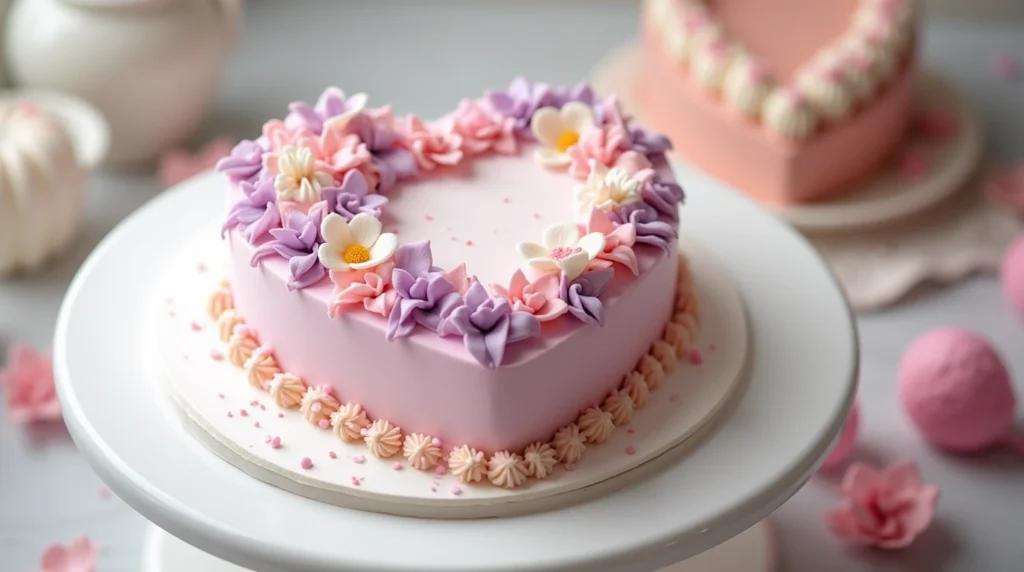
Picture-Perfect Presentation:
- Decorative Platter: Place the cake on a decorative platter or cake stand to make it the star of the table. Add a few fresh flowers around the base for a lovely finishing touch.
- Themed Table Setting: Coordinate the serving platter, plates, and utensils with the party’s theme or the cake’s colors to create a cohesive look.
- Cake Topper: Add a custom cake topper with the birthday girl’s name or age to make it extra personal and festive.
Serving Style:
- Slice and Serve: Use a sharp knife to cut neat slices. Serve each slice on a dessert plate with a dollop of whipped cream or a scoop of ice cream.
- Mini Heart Cakes: For a fun twist, use a heart-shaped cookie cutter to cut small individual cakes from the main cake. Serve each mini cake on its own plate, decorated with a few sprinkles or edible glitter.
- Layered Dessert Cups: Create individual dessert cups by layering cake pieces, frosting, and fresh fruit in clear cups. This is a delightful and easy-to-serve option for guests.
Serving Sizes:
- Party Portions: For a large party, consider cutting smaller slices so everyone gets a piece. A heart cake is often rich and flavorful, so a small slice goes a long way.
- Midnight Snack: If there are any leftovers, store them in an airtight container in the fridge. Heart cake makes a wonderful midnight snack or next-day treat.
Extra Touches:
- Edible Glitter Dust: Add a light dusting of edible glitter just before serving to give the cake a magical sparkle.
- Personalized Messages: Use edible markers or piping gel to write personalized messages on each slice or mini cake.
These serving suggestions will not only enhance the presentation of your heart cake but also ensure that every guest enjoys a delightful experience. Now you’re all set to make the birthday celebration truly unforgettable!
Conclusion: Enjoy Your Perfect Heart Cake Creation
Congratulations! You’ve successfully baked and decorated a stunning heart cake that’s sure to be the highlight of the birthday celebration. By following this guide, you’ve created more than just a dessert—this cake is a heartfelt gift that will bring smiles and sweet memories to the birthday girl’s special day.
Reflecting on Your Experience:
- Creativity Unleashed: Baking and decorating this cake allowed you to express your creativity, resulting in a unique and personalized treat.
- Boundless Joy: There’s nothing quite like seeing the joy on her face when she sees her special cake, especially when it’s made with love and care.
- Skill Enhancement: Each step of creating this heart cake has helped you hone your baking and decorating skills, making you more confident and inspired to try new recipes in the future.
Cherishing the Moments: Take a moment to savor the final result and share it with loved ones. Whether it’s at a bustling birthday party or a cozy family gathering, this heart cake is a testament to your effort and creativity.
Finally, remember that baking is as much about the journey as it is about the destination. Enjoy every step, from selecting the ingredients to the final touches of decoration. Your heart cake is more than a dessert; it’s a celebration of love, joy, and togetherness. Here’s to many more delicious creations!
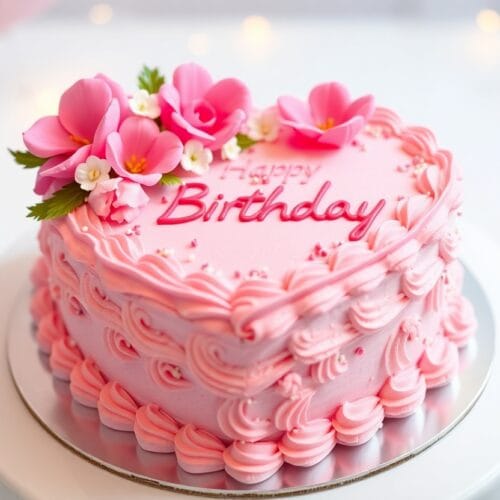
Heart Cake for girls
Ingredients
For the Cake:
- 2 1/2 cups all-purpose flour – Essential for a tender cake.
- 2 cups granulated sugar – Adds sweetness to the batter.
- 1 cup unsalted butter softened – Provides richness and moisture.
- 4 large eggs – Helps bind the ingredients and adds structure.
- 1 cup whole milk – Ensures a creamy texture.
- 2 teaspoons vanilla extract – Enhances the overall flavor.
- 1 tablespoon baking powder – Helps the cake rise.
- 1/2 teaspoon salt – Balances the sweetness.
- Red food coloring optional – To give the cake a lovely pink hue.
For the Frosting:
- 1 cup unsalted butter softened – Forms the base of the frosting.
- 4 cups powdered sugar – Sweetens and thickens the frosting.
- 1/4 cup heavy cream – Adds creaminess and helps achieve the right consistency.
- 2 teaspoons vanilla extract – Adds depth of flavor.
- Food coloring optional – Customize the frosting color to match the theme.
For Decoration:
- Heart-shaped sprinkles – Adds a festive touch.
- Edible glitter – Makes the cake sparkle.
- Assorted candy decorations – Personalize the cake with fun and colorful elements
Instructions
Step 1: Preheat and Prepare
- Preheat your oven to 350°F (175°C). This ensures your cake bakes evenly.
- Grease and flour a heart-shaped cake pan. This prevents the cake from sticking.
Step 2: Mix the Dry Ingredients
- In a medium bowl, sift together 2 1/2 cups of all-purpose flour, 1 tablespoon of baking powder, and 1/2 teaspoon of salt.
- Set aside this mixture for later use.
Step 3: Cream the Butter and Sugar
- In a large mixing bowl, beat 1 cup of unsalted butter until creamy and smooth.
- Gradually add 2 cups of granulated sugar, beating until light and fluffy. This should take about 3-5 minutes.
Step 4: Add the Eggs and Vanilla
- Add 4 large eggs, one at a time, beating well after each addition.
- Mix in 2 teaspoons of vanilla extract until fully combined.
Step 5: Combine Dry and Wet Ingredients
- Alternate adding the flour mixture and 1 cup of whole milk to the butter mixture, beginning and ending with the flour mixture. Mix until just combined.
- If desired, add a few drops of red food coloring and mix until the batter is evenly colored.
Step 6: Bake the Cake
- Pour the batter into the prepared heart-shaped cake pan, spreading it evenly.
- Bake in the preheated oven for 30-35 minutes, or until a toothpick inserted into the center comes out clean.
- Allow the cake to cool in the pan for 10 minutes, then transfer it to a wire rack to cool completely.
Step 7: Prepare the Frosting
- In a large bowl, beat 1 cup of unsalted butter until creamy.
- Gradually add 4 cups of powdered sugar, mixing well after each addition.
- Add 1/4 cup of heavy cream and 2 teaspoons of vanilla extract and beat until the frosting is light and fluffy.
- If desired, add food coloring to achieve your desired frosting color.
Step 8: Decorate the Cake
- Frost the cooled cake using a spatula or piping bag for a smooth finish.
- Add heart-shaped sprinkles, edible glitter, and assorted candy decorations to create a festive and personalized look.
- Pro Tips and Variations for Designing Your Heart Cake
- As you embark on creating your heart cake, here are some expert tips and delightful variations to make your baking experience even more enjoyable:
Pro Tips:
- Level Your Cake: Use a serrated knife or a cake leveler to trim the top of your cake layers for an even surface. This ensures a stable and professional-looking finish.
- Smooth Frosting: For a sleek appearance, use an offset spatula to smooth the frosting. Dip the spatula in warm water and wipe it clean before smoothing the frosting for a flawless look.
- Even Layers: If you’re making multiple layers, use a piping bag to distribute the batter evenly. This helps achieve uniform thickness and even baking.
- Crumb Coat: Apply a thin layer of frosting (crumb coat) and let it set in the fridge for 15-30 minutes before adding the final layer of frosting. This helps lock in crumbs and creates a smooth base for decoration.
- Chill Before Cutting: If your cake tends to crumble while cutting, chill it in the fridge for about 30 minutes before slicing. This firms up the cake and makes cutting easier.
Notes
- Calories: 300 kcal
- Total Fat: 15g
- Saturated Fat: 9g
- Cholesterol: 75mg
- Sodium: 180mg
- Total Carbohydrates: 38g
- Dietary Fiber: 1g
- Sugars: 25g
- Protein: 3g
FAQs About Heart Cakes
Let’s clear up any questions you might have about baking and decorating heart cakes:
1. Can I use a different type of pan if I don’t have a heart-shaped cake pan?
Absolutely! If you don’t have a heart-shaped pan, you can easily use a round or square pan. After baking, you can use a template to cut the cake into a heart shape. Another option is to layer two smaller cakes and carve them into a heart.
2. How can I ensure my cake is extra moist?
To achieve a moist cake, make sure you don’t overmix the batter. Additionally, adding a bit of oil or yogurt to the batter can help. These ingredients add extra moisture and create a tender crumb.
3. What’s the best way to store a heart cake?
Store your heart cake in an airtight container at room temperature for up to 3 days, or in the refrigerator for up to a week. If you need to keep it longer, wrap the cake in plastic wrap and aluminum foil, and freeze it for up to 3 months.
4. Can I use store-bought frosting instead of making it from scratch?
Yes, you can use store-bought frosting if you’re short on time. However, making your own frosting allows you to customize the flavor and achieve the perfect consistency for decorating.
5. How can I prevent the frosting from melting in warm weather?
To keep the frosting from melting, refrigerate your cake until it’s time to serve. You can also stabilize the frosting by adding a bit of cornstarch, which will help it hold up better in warm conditions.
6. What are some fun and creative decoration ideas for a heart cake?
Get your creative juices flowing! Use edible flowers, fondant shapes, sprinkles, edible glitter, and customized cake toppers. Experiment with colors and textures to make your cake truly unique.
7. Can I make a gluten-free heart cake?
Absolutely! Simply substitute the all-purpose flour with a gluten-free flour blend, ensuring all other ingredients are also gluten-free. You might need to make minor adjustments, such as adding a stabilizer or tweaking the liquid content.

