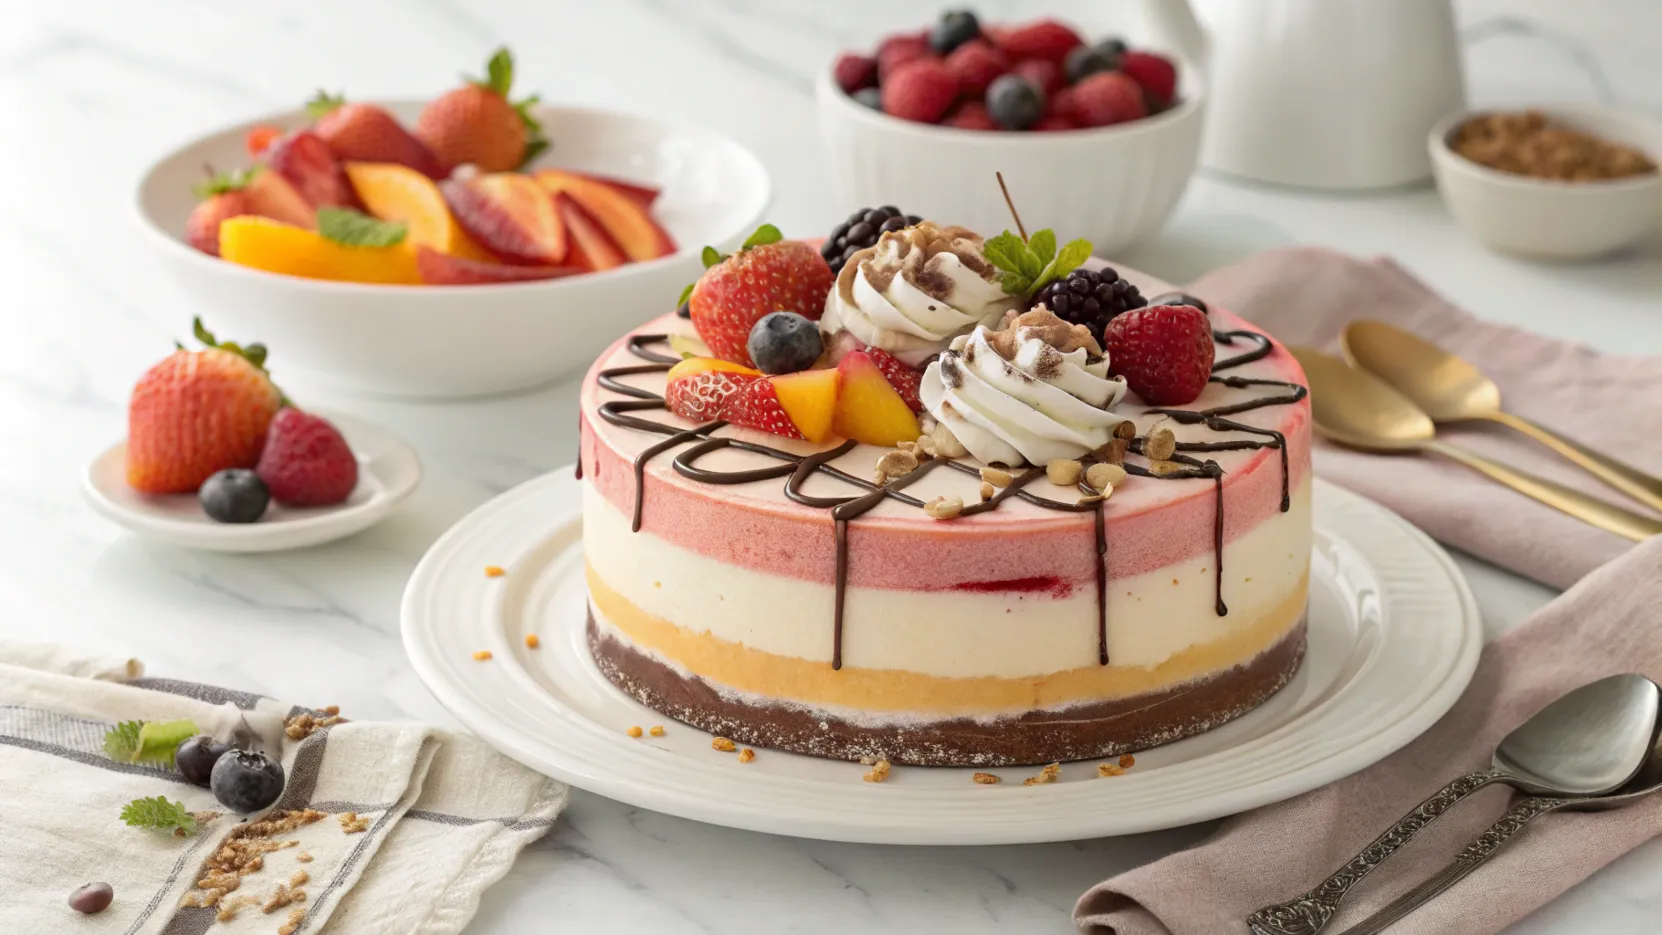
If you’re looking for a show-stopping dessert that’s both indulgent and versatile, a gelato cake is the perfect choice. This frozen treat combines the creamy richness of gelato with the fun of layered cake, creating a dessert that’s as beautiful as it is delicious. Whether you’re celebrating a special occasion or simply want to treat yourself, gelato cake offers endless possibilities for customization. From bold flavors to decadent toppings, it’s a canvas for creativity, allowing you to experiment and find the perfect combination. Ready to impress your friends and family with a dessert that’s sure to be a hit? Let’s dive into this fun, easy, and indulgent treat that’s perfect for any occasion!
Table of Contents
Key Benefits of Gelato Cake with Toppings
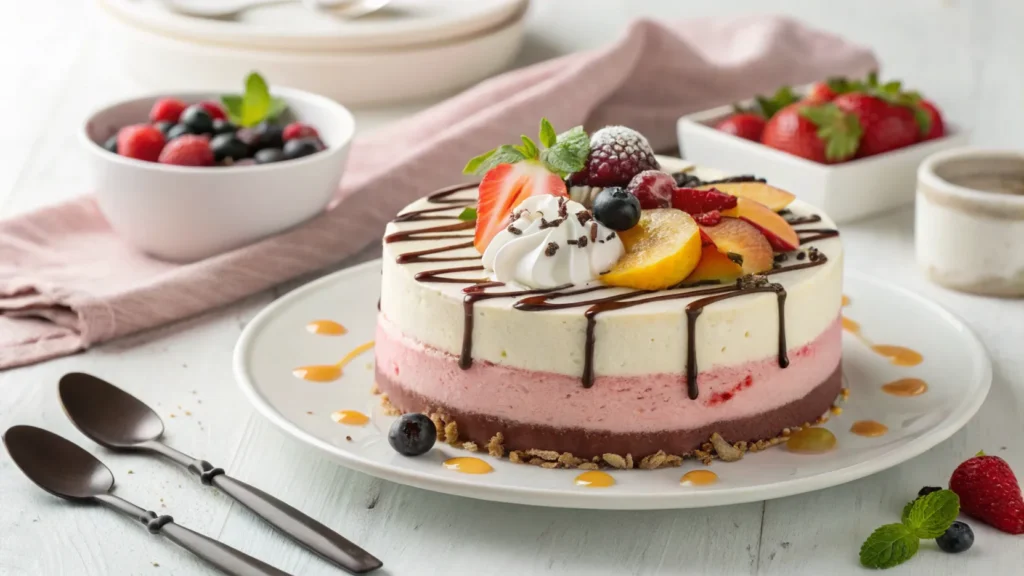
A gelato cake is already a luxurious frozen dessert, but the right toppings elevate it from delicious to unforgettable. Here’s why adding carefully selected toppings makes all the difference:
1. Enhances Flavor and Texture
- A drizzle of chocolate ganache adds richness, while toasted nuts bring a satisfying crunch.
- Fresh berries offer a refreshing contrast to the creamy Italian gelato base.
2. Customizable for Any Occasion
- Whether it’s a casual treat or a special celebration, you can tailor toppings to match the moment.
- Layer it with cookie crumbles for a playful twist or swirl in caramel drizzle for an extra indulgent bite.
3. Boosts Visual Appeal
- A well-topped gelato cake isn’t just tasty—it’s a showstopper.
- Vibrant toppings like whipped cream and fruit compotes add color and elegance.
4. Adds a Gourmet Touch
- Simple additions can make a homemade gelato cake feel like a gourmet dessert straight from an Italian café.
- Try finishing with sea salt flakes or cocoa powder for a sophisticated edge.
With the right toppings, every slice becomes a sensory delight, balancing sweetness, creaminess, and crunch in perfect harmony. Ready to build your ultimate gelato cake? Let’s dive into the ingredients you’ll need!
Ingredients for the Ultimate Gelato Cake
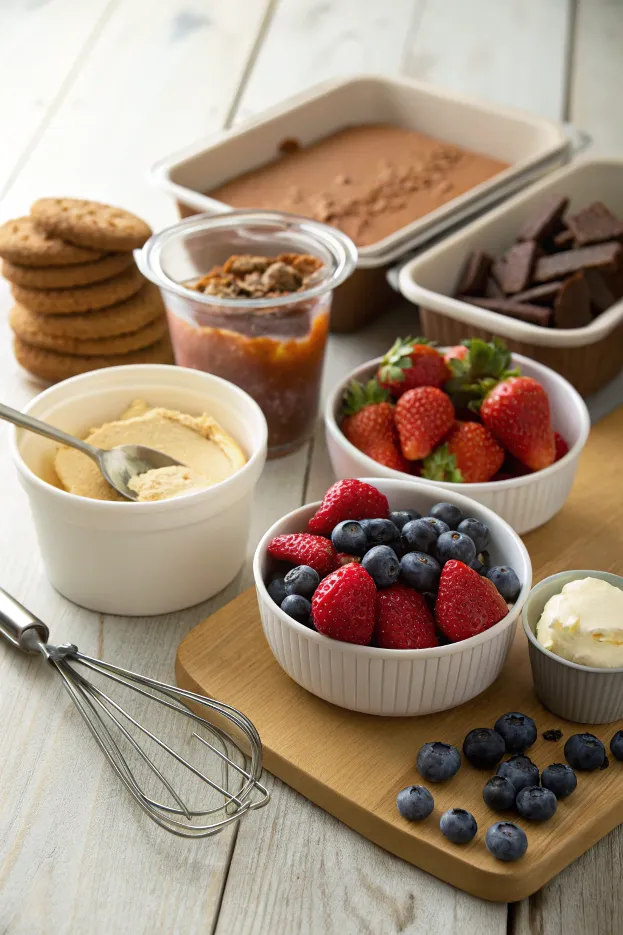
Before we dive into assembling your gelato cake, let’s gather the key ingredients. A perfect balance of creamy gelato, decadent layers, and irresistible toppings will make this dessert a showstopper.
Base Ingredients:
- 2 pints of gelato (choose complementary flavors like chocolate and vanilla, pistachio and hazelnut, or strawberry and lemon sorbet for contrast)
- 1 pre-made sponge cake or cookie crust (graham cracker, chocolate wafer, or shortbread work beautifully)
Best Toppings for an Indulgent Bite:
- Chocolate Ganache: A smooth, velvety drizzle for deep richness.
- Caramel Drizzle: Buttery and slightly salty for the perfect sweet-salty contrast.
- Fresh Berries: Strawberries, raspberries, or blueberries add a refreshing, tangy note.
- Toasted Nuts: Almonds, hazelnuts, or pistachios bring crunch and a nutty depth.
- Whipped Cream: Light and airy, a classic finishing touch.
- Cookie Crumbles: Crushed Oreos, biscotti, or shortbread for added texture and flavor.
Optional Enhancements:
- Sea salt flakes – to enhance sweetness and balance flavors.
- Shaved chocolate or cocoa powder – for a gourmet, café-style finish.
- Fruit compote or jam – a burst of fruity sweetness swirled in.
With these ingredients, you’re set to create a gelato cake that’s creamy, crunchy, and utterly indulgent. Now, let’s move on to assembling it step by step!
Instructions for Assembling Your Gelato Cake
Now that you have all your ingredients ready and your toppings chosen, it’s time to assemble your gelato cake! This process is simple, but it will leave you with a visually stunning and delicious dessert everyone will love. Here’s how to do it:
1. Prepare Your Base
Start by deciding what kind of base you want for your gelato cake. You can go with a simple cookie crust, a layer of sponge cake, or even a graham cracker crust for a crunchy texture.
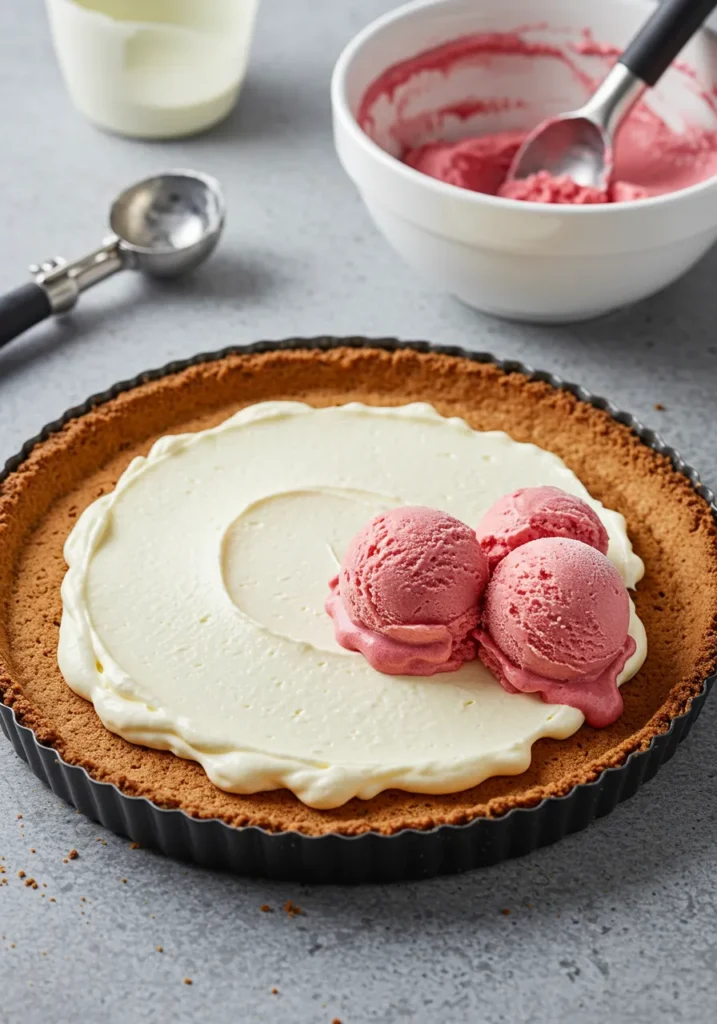
- If you’re using a cookie crust, crush about 1 ½ cups of your favorite cookies (Oreos or graham crackers work wonderfully) and mix them with 4 tablespoons of melted butter. Press the mixture into the base of your cake pan, then freeze it for 10–15 minutes to set.
2. Layer the Gelato
Once your crust is set, it’s time to layer in the gelato.
- Soften the gelato slightly by letting it sit out at room temperature for 5–10 minutes to make it easier to spread.
- Scoop the softened gelato into the pan, spreading it evenly to create a smooth, even layer. If you’re using multiple flavors, alternate them in layers for a visually appealing striped effect.
- Freeze the gelato layer for 1–2 hours to firm it up before adding any toppings or the next layer.
3. Add the Toppings
Once your gelato layer is firm, it’s time to get creative with your toppings!
- You can either spread a layer of whipped cream or drizzle chocolate or caramel sauce over the top for extra sweetness.
- Add fresh fruit, crushed cookies, or even a handful of chopped nuts like almonds or pistachios for extra crunch and flavor.
- Press the toppings gently into the gelato to help them stay in place as it freezes.
4. Freeze and Serve
After assembling your gelato cake, it’s time to freeze it again.
- Cover the pan tightly with plastic wrap or foil and freeze the cake for at least 4 hours (or overnight) to let it set completely.
- Before serving, let it sit at room temperature for 5 minutes to soften slightly. This will make slicing much easier and help the gelato hold its shape.
5. Slice and Enjoy
To slice, use a sharp knife dipped in hot water (wipe it dry between cuts) for the cleanest edges. Serve in generous slices and watch your guests’ faces light up!
Now, you have a perfectly assembled gelato cake ready for any occasion. Whether it’s a birthday, a dinner party, or just because you deserve a treat, this dessert is sure to impress!
Pro Tips and Fun Variations for the Perfect Gelato Cake
Want to take your gelato cake to the next level? These pro tips and creative variations will help you customize it for any occasion while ensuring the best texture and flavor.
1. Pro Tips for a Flawless Gelato Cake
Soften, Don’t Melt – Allow the gelato to soften just enough for easy spreading. Over-melting can lead to an icy texture when refrozen.
Chill Between Layers – Freezing each layer for 20–30 minutes before adding the next prevents flavors from blending too much and ensures a firm, sliceable cake.
Use a Springform Pan – This makes it easier to remove the cake and achieve those clean, bakery-style layers.
Warm Knife for Slicing – Dip a knife in warm water, wipe it dry, and slice smoothly without cracking the layers.
Freeze Overnight for Best Results – A longer freeze time helps the cake set properly, preventing it from melting too quickly when served.
2. Fun Variations to Try
Tropical Paradise – Use mango and coconut gelato, top with toasted coconut flakes and passion fruit drizzle.
Cookies & Cream Dream – Layer vanilla and chocolate gelato, add a crushed Oreo crust, and sprinkle cookie crumbles on top.
Berry Bliss – Combine strawberry and lemon sorbet, drizzle with raspberry sauce, and top with fresh berries.
Salted Caramel Delight – Pair caramel and chocolate gelato, add a graham cracker crust, and finish with sea salt flakes and caramel drizzle.
Matcha Elegance – Layer matcha and vanilla bean gelato, add a buttery shortbread crust, and dust with matcha powder.
With these expert tips and creative ideas, your gelato cake will always be a showstopper. Now, let’s look at the best ways to serve and enjoy this frozen masterpiece!
Serving Suggestions for the Perfect Gelato Cake Experience
Now that your gelato cake is beautifully layered and topped, it’s time to serve it in a way that enhances its flavors and presentation. Whether you’re hosting a gathering or treating yourself, these serving ideas will make every bite extra special.
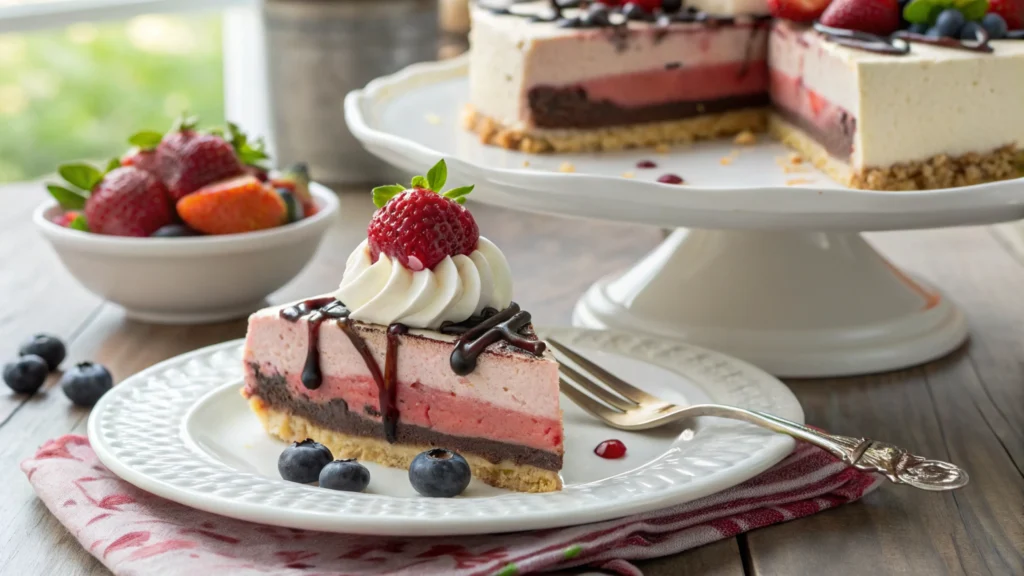
1. How to Serve Gelato Cake Like a Pro
- Let It Sit for a Few Minutes – Remove the cake from the freezer 5–10 minutes before slicing to soften slightly for a creamy texture.
- Use a Warm Knife – Dip a sharp knife in hot water, wipe it dry, and slice smoothly for perfect, clean layers.
- Plate with a Drizzle – Add chocolate syrup, caramel sauce, or fruit coulis for extra indulgence.
- Pair with a Beverage – Serve alongside espresso, dessert wine, or a refreshing iced coffee to complement the rich flavors.
2. Best Occasions for Gelato Cake
Celebrations – Birthdays, anniversaries, and special gatherings call for a stunning, frozen dessert centerpiece.
Dinner Parties – Impress guests with an elegant slice topped with whipped cream and fresh fruit.
Summer Treats – A refreshing alternative to traditional cakes, perfect for hot days.
Casual Indulgence – Enjoy a slice anytime for a sweet, no-bake dessert fix.
3. Creative Presentation Ideas
- Garnish with Fresh Herbs – A sprig of mint adds a pop of color and freshness.
- Sprinkle Edible Gold Dust – For a luxurious touch at formal events.
- Serve in Individual Portions – Use a muffin tin to create mini gelato cakes for easy serving.
No matter how you present it, this gelato cake is guaranteed to be a crowd-pleaser. Now, let’s wrap things up with a few final thoughts and answer some common questions!
Conclusion
There’s no denying that gelato cake is a showstopper—creamy, indulgent, and customizable for any occasion. Whether you’re looking for a stunning birthday dessert or a refreshing treat on a summer day, this frozen masterpiece is always a crowd-pleaser.
Key Takeaways
- Layers of Gelato: The creamy texture of gelato and the smooth, firm layers give you the best of both worlds—rich and light.
- Endless Topping Options: From fresh fruits to decadent chocolate, the toppings are where you can get creative and make the cake your own.
- Versatile for All Occasions: Whether it’s a formal dinner or a casual gathering, a gelato cake fits every occasion perfectly.
- Customizable: You can tailor the flavors and toppings to suit your taste or match the season.
This gelato cake is truly an indulgence that combines gourmet flavor with a fun, customizable twist. With the right balance of creamy gelato, crunchy textures, and sweet toppings, it’s a dessert that never fails to impress.
So, what are you waiting for? Grab your favorite gelato flavors, gather your toppings, and create a frozen delight that will have everyone coming back for seconds!
___________________
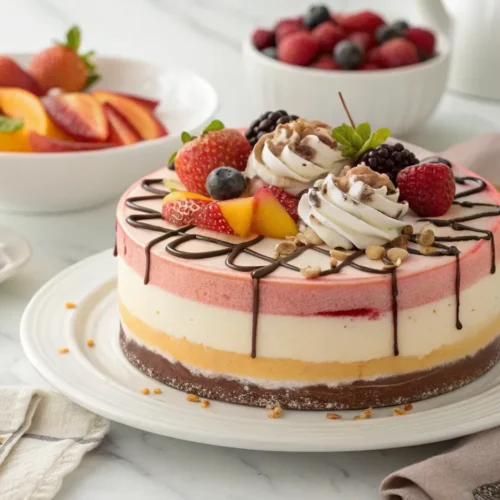
Gelato Cake
Ingredients
Base Ingredients:
- 2 pints of gelato choose complementary flavors like chocolate and vanilla, pistachio and hazelnut, or strawberry and lemon sorbet for contrast
- 1 pre-made sponge cake or cookie crust graham cracker, chocolate wafer, or shortbread work beautifully
Best Toppings for an Indulgent Bite:
- Chocolate Ganache: A smooth velvety drizzle for deep richness.
- Caramel Drizzle: Buttery and slightly salty for the perfect sweet-salty contrast.
- Fresh Berries: Strawberries raspberries, or blueberries add a refreshing, tangy note.
- Toasted Nuts: Almonds hazelnuts, or pistachios bring crunch and a nutty depth.
- Whipped Cream: Light and airy a classic finishing touch.
- Cookie Crumbles: Crushed Oreos biscotti, or shortbread for added texture and flavor.
Optional Enhancements:
- Sea salt flakes – to enhance sweetness and balance flavors.
- Shaved chocolate or cocoa powder – for a gourmet café-style finish.
- Fruit compote or jam – a burst of fruity sweetness swirled in.
Instructions
Prepare Your Base
- Start by deciding what kind of base you want for your gelato cake. You can go with a simple cookie crust, a layer of sponge cake, or even a graham cracker crust for a crunchy texture.
- If you’re using a cookie crust, crush about 1 ½ cups of your favorite cookies (Oreos or graham crackers work wonderfully) and mix them with 4 tablespoons of melted butter. Press the mixture into the base of your cake pan, then freeze it for 10–15 minutes to set.
Layer the Gelato
- Once your crust is set, it’s time to layer in the gelato.
- Soften the gelato slightly by letting it sit out at room temperature for 5–10 minutes to make it easier to spread.
- Scoop the softened gelato into the pan, spreading it evenly to create a smooth, even layer. If you’re using multiple flavors, alternate them in layers for a visually appealing striped effect.
- Freeze the gelato layer for 1–2 hours to firm it up before adding any toppings or the next layer.
Add the Toppings
- Once your gelato layer is firm, it’s time to get creative with your toppings!
- You can either spread a layer of whipped cream or drizzle chocolate or caramel sauce over the top for extra sweetness.
- Add fresh fruit, crushed cookies, or even a handful of chopped nuts like almonds or pistachios for extra crunch and flavor.
- Press the toppings gently into the gelato to help them stay in place as it freezes.
Freeze and Serve
- After assembling your gelato cake, it’s time to freeze it again.
- Cover the pan tightly with plastic wrap or foil and freeze the cake for at least 4 hours (or overnight) to let it set completely.
- Before serving, let it sit at room temperature for 5 minutes to soften slightly. This will make slicing much easier and help the gelato hold its shape.
Slice and Enjoy
- To slice, use a sharp knife dipped in hot water (wipe it dry between cuts) for the cleanest edges. Serve in generous slices and watch your guests’ faces light up!
Notes
- Calories: 250-300
- Total Fat: 15g
- Saturated Fat: 8g
- Cholesterol: 35mg
- Sodium: 30mg
- Carbohydrates: 30g
- Fiber: 1g
- Sugar: 20g
- Protein: 4g
- Calcium: 10% DV
- Iron: 2% DV
FAQs
It’s always great to have a few answers ready to go when you’re making something new, so here are some frequently asked questions about gelato cake to help guide you through the process.
1. How long can I store gelato cake in the freezer?
Gelato cake can be stored in the freezer for up to 1–2 weeks. Make sure to cover it tightly with plastic wrap or store it in an airtight container to prevent freezer burn. However, for the best taste and texture, it’s recommended to enjoy it within a few days of making it.
2. Can I use non-dairy gelato for this recipe?
Absolutely! Non-dairy gelato options such as those made with coconut, almond, or oat milk work perfectly in this recipe. Choose your favorite plant-based flavors and enjoy a dairy-free gelato cake that’s just as indulgent.
3. What are some topping ideas for gelato cake?
The topping options are endless! Here are a few favorites:
Fresh fruit like strawberries, raspberries, or blueberries
Crumbled cookies (Oreos, graham crackers, or biscotti)
Chocolate shavings or chips
Caramel or chocolate sauce drizzled on top
Whipped cream or a dusting of powdered sugar
4. Can I make gelato cake ahead of time?
Yes! In fact, gelato cake is the perfect make-ahead dessert. Prepare the cake up to 2 days in advance and keep it in the freezer until you’re ready to serve. Just allow it to soften slightly before slicing for the best texture.
5. How do I slice gelato cake without it falling apart?
To slice the cake easily, let it sit at room temperature for about 5–10 minutes to soften slightly. Use a sharp knife, and for smooth, clean slices, dip the knife in warm water and wipe it dry between cuts.
6. Can I use store-bought gelato?
Yes! Store-bought gelato works just fine for this recipe. Pick high-quality gelato in your favorite flavors for a simple, delicious treat.
With these answers in hand, you’re all set to make your own gelato cake with confidence! Enjoy experimenting with flavors and toppings, and remember, the best part is that it’s all about having fun and creating something delicious.

