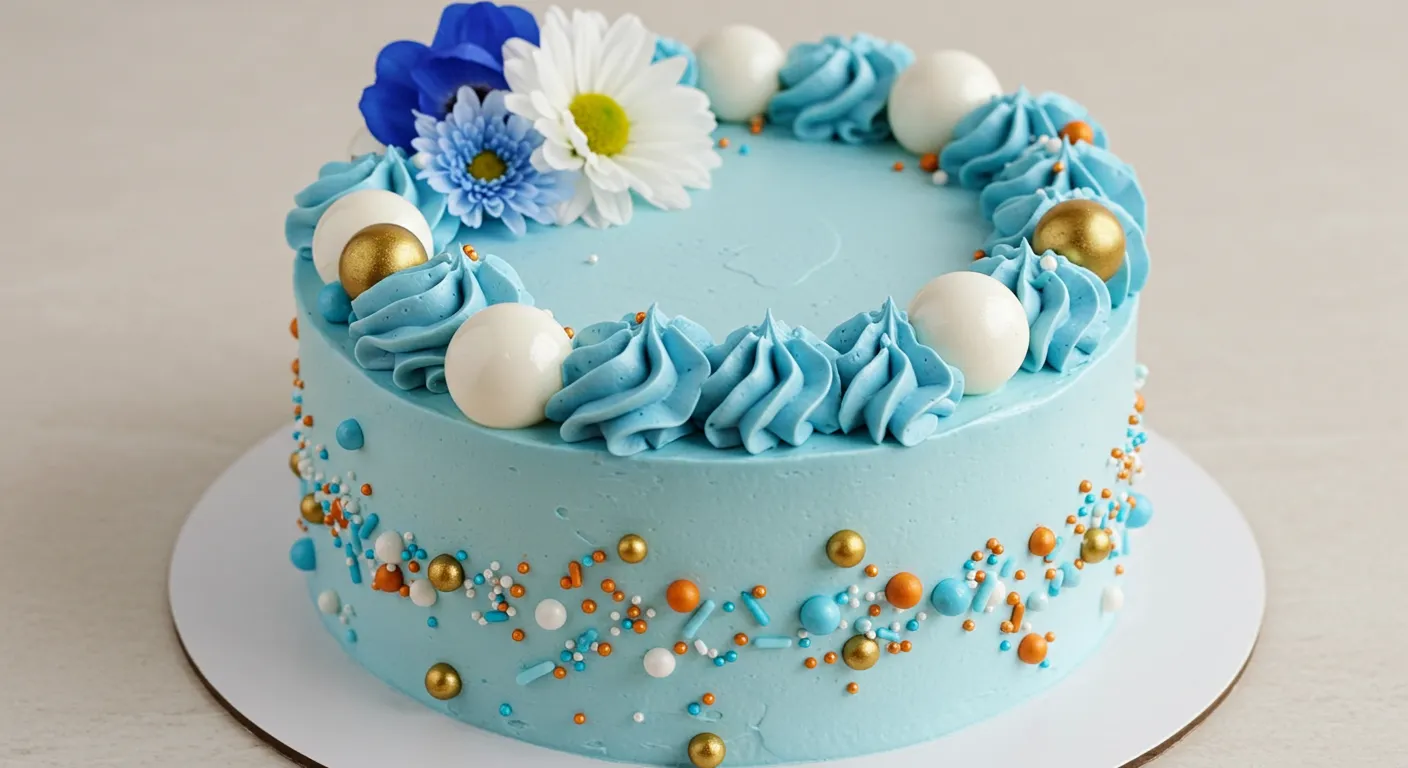
Have you ever craved a cake that’s just the right size—moist, fluffy, and beautifully decorated? Bento cakes, also known as Korean lunchbox cakes, are the perfect answer. These mini cakes are not only adorable but also incredibly soft and airy, making them ideal for celebrations or personal treats.
In this guide, I’ll share seven expert tricks to help you achieve that perfect light and moist texture every time. Whether you’re baking for a special occasion or simply indulging your sweet tooth, these small-batch cakes are as fun to make as they are to eat. Let’s dive into the secrets behind crafting the ultimate bento cake!
Table of Contents
Key Benefits of Bento Cakes
Bento cakes aren’t just a trend—they’re a game-changer for home bakers and dessert lovers alike. These adorable mini cakes offer the perfect balance of fluffiness, moisture, and charm, making them ideal for any occasion. Here’s why you’ll love them:
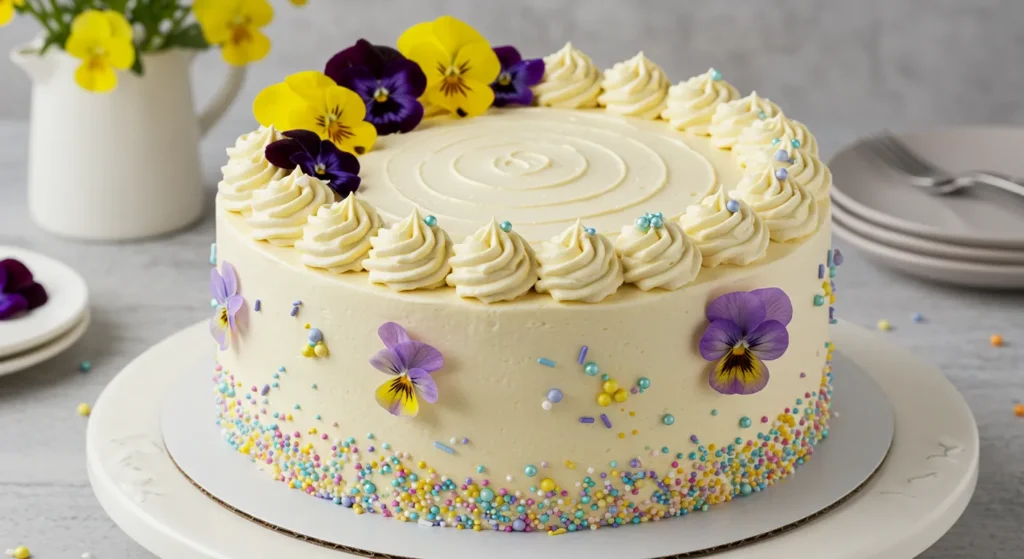
Perfectly Portioned – No more oversized cakes! These small-batch delights are just the right size for one or two servings, preventing waste while delivering maximum indulgence.
Light, Moist, and Fluffy Texture – The secret to an irresistibly soft sponge lies in the right mixing techniques and quality ingredients—and I’ll share all the tips to get it just right.
Customizable & Fun to Decorate – Whether you prefer classic buttercream swirls, minimalist piping, or playful designs, bento cakes are a blank canvas for your creativity.
Great for Gifting & Celebrations – Packaged in a cute lunchbox-style container, these cakes make the perfect personalized gift for birthdays, anniversaries, or even just a sweet surprise.
Easy to Bake & Store – Bento cakes don’t require fancy equipment or excessive time. Plus, they stay fresh when stored properly, so you can enjoy them over a few days.
Now that you know why these cakes are a must-try, let’s dive into the ingredients you’ll need to make the moistest, fluffiest bento cake ever!
Ingredients for the Perfect Bento Cake
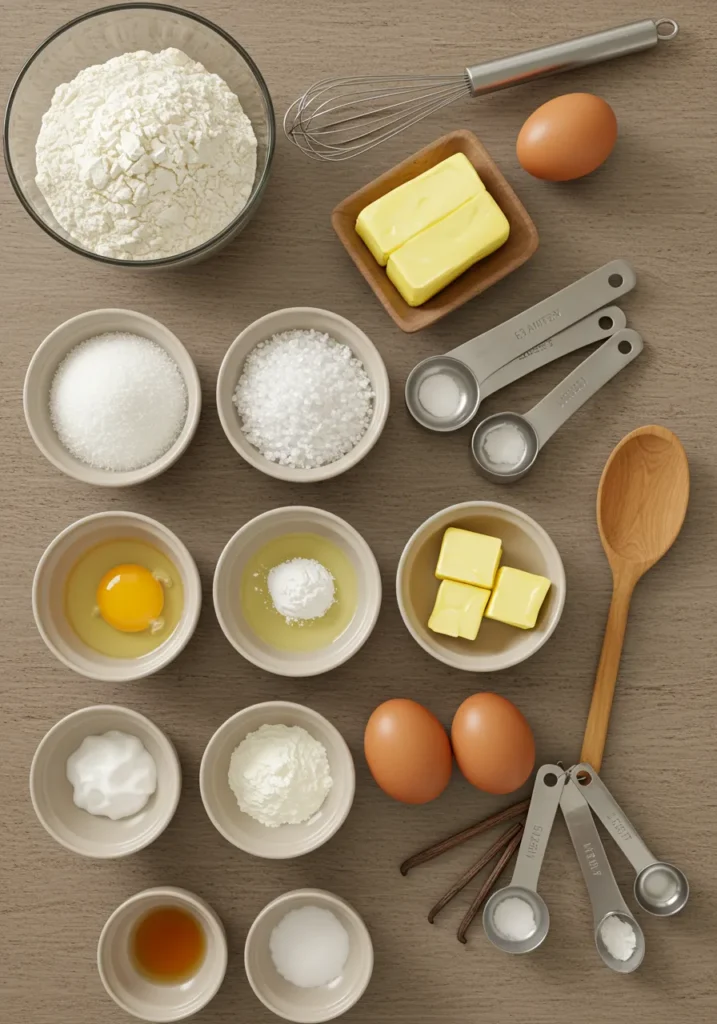
Before we start baking, let’s gather everything you need to create a moist, fluffy bento cake with a delicate crumb and rich flavor. Using high-quality ingredients and the right measurements is key to achieving that light, airy texture.
For the Sponge Cake:
- 1 cup cake flour – Helps create a soft, tender crumb. If you don’t have cake flour, you can use all-purpose flour + cornstarch as a substitute.
- 1/2 teaspoon baking powder – Gives the cake its perfect rise and fluffiness.
- 2 large eggs, room temperature – Whipping the eggs properly ensures a light and airy sponge.
- 1/2 cup granulated sugar – Sweetens the cake while helping to create a stable batter.
- 1/4 cup unsalted butter, melted – Adds moisture and richness to the cake.
- 1/4 cup whole milk – Keeps the cake moist and soft.
- 1 teaspoon vanilla extract – Enhances the overall flavor profile.
For the Buttercream Frosting:
- 1/2 cup unsalted butter, softened – The base for a creamy, smooth frosting.
- 1 cup powdered sugar – Adds sweetness and the right consistency for piping.
- 1 teaspoon vanilla extract – Adds a touch of warm flavor.
- 1–2 tablespoons heavy cream – Adjusts the frosting texture for easy spreading.
Optional Flavor Variations:
Want to switch things up? Here are some fun ways to customize your bento cake:
- Chocolate Lover’s Delight: Swap 2 tablespoons of flour for cocoa powder to create a rich chocolate sponge.
- Matcha Magic: Add 1 teaspoon of matcha powder for a unique, slightly earthy twist.
- Citrus Zest: Fold in orange or lemon zest for a bright, refreshing flavor.
With your ingredients prepped and ready, let’s move on to the step-by-step instructions to bring your bento cake to life!
How To Make Bento Cake
Let’s get baking! This bento cake recipe is easy, fun, and guarantees a moist, fluffy treat perfect for gifting or enjoying yourself. Follow these simple steps to create a delicious cake that’ll have everyone asking for more!
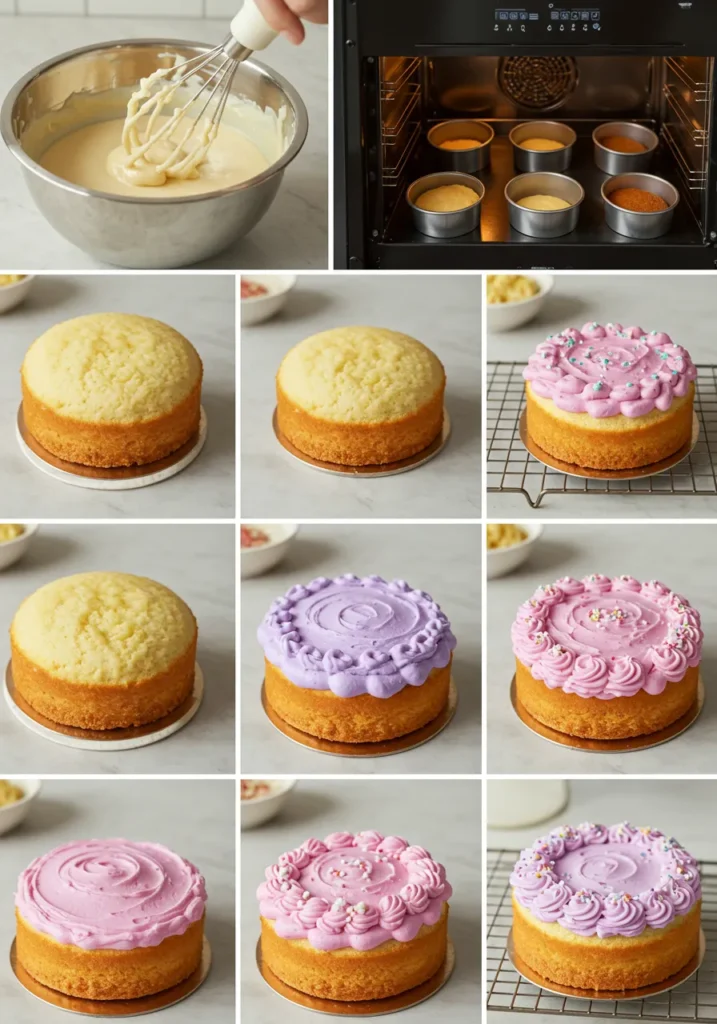
1. Preheat Your Oven and Prepare the Pan
- Preheat your oven to 350°F (175°C). This ensures the cake cooks evenly.
- Lightly grease your mini cake pans with butter or oil, and dust them with a bit of flour to help with easy release. If you’re using silicone pans, just spray them lightly with cooking spray.
2. Combine Dry Ingredients
- In a separate bowl, whisk together the flour, baking powder, and a pinch of salt. Mixing the dry ingredients first helps ensure everything is evenly distributed.
- Make sure to sift the flour to remove any clumps—this will give your bento cake a smoother batter and a fluffier texture.
3. Cream Butter and Sugar
- In a larger mixing bowl, beat the butter and sugar together until light and fluffy. This step incorporates air into the batter, which contributes to the cake’s softness.
- Use a hand mixer or stand mixer to speed up the process, but if you don’t have one, a whisk and some elbow grease will work just fine!
4. Add Eggs and Vanilla
- Add the eggs one at a time, mixing well after each addition. The eggs help bind the ingredients together, giving the cake structure.
- Mix in the vanilla extract to elevate the flavor. This adds a delicious aroma and depth to the cake.
5. Combine Wet and Dry Ingredients
- Gradually add the dry ingredients to the wet mixture in small batches, alternating with the milk (or a dairy-free substitute if needed). Start and end with the dry ingredients.
- Mix gently until just combined—avoid overmixing to keep the cake light and airy.
6. Pour the Batter into the Pan
- Pour the batter evenly into your prepared pans. Use a spatula to smooth the surface for an even rise.
- If you’re making a larger cake, you may need to adjust the baking time. Keep an eye on it and check for doneness.
7. Bake and Check for Doneness
- Place the pans in the oven and bake for 20-25 minutes or until a toothpick inserted in the center comes out clean.
- If you’re using a standard cake pan, the baking time may need to be extended. Always check a few minutes before the timer goes off to avoid overbaking.
8. Let the Cake Cool
- Once the cakes are done, allow them to cool in the pan for about 10 minutes before transferring them to a wire rack to cool completely.
- Cooling prevents the frosting from melting and ensures the cake holds its shape when decorated.
With these simple steps, you’re well on your way to creating a perfectly moist and fluffy bento cake that’s ready for frosting and decorating! Stay tuned for the next section, where we’ll dive into decorating your mini masterpiece.
Pro Tips and Variations for the Best Bento Cake
Want to take your bento cake to the next level? These expert tips and creative variations will help you achieve the moistest, fluffiest texture while adding your personal touch to this mini masterpiece.
1. Pro Tips for a Perfect Bento Cake
Use Cake Flour for a Lighter Texture
- Cake flour has a lower protein content than all-purpose flour, which creates a softer crumb.
- If you don’t have cake flour, make a DIY version by replacing 2 tablespoons of all-purpose flour with cornstarch per cup.
Room Temperature Ingredients Are Key
- Cold eggs, milk, or butter can cause the batter to curdle or mix unevenly.
- Let your ingredients sit at room temperature for at least 30 minutes before baking.
Don’t Overmix the Batter
- Overmixing can result in a dense, tough cake.
- Use a gentle folding motion when incorporating dry ingredients to keep the batter light and airy.
Check for Doneness Without Drying It Out
- Insert a toothpick in the center—if it comes out with a few moist crumbs, the cake is done.
- Avoid overbaking, as it can make the cake dry and crumbly.
Chill the Cake Before Frosting
- A warm cake can cause the buttercream to melt and slide off.
- Let the cake cool completely, then refrigerate for 15–20 minutes before frosting for a neater finish.
2. Creative Flavor Variations
Nutty Delight:
- Fold in finely chopped almonds, walnuts, or pistachios for added crunch and flavor.
Decadent Chocolate:
- Replace 2 tablespoons of flour with cocoa powder for a rich, chocolatey sponge.
- Add a layer of chocolate ganache between the cake and frosting for extra indulgence.
Matcha Elegance:
- Add 1 teaspoon of matcha powder to the dry ingredients for a subtle earthy, tea-infused flavor.
Zesty Citrus:
- Mix in 1 teaspoon of orange or lemon zest to the batter for a refreshing twist.
Berry Bliss:
- Layer the cake with strawberry, raspberry, or blueberry jam for a fruity surprise.
By following these pro tips and trying out different flavor variations, you can customize your bento cake to suit any taste or occasion. Now, let’s explore the best ways to serve and present your delightful mini cake!
Serving Suggestions for Your Bento Cake
Now that your bento cake is baked, frosted, and looking absolutely adorable, it’s time to think about how to serve it! This mini treat is perfect for any occasion, and with a little creativity, you can make it truly shine. Whether you’re making a special gift or serving it at a gathering, here are some fun and elegant ways to enjoy your cake.
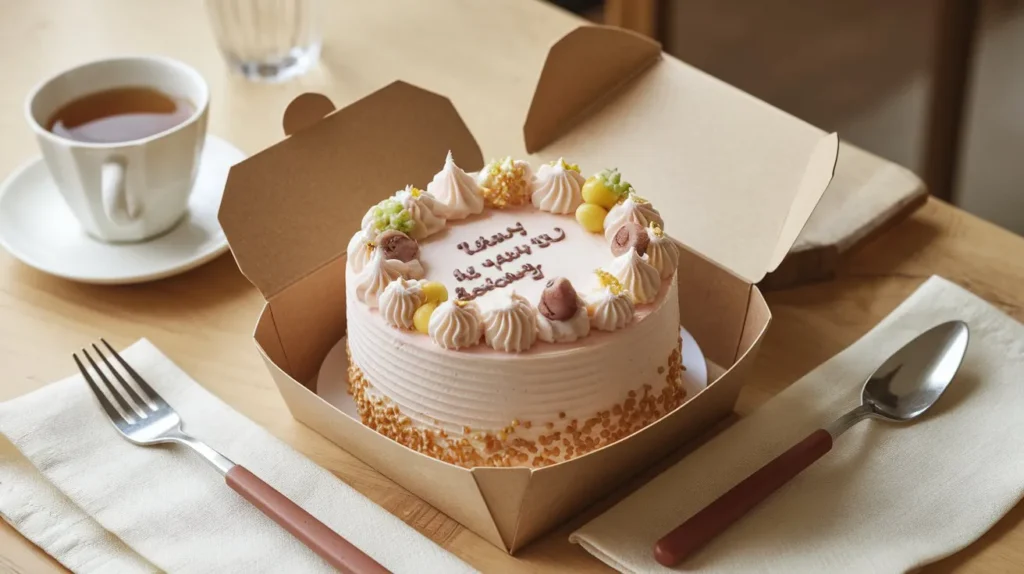
1. Perfect Portions for Every Occasion
- Individual Servings:
- Bento cakes are designed to be single-serving delights, but you can easily slice them into small portions to share with friends and family. This makes them perfect for personalized gifts or small parties.
- Pair with a hot beverage, like coffee, tea, or even a cold glass of milk, for a cozy treat.
- On a Dessert Platter:
- For a more sophisticated setup, arrange multiple bento cakes on a platter or cake stand for a delightful spread. Add decorative touches like edible flowers, sprinkles, or small fruit garnishes to enhance the visual appeal.
2. Creative Garnishes to Elevate Your Cake
- Fresh Fruits:
- Lightly sweeten fresh fruit like berries, peaches, or citrus slices and place them on top for a burst of color and flavor.
- Add candied fruit or fruit compote for a unique and extra-special touch.
- Edible Flowers:
- Consider garnishing your cake with edible flowers like pansies, violets, or marigolds. They’re not only stunning but add a natural, fresh appeal.
- Sprinkles & Chocolate Shavings:
- If you want to make your cake extra festive, sprinkle a little chocolate shavings, gold leaf, or colorful sprinkles on top. It’s the perfect way to add a bit of glamour.
3. Ideal Pairings to Complement Your Bento Cake
- Whipped Cream:
- Serve alongside a dollop of fresh whipped cream for a light and creamy contrast to the cake’s fluffiness.
- You can even flavor the whipped cream with a hint of vanilla or cinnamon for a delicious twist.
- Ice Cream or Sorbet:
- Add a scoop of your favorite ice cream or a refreshing fruit sorbet for a sweet, indulgent combo.
- Consider matcha ice cream to complement a matcha-flavored bento cake or vanilla bean ice cream for a classic pairing.
- Tea or Coffee:
- Green tea, Earl Grey, or chamomile tea makes for a calming, aromatic pairing with a light bento cake.
- For coffee lovers, a rich espresso or a creamy cappuccino will balance the sweetness of the cake beautifully.
Whether you’re celebrating a birthday, enjoying a quiet afternoon, or gifting someone special, your bento cake will always be a showstopper. With these creative serving ideas and pairings, your cake will stand out as both a treat and a work of art. Ready to dive into the next step? Let’s wrap up the whole process with a quick conclusion!
Conclusion
Congratulations! You’ve made a beautiful, moist, and fluffy bento cake that’s as delicious as it is charming. Whether you’re making it for a special occasion or just to satisfy your sweet tooth, this mini cake is sure to impress. With a soft, airy crumb and customizable flavor options, it’s a dessert that will always steal the show.
By following these simple steps, expert tips, and creative variations, you’ve learned how to bake a cake that’s not only visually stunning but also a treat for the taste buds. The joy of crafting your own perfect bento cake lies in its versatility and the personal touches you can add.
Now that you have all the tools you need, feel free to experiment with different frostings, fillings, and flavor combinations to make this cake your own. Whether you keep it simple with vanilla or go wild with matcha and chocolate, the possibilities are endless.
If you’ve enjoyed this recipe, make sure to share it with friends or save it for future celebrations. Don’t forget to leave a comment or share your bento cake creations on social media! Happy baking!
______________________
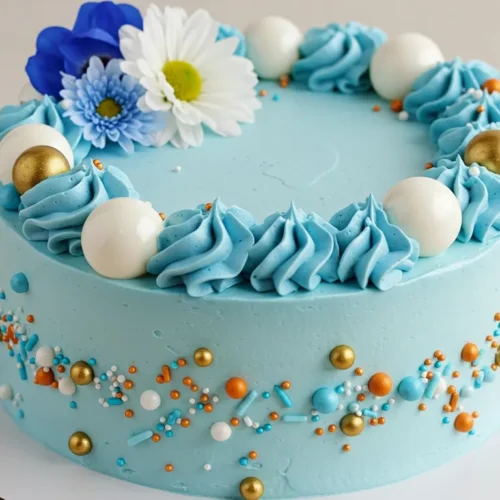
bento cake
Ingredients
- For the sponge cake:
- 1 cup cake flour—helps create a soft tender crumb. If you don’t have cake flour, you can use all-purpose flour + cornstarch as a substitute.
- 1/2 teaspoon baking powder gives the cake its perfect rise and fluffiness.
- 2 large eggs room temperature—whipping the eggs properly ensures a light and airy sponge.
- 1/2 cup granulated sugar—sweetens the cake while helping to create a stable batter.
- 1/4 cup unsalted butter melted—adds moisture and richness to the cake.
- 1/4 cup whole milk—keeps the cake moist and soft.
- 1 teaspoon vanilla extract enhances the overall flavor profile.
- For the buttercream frosting:
- 1/2 cup unsalted butter softened—the base for a creamy, smooth frosting.
- 1 cup powdered sugar—adds sweetness and the right consistency for piping.
- 1 teaspoon vanilla extract—adds a touch of warm flavor.
- 1 –2 tablespoons heavy cream—adjusts the frosting texture for easy spreading.
- Optional Flavor Variations:
- Want to switch things up? Here are some fun ways to customize your bento cake:
- Chocolate Lover’s Delight: Swap 2 tablespoons of flour for cocoa powder to create a rich chocolate sponge.
- Matcha Magic: Add 1 teaspoon of matcha powder for a unique slightly earthy twist.
- Citrus Zest: Fold in orange or lemon zest for a bright refreshing flavor.
Instructions
Preheat Your Oven and Prepare the Pan
- Preheat your oven to 350°F (175°C). This ensures the cake cooks evenly.
- Lightly grease your mini cake pans with butter or oil, and dust them with a bit of flour to help with easy release. If you’re using silicone pans, just spray them lightly with cooking spray.
Combine Dry Ingredients
- In a separate bowl, whisk together the flour, baking powder, and a pinch of salt. Mixing the dry ingredients first helps ensure everything is evenly distributed.
- Make sure to sift the flour to remove any clumps—this will give your bento cake a smoother batter and a fluffier texture.
Cream Butter and Sugar
- In a larger mixing bowl, beat the butter and sugar together until light and fluffy. This step incorporates air into the batter, which contributes to the cake’s softness.
- Use a hand mixer or stand mixer to speed up the process, but if you don’t have one, a whisk and some elbow grease will work just fine!
Add Eggs and Vanilla
- Add the eggs one at a time, mixing well after each addition. The eggs help bind the ingredients together, giving the cake structure.
- Mix in the vanilla extract to elevate the flavor. This adds a delicious aroma and depth to the cake.
Combine Wet and Dry Ingredients
- Gradually add the dry ingredients to the wet mixture in small batches, alternating with the milk (or a dairy-free substitute if needed). Start and end with the dry ingredients.
- Mix gently until just combined—avoid overmixing to keep the cake light and airy.
Pour the Batter into the Pan
- Pour the batter evenly into your prepared pans. Use a spatula to smooth the surface for an even rise.
- If you’re making a larger cake, you may need to adjust the baking time. Keep an eye on it and check for doneness.
Bake and Check for Doneness
- Place the pans in the oven and bake for 20-25 minutes or until a toothpick inserted in the center comes out clean.
- If you’re using a standard cake pan, the baking time may need to be extended. Always check a few minutes before the timer goes off to avoid overbaking.
Let the Cake Cool
- Once the cakes are done, allow them to cool in the pan for about 10 minutes before transferring them to a wire rack to cool completely.
- Cooling prevents the frosting from melting and ensures the cake holds its shape when decorated.
Notes
- Calories: 300
- Fat: 18g
- Protein: 3g
- Carbohydrates: 32g
- Sugar: 20g
- Fiber: 1g
- Sodium: 150mg
FAQs
We know you might have a few burning questions as you bake your bento cake, so here’s a quick guide to help clear up any doubts and make your baking experience even better!
1. Can I make this recipe gluten-free?
Yes! To make a gluten-free bento cake, simply swap the all-purpose flour with a gluten-free flour blend. Be sure to check that your baking powder is gluten-free too. If you want an even fluffier texture, you can add a teaspoon of xanthan gum to help bind the ingredients.
2. How do I store my bento cake?
Once your cake is baked and frosted, store it in an airtight container at room temperature for up to 3 days. If you need to keep it fresh for longer, you can refrigerate it for up to a week. To keep it extra moist, wrap the cake tightly with plastic wrap before storing.
3. Can I make the cake ahead of time?
Absolutely! The bento cake layers can be baked up to 2 days in advance. Allow the layers to cool completely before wrapping them tightly in plastic wrap. When you’re ready to frost and serve, just let the layers come to room temperature before assembling.
4. Can I use different frosting flavors?
Of course! While classic buttercream works wonderfully with a bento cake, feel free to experiment with other frosting options like cream cheese frosting, whipped cream, or even a chocolate ganache. Just make sure your frosting is thick enough to hold its shape.
5. What size pans should I use for a bento cake?
For a traditional bento box cake, small, round cake pans (about 4-5 inches in diameter) work best. This size helps create that perfect mini-cake look. If you want to make a larger version, you can double the recipe and use 6-inch pans, but just remember to adjust your baking time accordingly.
6. How can I decorate my bento cake?
Decorating your bento cake is part of the fun! You can use sprinkles, edible flowers, fondant decorations, or even fresh fruit to make it visually stunning. Use a piping bag to create detailed designs, or keep it simple with a smooth layer of frosting and a single decorative element.
7. Can I make a dairy-free bento cake?
Yes, for a dairy-free version, substitute the butter with vegan butter and the milk with a plant-based milk, like almond milk or oat milk. Make sure to check that your frosting ingredients are also dairy-free!
These FAQs should give you some extra tips and confidence as you dive into making your bento cake. Enjoy the process, and remember—it’s all about having fun while creating a delicious, mini masterpiece!

