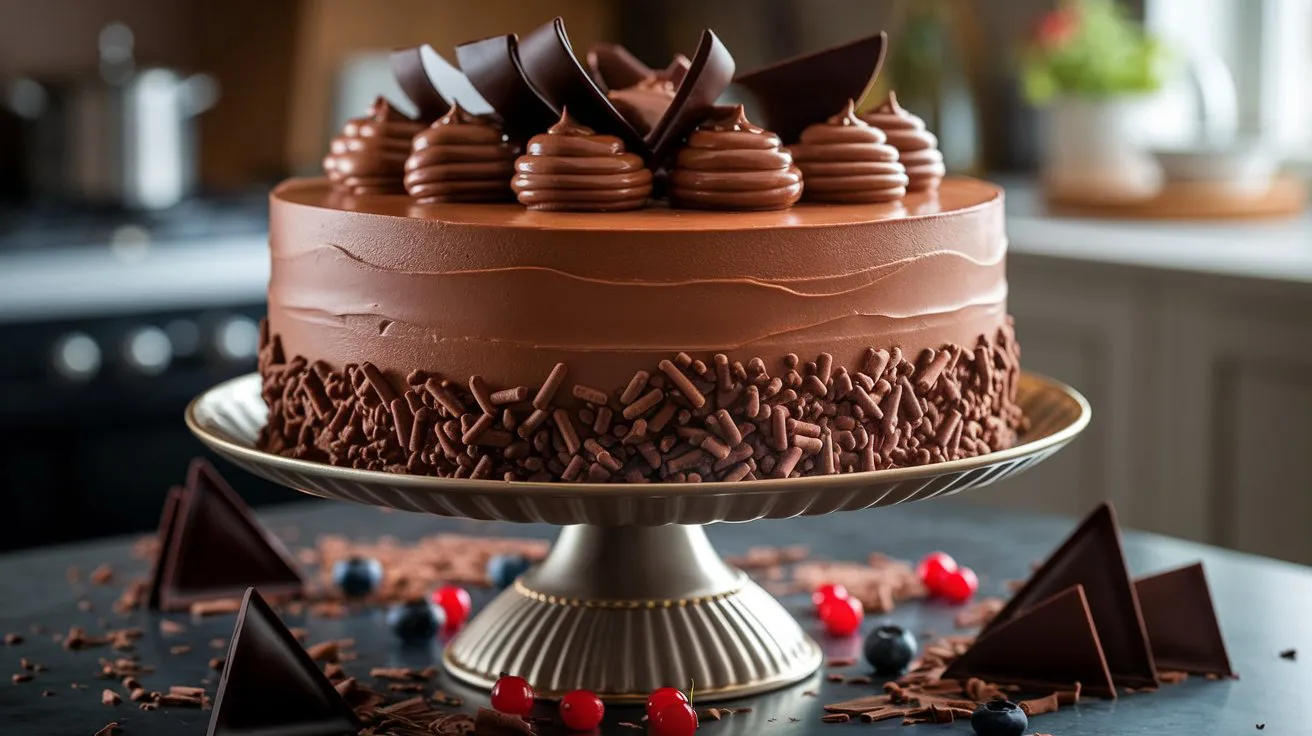
Who can resist the allure of a rich, silky smooth chocolate mousse cake? Whether you’re celebrating a special occasion or simply indulging in a well-deserved treat, this decadent dessert is guaranteed to impress. With its airy mousse, moist chocolate cake layers, and luscious dark chocolate ganache, every bite melts in your mouth, striking the perfect balance between light and indulgent.
If you’ve ever thought making a homemade chocolate mousse cake sounds intimidating, don’t worry—I’ve got you covered with a simple, step-by-step approach. This no-fail chocolate cake recipe is designed for both beginners and seasoned bakers, ensuring flawless results every time. Ready to create a show-stopping dessert that will have everyone asking for seconds? Let’s get started!
Table of Contents
Key Benefits of This Chocolate Mousse Cake Recipe
Making a chocolate mousse cake from scratch might seem like a big task, but trust me, it’s easier than you think—and totally worth it. Here’s why this recipe stands out:
1. The Perfect Balance of Texture and Flavor
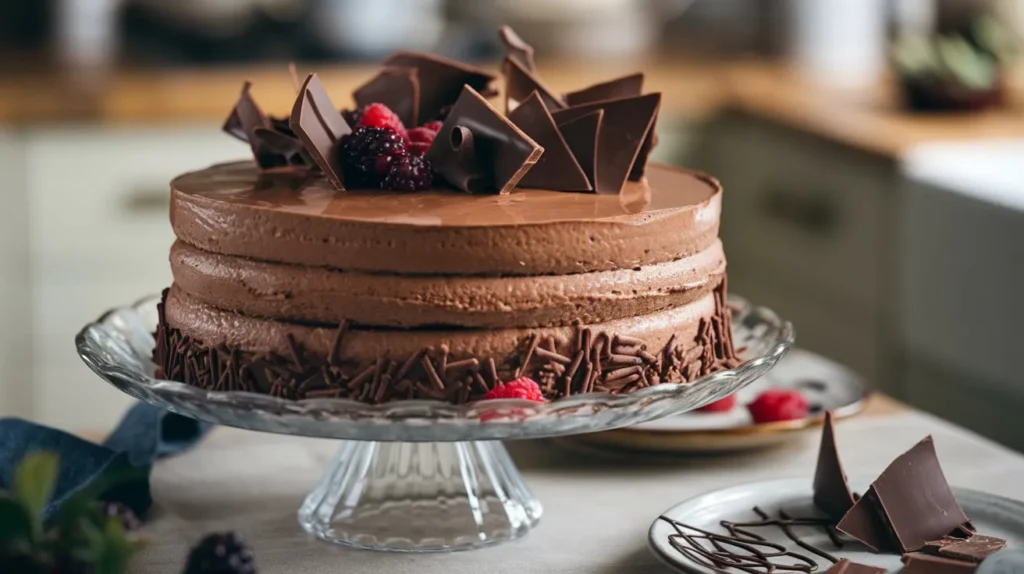
This cake combines the best of both worlds: a light, airy mousse with a rich, moist chocolate cake base. Each layer brings something unique to the table, creating a balanced bite that’s not too sweet, but indulgent enough to satisfy your chocolate cravings.
2. Impress Without the Stress
Even though this dessert looks impressive, it’s made with simple ingredients and easy-to-follow steps. You don’t need to be a professional baker to nail this recipe. With a little patience and the right techniques, you’ll have a stunning cake that looks like it came straight from a bakery.
3. Customizable for Any Occasion
This chocolate mousse cake is the ultimate versatile dessert. Want to add a fruity twist? Fold in some fresh berries between the layers or drizzle with a berry sauce. Prefer a darker, richer flavor? Use a higher percentage of dark chocolate for a more intense experience. It’s all about making it your own.
4. Make-Ahead Friendly
Need a dessert you can prepare ahead of time? This recipe is perfect! The cake needs time to chill, so you can make it the day before and let the flavors meld together overnight. In fact, it tastes even better the next day when the mousse has fully set, giving you the luxury of preparing it in advance without sacrificing freshness.
5. A Showstopper Dessert for Special Occasions
If you’re looking to impress at a party or celebration, this cake will do the trick. It’s a great choice for birthdays, holidays, or even as a special treat for yourself. With its velvety mousse and elegant presentation, this cake will have everyone coming back for seconds.
By the time you’re done, you’ll not only have a beautiful chocolate mousse cake but also the satisfaction of knowing you created something truly special. Ready to get started? Let’s dive into the ingredients next!
Ingredients for the Perfect Chocolate Mousse Cake
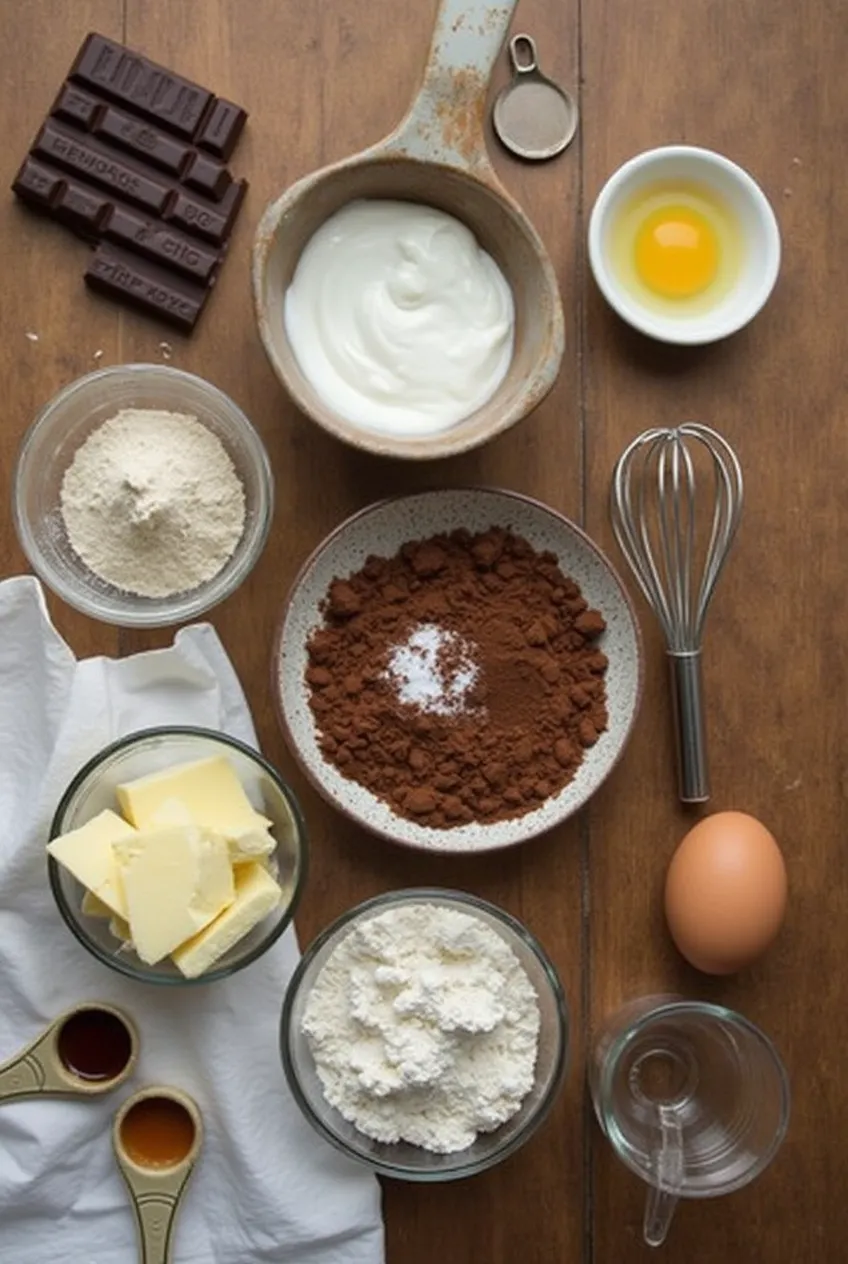
To create this decadent chocolate mousse cake, you’ll need a combination of high-quality ingredients that bring out the rich, smooth flavors in every bite. Below is a breakdown of what you’ll need for each component:
For the Chocolate Cake Layer:
This forms the foundation of your dessert, offering a moist and tender texture that complements the airy mousse.
- 1 cup (125g) all-purpose flour – Provides structure while keeping the cake soft.
- ½ cup (45g) unsweetened cocoa powder – Use high-quality cocoa for deep chocolate flavor.
- 1 teaspoon baking powder – Helps the cake rise and stay light.
- ½ teaspoon baking soda – Balances acidity and enhances texture.
- ¼ teaspoon salt – Enhances the overall flavor.
- ¾ cup (150g) granulated sugar – Adds just the right amount of sweetness.
- ½ cup (120ml) whole milk – Ensures a moist crumb.
- ⅓ cup (80ml) vegetable oil – Keeps the cake soft and tender.
- 2 large eggs – Binds the ingredients together for structure.
- 1 teaspoon vanilla extract – Adds warmth and enhances the chocolate taste.
- ½ cup (120ml) hot brewed coffee – Intensifies the chocolate flavor (don’t worry, it won’t taste like coffee!).
For the Silky Chocolate Mousse:
This layer is what makes the cake truly special—light, airy, and full of chocolate richness.
- 6 oz (170g) dark chocolate (60-70% cocoa), finely chopped – The heart of the mousse. Choose a quality brand for the best flavor.
- 2 tablespoons unsalted butter – Adds silkiness to the melted chocolate.
- 2 large egg yolks – Create a rich and creamy consistency.
- ¼ cup (50g) granulated sugar – Provides just the right amount of sweetness.
- ½ teaspoon vanilla extract – Balances the chocolate flavor.
- 1 cup (240ml) heavy cream, chilled – Whipped to soft peaks for that classic mousse texture.
- ½ teaspoon gelatin powder (optional) – Helps stabilize the mousse for a firmer texture.
For the Glossy Dark Chocolate Ganache:
A luscious ganache coating takes this cake to the next level, giving it a beautiful, professional finish.
- 4 oz (113g) dark chocolate, finely chopped – Creates a smooth and glossy topping.
- ½ cup (120ml) heavy cream – Helps the ganache pour easily over the cake.
- 1 tablespoon unsalted butter – Adds shine and richness.
Pro Tips for the Best Ingredients Selection:
✔ Use room temperature eggs and dairy for a smoother batter and mousse.
✔ Opt for high-quality chocolate (at least 60% cocoa) for an intense, rich flavor.
✔ Sift dry ingredients to avoid lumps and ensure an even cake texture.
✔ Chill your mixing bowl and whisk before whipping the heavy cream to achieve the perfect mousse consistency.
Now that you have your ingredients ready, let’s move on to the step-by-step instructions for assembling this showstopping chocolate mousse cake!
Step-by-Step Instructions for the Perfect Chocolate Mousse Cake
Ready to dive into the baking process? Don’t worry—this recipe is designed to guide you through each step with ease. From the moist chocolate cake base to the velvety chocolate mousse filling, here’s how to make a showstopping chocolate mousse cake that will leave everyone asking for the recipe!
Step 1: Bake the Chocolate Cake
The cake layer serves as the delicious foundation for the mousse. Here’s how to get it just right:
- Preheat your oven to 350°F (175°C). Grease a 9-inch springform pan and line the bottom with parchment paper for easy removal later.
- In a large bowl, sift together the all-purpose flour, cocoa powder, baking powder, baking soda, and salt. This step ensures your cake will be light and airy, with no lumps in the batter.
- In another bowl, whisk together the sugar, milk, oil, eggs, and vanilla extract. Make sure the mixture is smooth and well combined.
- Gradually add the dry ingredients to the wet mixture, mixing gently to combine. The batter will be slightly thin, but that’s perfectly fine.
- Stir in the hot coffee—this might seem odd, but it intensifies the chocolate flavor and helps keep the cake moist.
- Pour the batter into the prepared pan and bake for 25-30 minutes. To test for doneness, insert a toothpick in the center; it should come out clean.
- Once done, let the cake cool in the pan for 10 minutes, then remove it from the pan and transfer to a wire rack to cool completely.
Pro Tip: If your cake rises unevenly, wrap the outside of your pan with a damp towel. It helps create a more even rise for a perfectly flat top.
Step 2: Make the Chocolate Mousse
Now comes the magic—the light, fluffy mousse that makes this cake so special. Here’s how to get it smooth and airy:
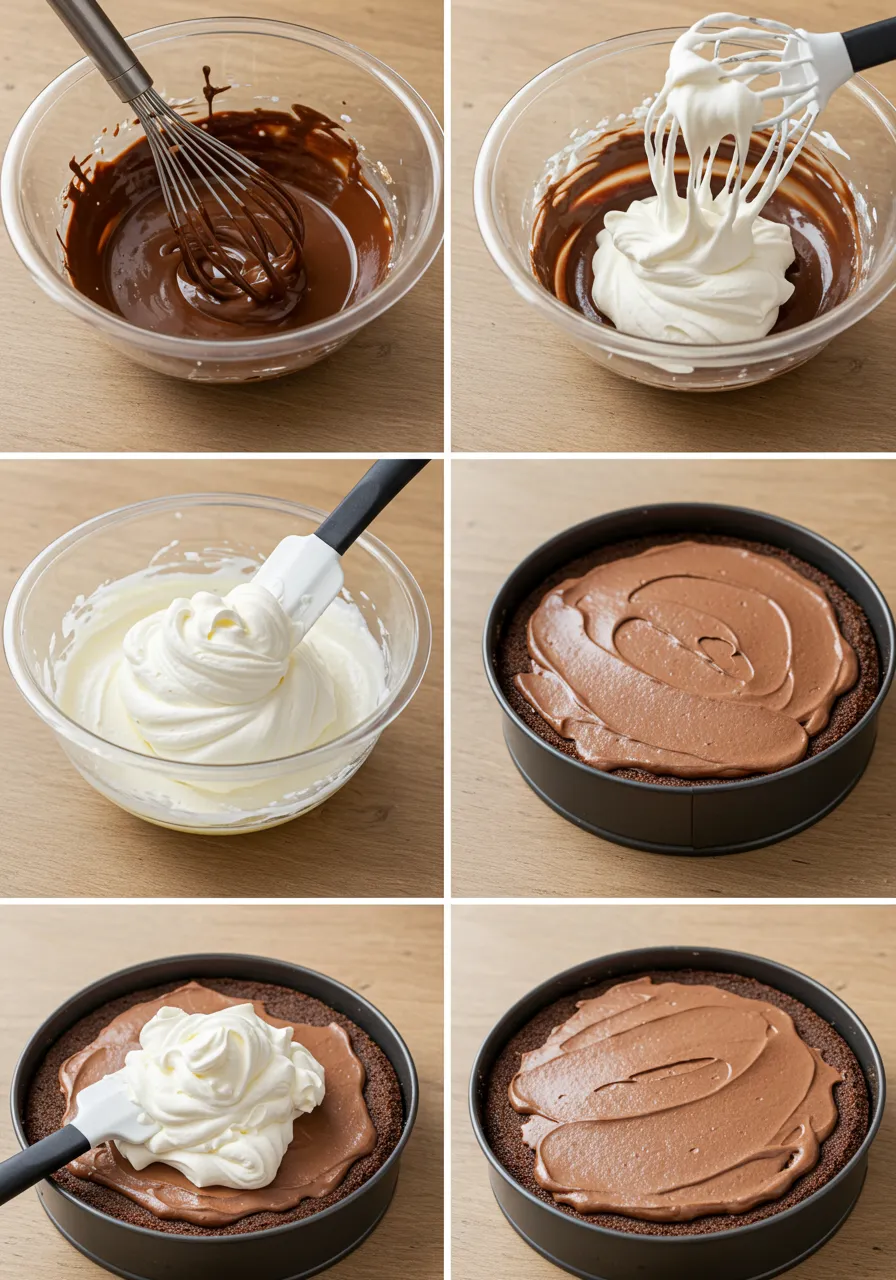
- Melt the dark chocolate and butter in a heatproof bowl using a double boiler or microwave. Stir until smooth and let it cool to room temperature.
- In a separate bowl, whisk together the egg yolks and sugar until pale and slightly thickened. Stir in the vanilla extract for an added layer of flavor.
- If you’re using gelatin, bloom it by sprinkling it over cold water in a small bowl. Let it sit for 5 minutes, then microwave for a few seconds until dissolved. Add it to the melted chocolate mixture.
- Fold the egg yolk mixture into the chocolate slowly, making sure everything is well incorporated.
- In a chilled mixing bowl, whip the heavy cream until soft peaks form. Then, gently fold the whipped cream into the chocolate mixture in two batches, being careful not to deflate the mousse.
Pro Tip: The key to a light mousse is in the folding technique. Use a spatula and fold in the whipped cream gently, so the mousse stays airy and smooth.
Step 3: Assemble the Cake
This is where the magic comes together! Here’s how to layer the mousse and cake perfectly:
- Place the cooled cake layer back in the springform pan. If your cake has domed, trim the top to create a flat surface.
- Pour the mousse over the cake, spreading it evenly with a spatula. Tap the pan gently on the counter to remove any air bubbles.
- Refrigerate the cake for at least 4 hours or overnight to allow the mousse to set completely. The longer it sits, the more the flavors will meld together.
Pro Tip: Make sure the mousse has fully set before serving. It should hold its shape when sliced.
Step 4: Make the Ganache
The rich dark chocolate ganache is the finishing touch that takes this cake to the next level:
- In a small saucepan, heat the heavy cream until it just begins to simmer (don’t let it boil).
- Pour the hot cream over the chopped dark chocolate. Let it sit for 1-2 minutes, then stir until smooth and glossy.
- Stir in the butter for extra richness and shine.
Step 5: Finish and Serve
It’s time to give your cake that professional finish:
- Carefully remove the cake from the springform pan and transfer it to a serving plate.
- Pour the ganache over the chilled mousse, allowing it to drip down the sides. For a clean finish, use a spatula to smooth out the top.
- Chill for another 15-20 minutes to allow the ganache to set before slicing.
- Garnish with whipped cream, chocolate shavings, or fresh berries to elevate the presentation.
And voilà! You’ve made the perfect chocolate mousse cake that’s bound to impress. Whether it’s for a special occasion or just a treat for yourself, this cake is sure to be a showstopper.
Pro Tips and Variations for Your Chocolate Mousse Cake
Creating the perfect chocolate mousse cake is all about mastering the basics and adding your own creative flair. Here are some pro tips and delicious variations to help you elevate this dessert to the next level.
Pro Tips for Success
- Use high-quality chocolate
The flavor of your chocolate mousse cake relies heavily on the quality of the chocolate you choose. Opt for a good-quality dark chocolate (at least 70% cocoa) for a rich, deep flavor that will shine through in every bite. - Don’t overmix the mousse
When folding in the whipped cream, be gentle! Overmixing will deflate the mousse and prevent it from being as light and airy as it should be. Use a folding motion with a spatula to preserve that fluffy texture. - Ensure the cake is fully cooled
Before adding the mousse layer, make sure the cake has completely cooled. A warm cake could melt the mousse and result in a soggy mess. Patience is key! - Let the cake chill properly
This is one cake that truly benefits from time in the fridge. Allow it to chill for at least 4 hours, but for the best texture and flavor, refrigerate it overnight. The mousse will set perfectly, and the flavors will have time to develop.
Creative Variations to Try
- Add a touch of espresso
For a more robust flavor, add 1 teaspoon of espresso powder to the cake batter. It enhances the chocolate without making the cake taste like coffee. Espresso is the perfect complement to dark chocolate! - Make it a mocha mousse cake
If you’re a coffee lover, why not turn your mousse into a mocha mousse cake? Add a tablespoon of instant coffee or espresso powder to the mousse. This gives the cake a delightful coffee flavor that pairs beautifully with chocolate. - Try a white chocolate mousse
For a twist on the classic, make a white chocolate mousse instead of dark chocolate. The sweetness of the white chocolate will create a delicious contrast with the rich chocolate cake. - Add fruit for a fresh contrast
Fresh raspberries, strawberries, or even a berry compote can be added to the mousse layer or used as a topping. The acidity of the fruit complements the richness of the mousse beautifully. - Make individual mousse cakes
For a fun twist, bake the chocolate cake in smaller cake pans or ramekins for individual servings. Top each with mousse and ganache for a personal-sized treat. Perfect for parties or special occasions!
Storage Tips
- Keep it chilled
After assembling your mousse cake, always store it in the fridge. The mousse will soften at room temperature, so it’s best enjoyed chilled. It will stay fresh for up to 3 days in the fridge. - Freezing for later
If you want to make this cake ahead of time, you can freeze the assembled mousse cake (without the ganache) for up to 1 month. Let it thaw in the fridge overnight before serving. Add the ganache just before serving for a fresh finish.
Troubleshooting Tips
- Mousse is too runny
If your mousse doesn’t set properly, it could be due to under-whipping the cream or not letting it chill long enough. Be sure to whip the cream to soft peaks, and let the cake set in the fridge for at least 4 hours. - Ganache is too thick
If your ganache thickens too much when it cools, simply warm it up gently over low heat until it reaches a pourable consistency. Make sure to let it cool slightly before pouring it over the mousse cake.
With these tips and variations, your chocolate mousse cake will not only be a stunning dessert but a versatile one you can customize to suit your taste. Whether you’re baking it for a special occasion or just a sweet treat for yourself, there are endless ways to enjoy this decadent cake. Happy baking!
Serving Suggestions for Your Chocolate Mousse Cake
Now that your chocolate mousse cake is ready to wow, let’s talk about how to serve it! This dessert is as much about presentation as it is about flavor, so here are a few ideas to elevate your cake and make it even more irresistible.
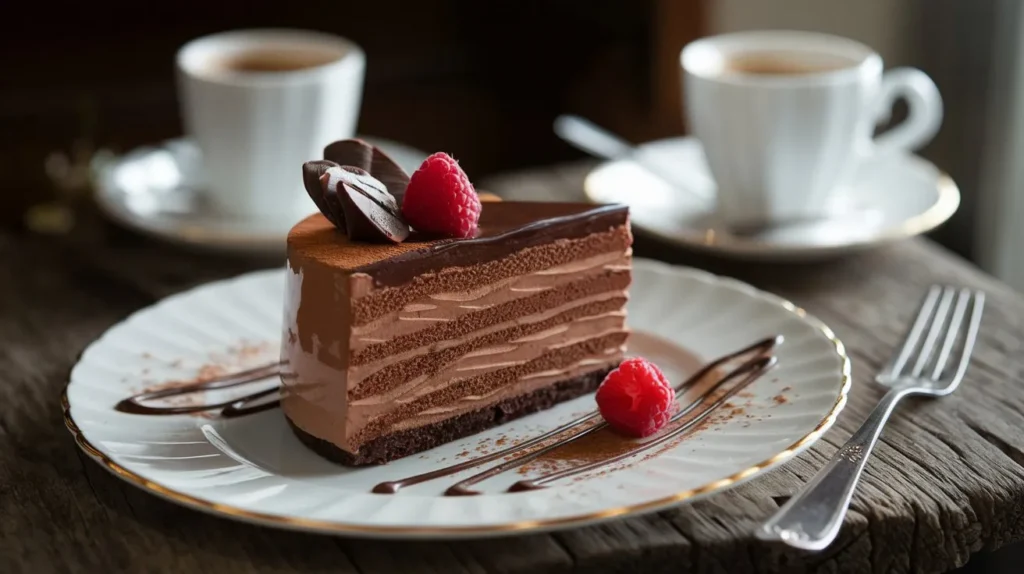
1. Add a Dollop of Whipped Cream
Nothing complements the rich, creamy texture of the mousse like a dollop of freshly whipped cream. You can go classic with unsweetened whipped cream, or for a twist, add a splash of vanilla extract or a dash of powdered sugar to sweeten it slightly. It adds a light, airy contrast that balances the richness of the cake.
2. Top with Fresh Berries
Fresh raspberries, strawberries, or blueberries bring a burst of color and tangy sweetness that cuts through the richness of the chocolate mousse. You can arrange them on top of the cake for a stunning, fresh look, or serve them on the side for a delightful pairing.
3. Shave Some Chocolate
Elevate the visual appeal of your cake by garnishing with chocolate shavings. Simply use a vegetable peeler on a block of dark chocolate or milk chocolate to create delicate curls. These not only look beautiful but add an extra layer of indulgent chocolate flavor.
4. Drizzle Some Ganache
For an extra dose of decadence, drizzle a little extra ganache over each slice of cake just before serving. This can be done in a decorative pattern for a professional touch. If you’re feeling adventurous, try a mix of dark and white chocolate ganache for a marbled effect.
5. Serve with a Hot Beverage
Pair your chocolate mousse cake with a hot drink like a cup of coffee, cappuccino, or rich hot chocolate. The warm beverage enhances the deep chocolate flavor of the cake and makes it a perfect dessert after a meal. For a more sophisticated pairing, consider a glass of port or red wine—both complement the flavors beautifully.
6. Make it a Multi-Layered Dessert
If you want to take this cake to the next level, consider serving it alongside a scoop of vanilla ice cream or a small portion of chocolate mousse for a multi-textured dessert experience. The combination of warm, cold, smooth, and crunchy textures will keep your guests coming back for more.
7. Create a Dessert Platter
For a stunning presentation, slice the cake into smaller pieces and create a dessert platter with a variety of treats. Add small chocolate truffles, mini macarons, or petit fours to complement the mousse cake and make your dessert table look irresistible.
8. Garnish with Mint Leaves
Add a refreshing touch with a few fresh mint leaves on top of your cake. Their vibrant color and minty fragrance will enhance the overall flavor profile of the dessert, giving it a fresh finish that balances the rich chocolate.
Serving Size Tip
If you’re serving this chocolate mousse cake at a party or gathering, consider cutting the slices a bit smaller than usual. The richness of the mousse means a little goes a long way, and smaller portions ensure that everyone can enjoy a piece without feeling overwhelmed by sweetness.
Chill for Perfect Presentation
For the most elegant slices, let the cake chill for at least 15-20 minutes after pouring the ganache. This allows the ganache to set just enough, making it easier to slice cleanly without any mess. A sharp knife dipped in warm water will help you achieve perfectly smooth, clean edges.
With these serving suggestions, you’re all set to turn your chocolate mousse cake into a delightful experience for the eyes and the taste buds. Whether you’re keeping it simple with a whipped cream topping or going all out with garnishes and pairings, your cake will be the star of any occasion. Enjoy the moment—and the compliments that follow!
Conclusion
If you’re craving a decadent, melt-in-your-mouth dessert that’s sure to impress, this chocolate mousse cake is the ultimate treat. Whether it’s a special occasion, a holiday celebration, or just a casual weekend indulgence, this cake brings together the perfect balance of rich chocolate, creamy mousse, and a silky ganache topping. The combination of textures and flavors will undoubtedly leave your guests or family coming back for more.
A Cake for Any Occasion
This chocolate mousse cake is versatile enough to serve at almost any gathering. It’s elegant enough for birthday parties or holiday dinners, yet simple enough to prepare for a quiet evening with loved ones. With the right balance of preparation and presentation, it’s a showstopper that’s surprisingly easy to make at home.
Why You’ll Love This Recipe
- Rich and Decadent: The perfect chocolate fix for any chocolate lover.
- Customizable: Add fruit, whipped cream, or even try different types of chocolate to suit your taste.
- Easy to Make: With a few simple steps, you’ll create a dessert that looks like it came from a professional bakery.
- Perfect Texture: The mousse gives a light, airy finish to the dense, moist cake. Every bite is smooth and indulgent.
Final Thoughts
What makes this chocolate mousse cake recipe stand out is its ability to impress without requiring hours of complicated work. The beauty of this cake is in its simplicity—the chocolate mousse perfectly complements the fluffy cake and smooth ganache, creating a balanced dessert that’s both comforting and luxurious.
So go ahead, roll up your sleeves, and bake this irresistible chocolate mousse cake for your next special occasion—or just because you deserve a sweet treat. Trust me, it’ll be a crowd-pleaser every time. Happy baking!
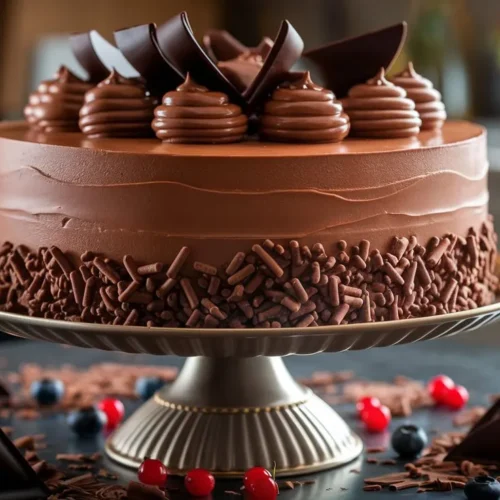
Chocolate Mousse Cake Recipe
Ingredients
For the Chocolate Cake Layer:
- This forms the foundation of your dessert offering a moist and tender texture that complements the airy mousse.
- 1 cup 125g all-purpose flour – Provides structure while keeping the cake soft.
- ½ cup 45g unsweetened cocoa powder – Use high-quality cocoa for deep chocolate flavor.
- 1 teaspoon baking powder – Helps the cake rise and stay light.
- ½ teaspoon baking soda – Balances acidity and enhances texture.
- ¼ teaspoon salt – Enhances the overall flavor.
- ¾ cup 150g granulated sugar – Adds just the right amount of sweetness.
- ½ cup 120ml whole milk – Ensures a moist crumb.
- ⅓ cup 80ml vegetable oil – Keeps the cake soft and tender.
- 2 large eggs – Binds the ingredients together for structure.
- 1 teaspoon vanilla extract – Adds warmth and enhances the chocolate taste.
- ½ cup 120ml hot brewed coffee – Intensifies the chocolate flavor (don’t worry, it won’t taste like coffee!).
For the Silky Chocolate Mousse:
- This layer is what makes the cake truly special—light airy, and full of chocolate richness.
- 6 oz 170g dark chocolate (60-70% cocoa), finely chopped – The heart of the mousse. Choose a quality brand for the best flavor.
- 2 tablespoons unsalted butter – Adds silkiness to the melted chocolate.
- 2 large egg yolks – Create a rich and creamy consistency.
- ¼ cup 50g granulated sugar – Provides just the right amount of sweetness.
- ½ teaspoon vanilla extract – Balances the chocolate flavor.
- 1 cup 240ml heavy cream, chilled – Whipped to soft peaks for that classic mousse texture.
- ½ teaspoon gelatin powder optional – Helps stabilize the mousse for a firmer texture.
For the Glossy Dark Chocolate Ganache:
- A luscious ganache coating takes this cake to the next level giving it a beautiful, professional finish.
- 4 oz 113g dark chocolate, finely chopped – Creates a smooth and glossy topping.
- ½ cup 120ml heavy cream – Helps the ganache pour easily over the cake.
- 1 tablespoon unsalted butter – Adds shine and richness.
Pro Tips for the Best Ingredients Selection:
- ✔ Use room temperature eggs and dairy for a smoother batter and mousse.
- ✔ Opt for high-quality chocolate at least 60% cocoa for an intense, rich flavor.
- ✔ Sift dry ingredients to avoid lumps and ensure an even cake texture.
- ✔ Chill your mixing bowl and whisk before whipping the heavy cream to achieve the perfect
Instructions
Step 1: Bake the Chocolate Cake
- The cake layer serves as the delicious foundation for the mousse. Here’s how to get it just right:
- Preheat your oven to 350°F (175°C). Grease a 9-inch springform pan and line the bottom with parchment paper for easy removal later.
- In a large bowl, sift together the all-purpose flour, cocoa powder, baking powder, baking soda, and salt. This step ensures your cake will be light and airy, with no lumps in the batter.
- In another bowl, whisk together the sugar, milk, oil, eggs, and vanilla extract. Make sure the mixture is smooth and well combined.
- Gradually add the dry ingredients to the wet mixture, mixing gently to combine. The batter will be slightly thin, but that’s perfectly fine.
- Stir in the hot coffee—this might seem odd, but it intensifies the chocolate flavor and helps keep the cake moist.
- Pour the batter into the prepared pan and bake for 25-30 minutes. To test for doneness, insert a toothpick in the center; it should come out clean.
- Once done, let the cake cool in the pan for 10 minutes, then remove it from the pan and transfer to a wire rack to cool completely.
- Pro Tip: If your cake rises unevenly, wrap the outside of your pan with a damp towel. It helps create a more even rise for a perfectly flat top.
Step 2: Make the Chocolate Mousse
- Now comes the magic—the light, fluffy mousse that makes this cake so special. Here’s how to get it smooth and airy:
- Melt the dark chocolate and butter in a heatproof bowl using a double boiler or microwave. Stir until smooth and let it cool to room temperature.
- In a separate bowl, whisk together the egg yolks and sugar until pale and slightly thickened. Stir in the vanilla extract for an added layer of flavor.
- If you’re using gelatin, bloom it by sprinkling it over cold water in a small bowl. Let it sit for 5 minutes, then microwave for a few seconds until dissolved. Add it to the melted chocolate mixture.
- Fold the egg yolk mixture into the chocolate slowly, making sure everything is well incorporated.
- In a chilled mixing bowl, whip the heavy cream until soft peaks form. Then, gently fold the whipped cream into the chocolate mixture in two batches, being careful not to deflate the mousse.
- Pro Tip: The key to a light mousse is in the folding technique. Use a spatula and fold in the whipped cream gently, so the mousse stays airy and smooth.
Step 3: Assemble the Cake
- This is where the magic comes together! Here’s how to layer the mousse and cake perfectly:
- Place the cooled cake layer back in the springform pan. If your cake has domed, trim the top to create a flat surface.
- Pour the mousse over the cake, spreading it evenly with a spatula. Tap the pan gently on the counter to remove any air bubbles.
- Refrigerate the cake for at least 4 hours or overnight to allow the mousse to set completely. The longer it sits, the more the flavors will meld together.
- Pro Tip: Make sure the mousse has fully set before serving. It should hold its shape when sliced.
Step 4: Make the Ganache
- The rich dark chocolate ganache is the finishing touch that takes this cake to the next level:
- In a small saucepan, heat the heavy cream until it just begins to simmer (don’t let it boil).
- Pour the hot cream over the chopped dark chocolate. Let it sit for 1-2 minutes, then stir until smooth and glossy.
- Stir in the butter for extra richness and shine.
Step 5: Finish and Serve
- It’s time to give your cake that professional finish:
- Carefully remove the cake from the springform pan and transfer it to a serving plate.
- Pour the ganache over the chilled mousse, allowing it to drip down the sides. For a clean finish, use a spatula to smooth out the top.
- Chill for another 15-20 minutes to allow the ganache to set before slicing.
- Garnish with whipped cream, chocolate shavings, or fresh berries to elevate the presentation.
Notes
- Calories: 470 kcal
- Fat: 30g
- Saturated Fat: 18g
- Carbs: 45g
- Fiber: 3g
- Sugars: 34g
- Protein: 5g
- Cholesterol: 70mg
- Sodium: 60mg
- Potassium: 200mg
- Calcium: 40mg
- Iron: 2mg
FAQs About Chocolate Mousse Cake
Making a chocolate mousse cake may seem like a complicated endeavor, but I’m here to help you every step of the way! Here are some of the most frequently asked questions, along with tips to ensure your cake turns out perfectly each time.
1. Can I use milk chocolate instead of dark chocolate?
Yes, you can! If you prefer a sweeter, creamier taste, milk chocolate is a great substitute. It will result in a lighter mousse, so if you’re using milk chocolate, you may want to reduce the amount of sugar slightly, depending on your taste preference. If you love the richness of dark chocolate, feel free to stick with it—it creates a more decadent dessert
2. How far in advance can I make the chocolate mousse cake?
This cake is perfect for making ahead of time! You can bake the cake and prepare the mousse up to a day in advance. Simply store the assembled cake in the fridge to allow the mousse to set properly. It’s best to let the cake chill for at least 4 hours, though overnight is even better for the best texture and flavor.
3. Can I freeze the chocolate mousse cake?
Yes, you can freeze this cake! After assembling it, wrap the cake tightly in plastic wrap and then foil. Freeze it for up to one month. When you’re ready to serve it, let it thaw in the fridge overnight. The mousse will retain its creamy texture, and the cake will stay just as delicious
4. How do I prevent the mousse from becoming too runny?
To achieve a perfectly fluffy and smooth mousse, be sure to:
Whip the heavy cream until it reaches stiff peaks but isn’t over-whipped.
Let the chocolate cool slightly before folding it into the whipped cream.
Chill the cake in the fridge for a minimum of 4 hours (overnight is recommended). This will help the mousse firm up and keep its shape.
5. Can I make a gluten-free version of this cake?
Yes! To make a gluten-free chocolate mousse cake, simply substitute the regular flour with a gluten-free flour blend. Be sure to choose a high-quality blend designed for baking. You’ll also want to double-check that the chocolate you use is gluten-free, though most dark chocolate is.
6. How do I store leftovers?
To keep your leftover chocolate mousse cake fresh:
Store it in an airtight container in the fridge for up to 3 days.
If you have any leftover mousse, store it separately for up to 3 days as well. Before serving, just give it a quick stir if it’s separated.
7. Can I add extra flavors to the mousse?
Definitely! The mousse is a wonderful base for experimentation. Some ideas include:
Vanilla extract for a warm, comforting flavor.
Orange zest for a citrusy twist.
Espresso powder for a mocha flavor.
Raspberry puree for a fruity touch.
Add the flavoring to the mousse when you fold in the whipped cream for the best results.
8. What’s the best way to slice a mousse cake?
To get neat, smooth slices, dip your knife into hot water before each cut. Wipe the knife clean after each slice for perfectly smooth edges. This technique prevents the mousse from sticking to the knife and ensures every slice looks pristine.
9. Do I need to use the ganache topping?
While the ganache topping is a luxurious addition, it’s optional! If you prefer a lighter cake, you can skip it and just top the mousse with whipped cream or fresh fruit. For a more decadent look, the ganache adds a glossy, professional touch, but the cake will still be delicious without it
10. Can I make the cake without eggs?
Yes, you can make this cake egg-free! You can swap the eggs in the cake batter with a flax egg or an egg replacer of your choice. The mousse itself doesn’t require eggs, so it’s already a great option for those avoiding eggs in their diet.
By following these helpful tips and tweaks, you can make this chocolate mousse cake your own. Whether you’re preparing it for a special celebration or a cozy treat at home, these adjustments and answers to common questions will help you create the perfect dessert every time. Happy baking!

