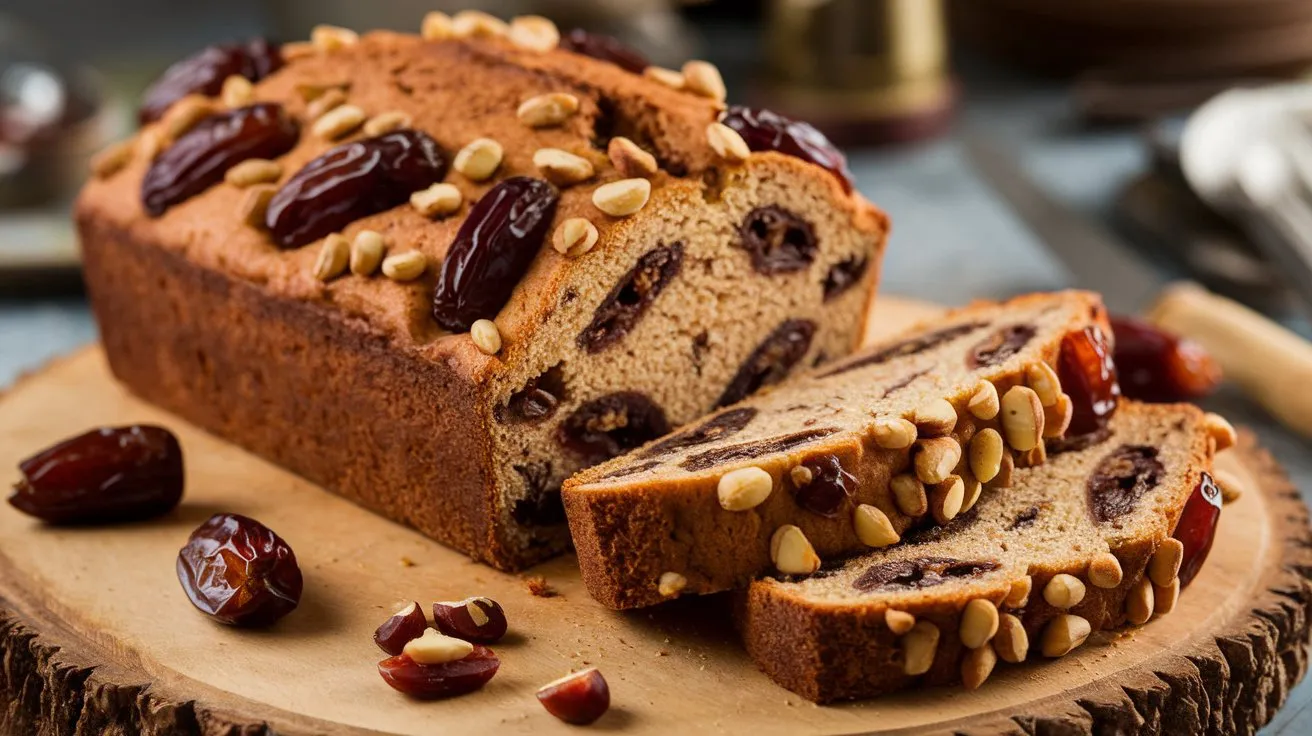
Have you ever craved a homemade treat that’s both comforting and easy to make? This date nut bread recipe is a beginner’s dream, blending the natural sweetness of dates with the crunch of walnuts for a moist, flavorful loaf you’ll want to bake again and again. Whether you’re new to baking or simply looking for a fuss-free recipe, this one is perfect for cozy mornings, holiday spreads, or even a quick snack with coffee. With just a few pantry staples and simple steps, you’re about to discover how rewarding homemade baking can be. Ready to get started? Let’s dive in!
Table of Contents
Key Benefits of This Date Nut Bread Recipe
If you’ve ever thought baking bread was too complicated, this recipe will change your mind. It’s designed with beginners in mind, so you can feel confident every step of the way. Here’s why this date nut bread recipe deserves a spot in your kitchen:
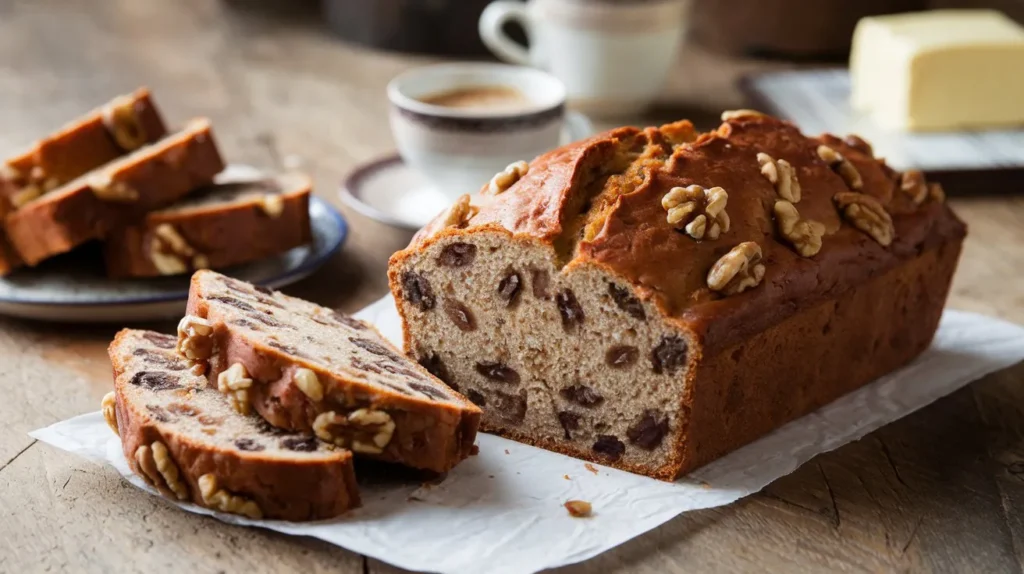
- Beginner-Friendly: With straightforward steps and easy-to-find ingredients, this recipe is perfect for first-time bakers or anyone looking for a no-fuss option.
- Rich, Moist Texture: The natural sweetness of dates and the buttery crunch of walnuts create a perfectly moist and flavorful loaf.
- Versatile and Customizable: Whether you enjoy it plain, toasted with butter, or paired with cream cheese, this bread adapts beautifully to any occasion.
- Perfect for Any Time: From cozy breakfasts to holiday brunches, this bread is a delicious choice that suits both everyday moments and special gatherings.
No matter your baking experience, this recipe is your ticket to a homemade loaf that looks, smells, and tastes like it came straight from a bakery. It’s not just bread—it’s a heartwarming experience baked into every slice. Ready to give it a try? Let’s start with the ingredients!
Ingredients for the Best Date Nut Bread
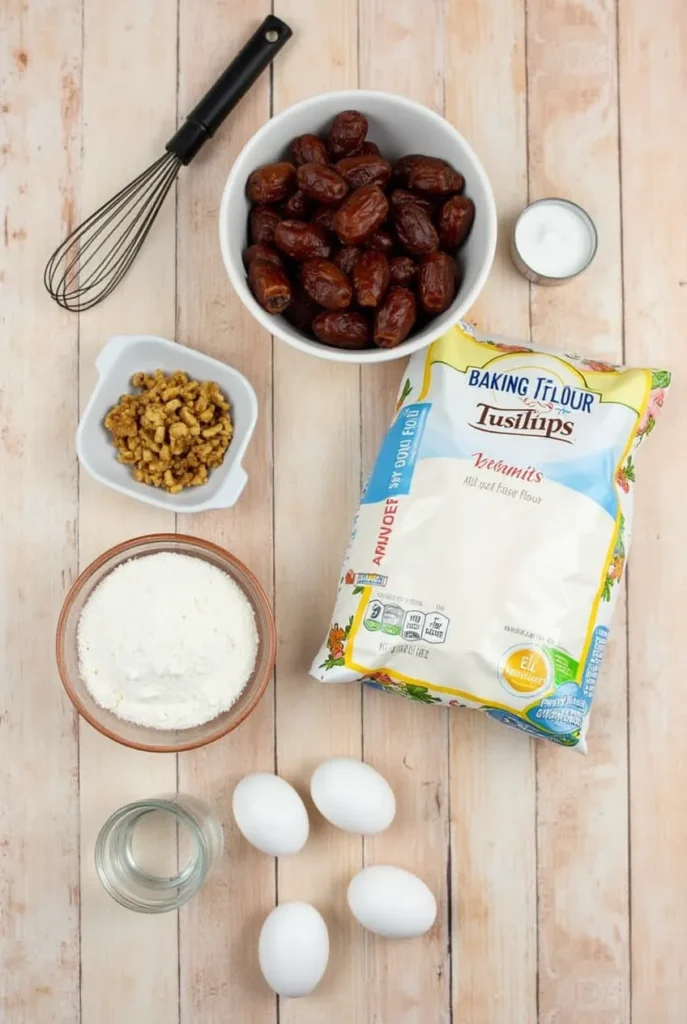
Before we dive into the recipe, let’s gather everything you need. Having your ingredients prepped and ready makes the process smooth and enjoyable!
Dry Ingredients
- 1 ½ cups all-purpose flour: This forms the base of the bread and gives it structure. For a nuttier flavor, you can substitute with whole wheat flour.
- 1 teaspoon baking soda: Helps the bread rise and stay perfectly fluffy.
- ½ teaspoon salt: Balances the sweetness and enhances the overall flavor.
Wet Ingredients
- 1 cup pitted dates (chopped): These add natural sweetness and create the signature moist texture.
- ½ cup boiling water: Used to soften the dates, creating a rich, caramel-like consistency.
- ½ cup unsalted butter (melted): Adds moisture and a buttery richness to the bread.
- ½ cup brown sugar: For a deep, molasses-like sweetness that complements the dates.
- 1 large egg (room temperature): Binds the ingredients together while adding structure and tenderness.
- 1 teaspoon vanilla extract: Enhances the warm, sweet flavors in the bread.
Add-Ins
- ½ cup chopped walnuts: Adds a satisfying crunch and nutty flavor. Feel free to swap with pecans or leave them out for a nut-free version.
Optional Extras
- ½ teaspoon cinnamon: For a warm, spiced note that pairs beautifully with the dates.
- ¼ cup dark chocolate chips: A delightful twist for chocolate lovers!
Now that everything’s ready, it’s time to move on to the fun part—bringing these ingredients together to create a loaf of moist, flavorful date nut bread. Let’s get baking!
Instructions for the Best Date Nut Bread
Now that you’ve gathered your ingredients, let’s dive into the baking process! With just a few easy steps, you’ll be enjoying the irresistible aroma of freshly baked date nut bread in no time. Here’s how to make it:
Step 1: Prep the Dates
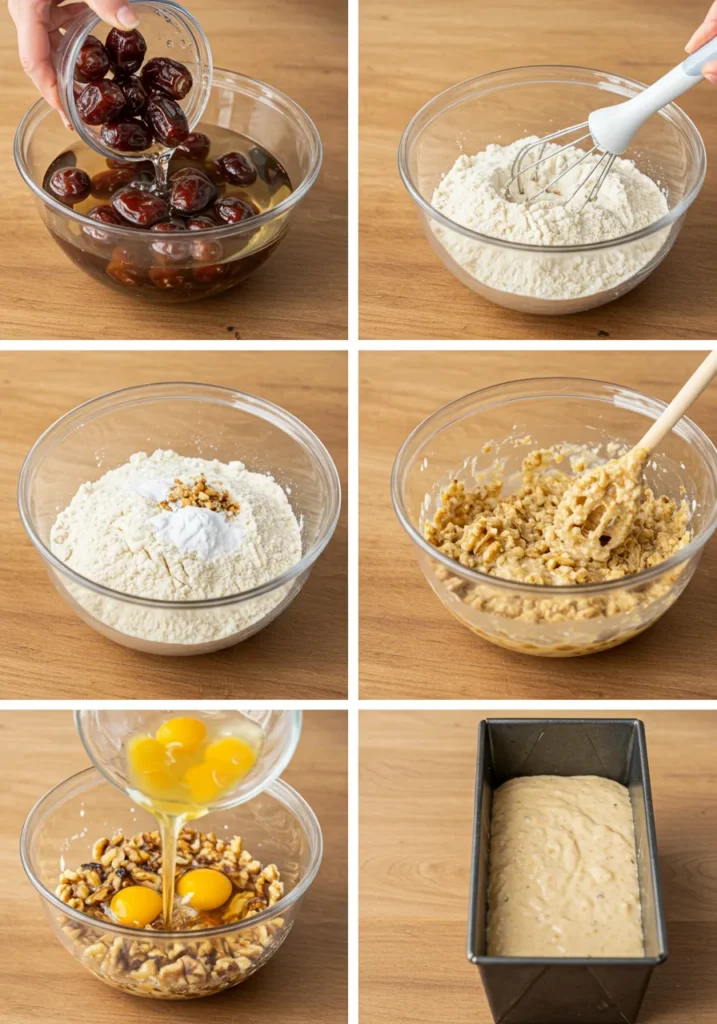
- Chop your dates into small pieces and place them in a small bowl.
- Pour boiling water over the dates and let them sit for 10 minutes. This softens the dates and makes them even sweeter, adding a rich, caramel-like flavor to the bread.
Step 2: Preheat the Oven
- Preheat your oven to 350°F (175°C).
- Grease a 9×5-inch loaf pan with butter or line it with parchment paper for easy removal after baking.
Step 3: Mix the Dry Ingredients
- In a large mixing bowl, whisk together the flour, baking soda, salt, and cinnamon (optional for added warmth).
- Set this dry mixture aside while you focus on the wet ingredients.
Step 4: Combine the Wet Ingredients
- In a separate bowl, mix the melted butter and brown sugar together until smooth.
- Add the egg and vanilla extract, whisking until fully incorporated.
- Stir in the softened dates along with the soaking water to help bind everything together.
Step 5: Bring It All Together
- Gradually add the dry ingredients to the wet mixture, stirring gently until combined.
- Be careful not to overmix, as this can make the bread dense. Just mix until the flour is incorporated.
- Gently fold in the chopped walnuts (or any other add-ins you prefer). These provide a nice crunch and complement the sweetness of the dates.
Step 6: Bake the Bread
- Pour the batter into your prepared loaf pan, spreading it evenly.
- Bake in your preheated oven for 50-60 minutes, or until a toothpick inserted into the center comes out clean.
- Once done, let the bread cool in the pan for 10 minutes before transferring it to a wire rack to cool completely.
Step 7: Slice and Enjoy
Once your date nut bread has cooled, slice it up and enjoy it as is, or spread with a little butter or cream cheese for an extra treat. Perfect with your morning coffee or as a midday snack!
Each step brings you closer to a loaf that’s moist, flavorful, and full of heart. Enjoy the process and the delicious results!
Pro Tips and Variations for Date Nut Bread
This date nut bread recipe is already amazing as is, but there are a few tips and fun variations you can try to make it even more personalized or take it up a notch. Here’s what I’ve learned from baking this bread again and again—these tweaks will elevate your loaf and help you make it your own!
Pro Tips for the Perfect Loaf
- Don’t Overmix: When combining the wet and dry ingredients, stir gently until just combined. Overmixing can lead to a denser, tougher bread, and we want this loaf to be soft and light.
- Toast Your Nuts: For extra flavor, toast your walnuts (or any nuts you’re using) in a dry pan for 3-5 minutes before adding them to the batter. The heat will bring out their natural oils and intensify the nutty taste.
- Check for Doneness: Oven temperatures can vary, so start checking the bread at the 50-minute mark. Insert a toothpick into the center—if it comes out clean or with just a few crumbs, it’s done!
- Don’t Skip the Soaking Step: Soaking the dates in boiling water softens them and helps them blend seamlessly into the bread. It also contributes to that lovely, moist texture.
Fun Variations to Try
- Add Spices: If you’re a fan of warm, cozy flavors, try adding 1 teaspoon of cinnamon or a pinch of nutmeg to the dry ingredients. The spices complement the natural sweetness of the dates perfectly.
- Switch Up the Nuts: Walnuts are traditional, but you could also try pecans, almonds, or even hazelnuts for a different texture and flavor.
- Make It Vegan: Swap the egg for a flax egg (1 tablespoon of ground flaxseed + 3 tablespoons water) and use a plant-based butter. This version still delivers the same moist, rich result.
- Throw in Some Chocolate: If you’re a chocolate lover, try adding dark chocolate chips to the batter. They melt into the bread as it bakes, adding a touch of indulgence.
- Go Gluten-Free: You can easily make this bread gluten-free by swapping the all-purpose flour with a gluten-free flour blend. Just be sure to check your other ingredients for gluten if you’re avoiding it entirely!
Storage Tips
- Room Temperature: Keep your date nut bread in an airtight container at room temperature for up to 4-5 days. It will stay moist and delicious.
- Freezing: This bread freezes beautifully! Wrap it tightly in plastic wrap or foil, then place it in a freezer bag. It will last for up to 3 months in the freezer. Simply thaw at room temperature or warm slices in the microwave for a fresh-baked feel.
By following these tips and trying out some variations, you can make this bread your own and enjoy it however you like. Whether you’re sticking to the classic recipe or experimenting with flavors, it’s sure to become a favorite!
Serving Suggestions for Date Nut Bread
Once your date nut bread is baked and ready, you’ll want to serve it in a way that highlights its delicious flavors and moist texture. Here are some simple and tasty ideas to enjoy your freshly baked loaf:
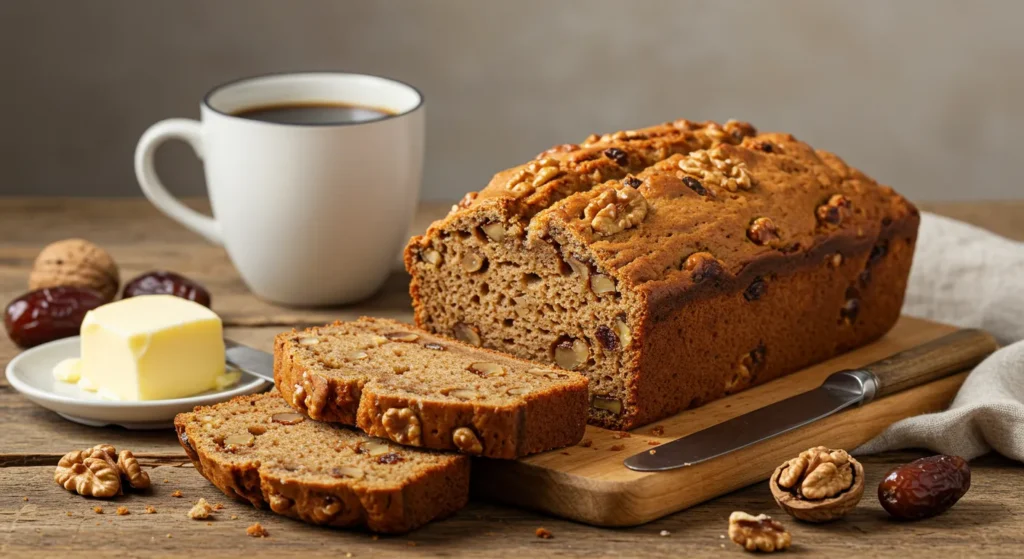
Classic Serving Ideas
- Warm with Butter: The simplest (and most comforting) way to enjoy your bread is by slicing it and spreading a little butter on top. The warmth of the bread melts the butter, creating a perfect balance of flavor.
- Pair with Cream Cheese: For an extra indulgence, top your slice with a generous spread of cream cheese. The tanginess of the cream cheese complements the sweetness of the dates beautifully.
- With a Hot Beverage: This bread is amazing when served with a hot cup of coffee or tea. The rich flavors of the dates and walnuts pair wonderfully with a cozy drink—perfect for breakfast or an afternoon treat.
For Special Occasions
- Holiday Breakfast or Brunch: Whether it’s a family gathering or a holiday celebration, this bread makes a great centerpiece for your breakfast or brunch table. Serve it alongside fresh fruit and a variety of spreads for a delightful spread.
- Gift It: Date nut bread makes a lovely homemade gift. Wrap it in parchment paper or place it in a cute loaf box, and share it with friends, neighbors, or family. It’s a thoughtful gesture that’s sure to be appreciated.
Creative Additions
- Top with Honey or Maple Syrup: Drizzle a little honey or maple syrup over a slice for a touch of sweetness. The syrup adds another layer of flavor that enhances the richness of the bread.
- Add a Scoop of Ice Cream: For a decadent dessert, serve a warm slice of date nut bread with a scoop of vanilla ice cream or cinnamon ice cream. The contrast of the warm bread with cold ice cream is simply heavenly.
With so many ways to serve this bread, you’ll never run out of ideas for enjoying it. Whether you prefer it plain, with spreads, or paired with drinks, it’s a treat for any time of the day!
Conclusion
There’s something special about date nut bread—its warm, cozy flavors and the satisfying crunch of walnuts make it a perfect comfort food. Whether you’re new to baking or an experienced cook, this easy-to-follow recipe ensures a perfect loaf every time. With its moist texture, natural sweetness from the dates, and the rich flavor of walnuts, it’s sure to become a favorite in your kitchen.
This bread is versatile, too! You can enjoy it at breakfast, as a snack, or even as a special treat to share with friends and family. It’s great for holiday gatherings, as a homemade gift, or just to have on hand for a quick, satisfying bite during the day.
By making this date nut bread recipe, you’re not only baking something delicious but also filling your home with the comforting smell of homemade goodness. Whether served with butter, cream cheese, or a drizzle of honey, every bite promises a satisfying combination of flavors and textures.
So, grab those dates, mix up the batter, and get ready to enjoy the most moist, flavorful bread you’ve ever tasted. Happy baking!
____________________
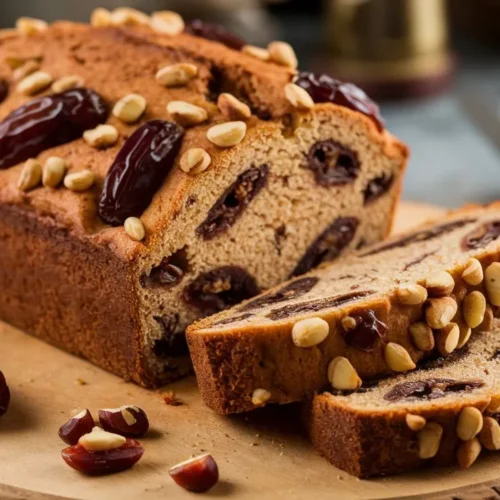
Date Nut Bread Recipe
Ingredients
Dry Ingredients
- 1 ½ cups all-purpose flour: This forms the base of the bread and gives it structure. For a nuttier flavor you can substitute with whole wheat flour.
- 1 teaspoon baking soda: Helps the bread rise and stay perfectly fluffy.
- ½ teaspoon salt: Balances the sweetness and enhances the overall flavor.
Wet Ingredients
- 1 cup pitted dates chopped: These add natural sweetness and create the signature moist texture.
- ½ cup boiling water: Used to soften the dates creating a rich, caramel-like consistency.
- ½ cup unsalted butter melted: Adds moisture and a buttery richness to the bread.
- ½ cup brown sugar: For a deep molasses-like sweetness that complements the dates.
- 1 large egg room temperature: Binds the ingredients together while adding structure and tenderness.
- 1 teaspoon vanilla extract: Enhances the warm sweet flavors in the bread.
Add-Ins
- ½ cup chopped walnuts: Adds a satisfying crunch and nutty flavor. Feel free to swap with pecans or leave them out for a nut-free version.
Optional Extras
- ½ teaspoon cinnamon: For a warm spiced note that pairs beautifully with the dates.
- ¼ cup dark chocolate chips: A delightful twist for chocolate lovers!
Instructions
Step 1: Prep the Dates
- Chop your dates into small pieces and place them in a small bowl.
- Pour boiling water over the dates and let them sit for 10 minutes. This softens the dates and makes them even sweeter, adding a rich, caramel-like flavor to the bread.
Step 2: Preheat the Oven
- Preheat your oven to 350°F (175°C).
- Grease a 9×5-inch loaf pan with butter or line it with parchment paper for easy removal after baking.
Step 3: Mix the Dry Ingredients
- In a large mixing bowl, whisk together the flour, baking soda, salt, and cinnamon (optional for added warmth).
- Set this dry mixture aside while you focus on the wet ingredients.
Step 4: Combine the Wet Ingredients
- In a separate bowl, mix the melted butter and brown sugar together until smooth.
- Add the egg and vanilla extract, whisking until fully incorporated.
- Stir in the softened dates along with the soaking water to help bind everything together.
Step 5: Bring It All Together
- Gradually add the dry ingredients to the wet mixture, stirring gently until combined.
- Be careful not to overmix, as this can make the bread dense. Just mix until the flour is incorporated.
- Gently fold in the chopped walnuts (or any other add-ins you prefer). These provide a nice crunch and complement the sweetness of the dates.
Step 6: Bake the Bread
- Pour the batter into your prepared loaf pan, spreading it evenly.
- Bake in your preheated oven for 50-60 minutes, or until a toothpick inserted into the center comes out clean.
- Once done, let the bread cool in the pan for 10 minutes before transferring it to a wire rack to cool completely.
Step 7: Slice and Enjoy
- Once your date nut bread has cooled, slice it up and enjoy it as is, or spread with a little butter or cream cheese for an extra treat. Perfect with your morning coffee or as a midday snack!
Notes
- Calories: 230
- Total Fat: 10g
- Saturated Fat: 3g
- Cholesterol: 30mg
- Sodium: 125mg
- Total Carbohydrates: 31g
- Dietary Fiber: 3g
- Sugars: 18g
- Protein: 3g
- Vitamin A: 4% DV
- Vitamin C: 0% DV
- Calcium: 2% DV
- Iron: 6% DV
FAQs About Date Nut Bread
If you’re new to baking date nut bread or just have a few lingering questions, don’t worry—I’ve got you covered! Here are some of the most commonly asked questions about this recipe, along with helpful answers to make sure your baking experience goes smoothly.
1. Can I use other types of nuts in date nut bread?
Absolutely! While walnuts are the classic choice, you can easily swap them for other nuts like pecans, almonds, or even hazelnuts. Each nut brings its own flavor and texture, so feel free to experiment based on your preferences.
2. How do I know when my date nut bread is done?
To check if your bread is baked to perfection, insert a toothpick into the center. If it comes out clean or with a few moist crumbs, it’s ready! Keep in mind that oven temperatures vary, so start checking around 50 minutes to avoid overbaking.
3. Can I make date nut bread without eggs?
Yes, you can make this bread vegan by replacing the egg with a flax egg (1 tablespoon ground flaxseed mixed with 3 tablespoons water). This will still give you a moist, flavorful loaf, but it’s perfect for those following a plant-based diet.
4. How should I store date nut bread?
To keep your date nut bread fresh, store it in an airtight container at room temperature for up to 5 days. If you won’t be eating it that quickly, you can freeze it for up to 3 months—just wrap it tightly in plastic wrap or foil before freezing. When you’re ready, thaw it at room temperature, and it’ll taste just like freshly baked.
5. Can I add other dried fruits to the bread?
Yes! Dried fruits like raisins, apricots, or even cranberries pair wonderfully with dates. Simply fold them in along with the walnuts for extra bursts of flavor and texture.
6. What’s the best way to serve date nut bread?
This bread is incredibly versatile. Serve it warm with butter for a comforting breakfast or snack. It also pairs beautifully with cream cheese or a drizzle of honey. For a decadent treat, try it with a scoop of vanilla ice cream or alongside a hot cup of tea.
7. Why is my date nut bread dense?
If your bread turns out a bit dense, it might be due to overmixing the batter or using too much flour. Be sure to gently mix the ingredients and measure the flour properly by spooning it into the measuring cup rather than scooping it directly, which can compact the flour and lead to excess.I hope these answers help you bake the best date nut bread ever! If you have any more questions, feel free to drop them in the comments below—I’d love to help. Happy baking!

